I love projects that are simple, quick and versatile. In this case, I created a craft that is great for fall – but can be repurposed any time.
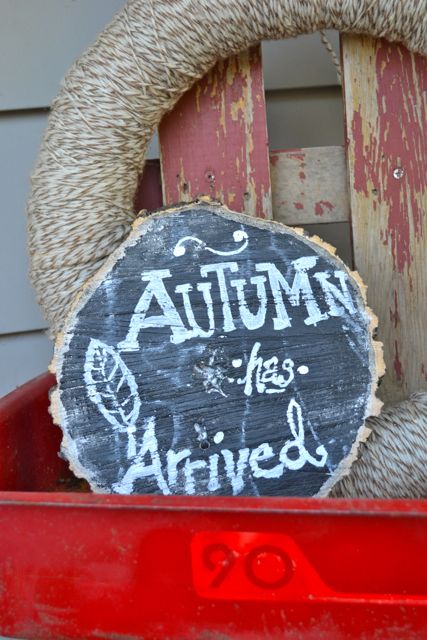
A tree slice chalkboard.
I’ve seen these all over the place and on Pinterest. Here’s an e few examples from Little Paper Dog and Olive Manna. Most start with a slice from the craft store. My version starts with a log.
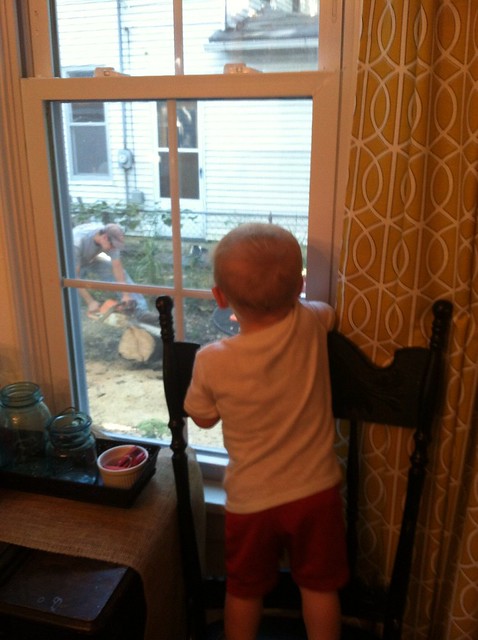
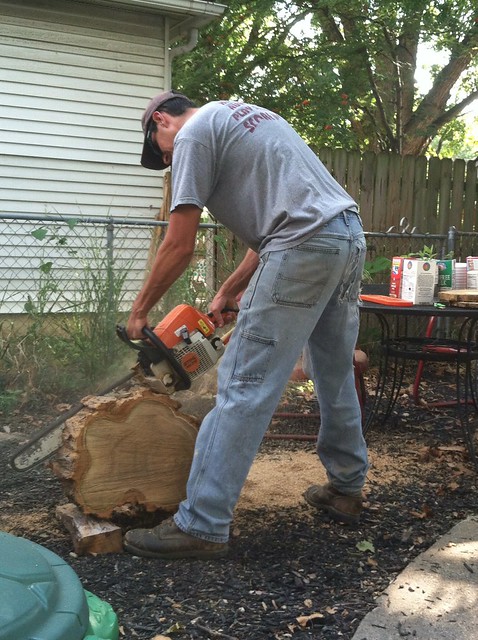
Because we were making 35 of these, I couldn’t afford to purchase the pre-cut slices. So, I asked my resident lumberjack if he could cut me some tree slices. He got out the chainsaw and got to work. Henry was OBSESSED.
I fanned myself. There’s just something about a man who does whatever I ask knows how to operate a chainsaw.
We didn’t worry about perfection. These were trees, for goodness sake. Made by the creator, so I figure the imperfections make them better.
To really get a true chalkboard look, I could have sanded them all down. But that was not going to happen. (Insert: Lazy and Busy) As it turns out, I rather like the rugged look. You can still easily write on the chalkboards after painting them, but it feels very organic.

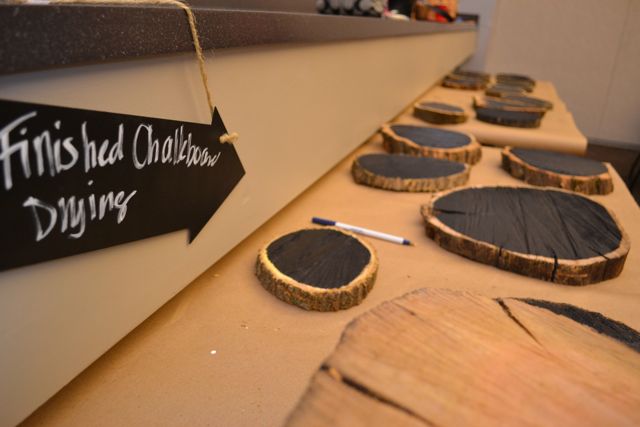
Here are the two that I made to display at the Pinterest Party. These are extra, extra rustic.

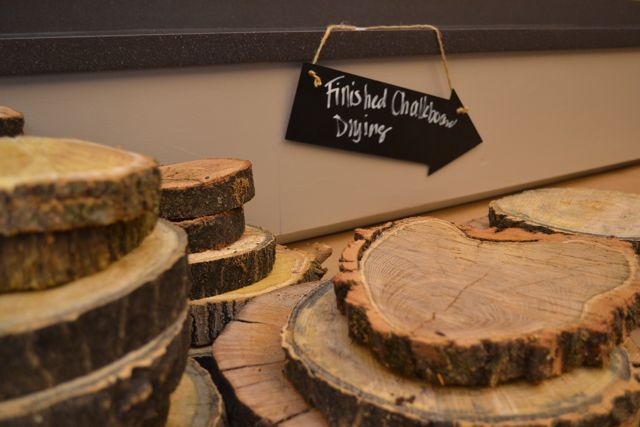
And here are some of the finished products from the night. I love that they are all very different.
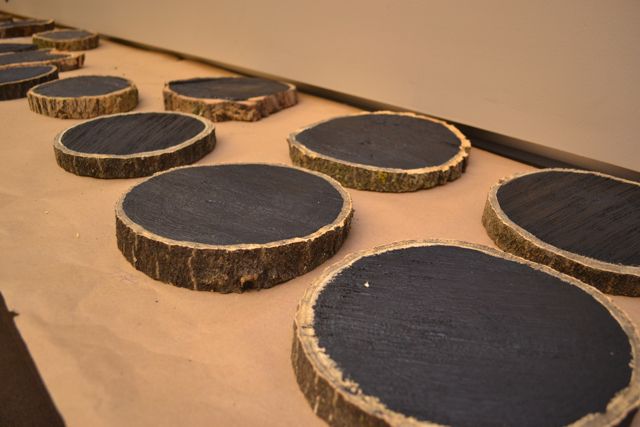
All this project takes is the tree slice and some chalkboard paint. After wiping off any sawdust, we added two coats of chalkboard paint and just freehanded around the edge.
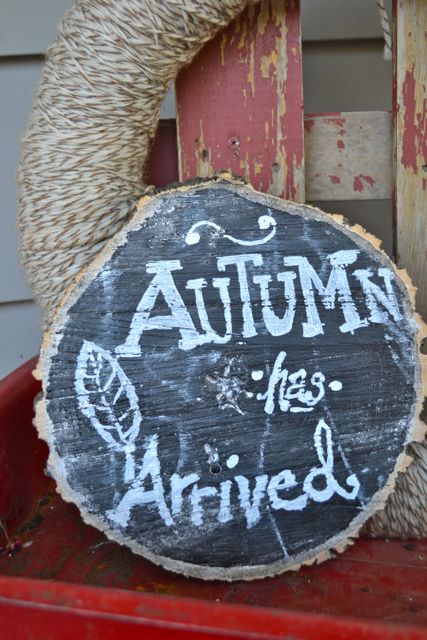
They would make a perfect message board to write notes, shopping lists and schedules. This one is my mom’s, and I added a little fall chalk art for autumn decorating. I actually have a few extra tree slices from this project, so more crafts are coming soon. Although, let’s be honest. Soon is quite relative for me.
These are so awesome!! I totally want to make chalkboards now that I have been catching up on your blog this morning…. SO CUTE!!
I love these. They turned out so well! I am planning on making some cake stands from tree slices for my boys’ birthday. Maybe I should make some chalkboards while I’m at it. 🙂
Fabulous, SO doing this!! If only to get a glimpse of my dude wielding a saw. Crafting is so hawt.
Love them!
And I think you are right. I might have to buy a chain saw for the hubby but he’d hurt himself I think.
Those are so cute! Way to go Ryan cutting all of those!!!
perffffect and rustic! easy too. i like em.
Almost makes me wish we had some trees around! You really need a warning label on that picture with the chainsaw, though….ever since DH made me watch Scarface, I can’t handle looking at them 😉
Probably should have included a disclaimer.
So darn cute! I love how they are all unique!!
I need to get to drawing on mine!
LOVE THIS!!! I like the rugged rustic look. I’m glad you didn’t sand them down. Now, where can I find a log, now that I don’t have trees anymore…
I must live under a rock because I’ve never seen these! I spotted some cut up stumps roadside today so they may just have to come live with me.
I am loving wood-slice decorations. This is adorable! I recently saw that you can get wood slices at Michael’s, but if I can find some wood to cut up, I think your idea is much cuter. Thanks for linking up!
WOW this is awesome. I need some woods and a lumberjack. Stat 🙂
I love these obviously. Can Ryan get me some for plate chargers? Ship those out with my coffee table and tree stump table he is also making me. Wrap them in houndstooth quilts so they don’t get damaged 😉
You know what I love about chalkboard paint? It dries in like 3 seconds. That’s my kind of medium…for the lazy and impatient.
They turned out great. You and Ryan make an awesome creative pair!
LOVE these! my business partner, sarah, made some and she gilded the bark and it looked so cool!
So cute ! I wish I had trees to cut down for crafts.