All the cool kids have pretty wood boxes. You should make one, too. This is peer pressure. But the good kind.
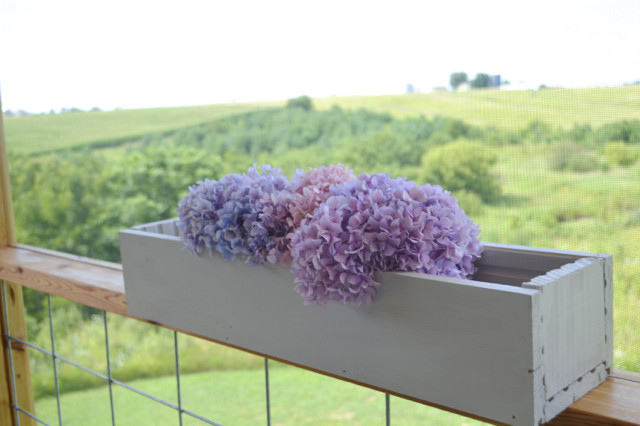
Narrow wood boxes are perfect for simple centerpieces, mantel decorations or almost any tabletop. They can be filled with mason jars, flowers or holiday decor.
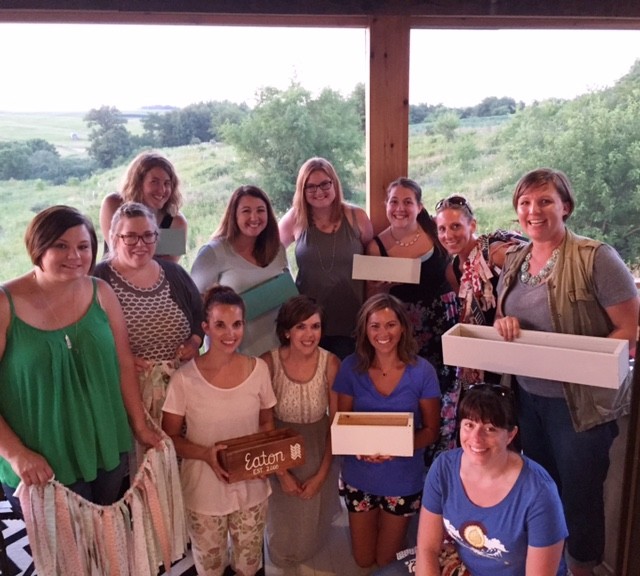
For our craft night this month, I hosted at the new house and we made wood centerpiece boxes from leftover flooring scrap. This was a pretty simple project – even making 15 of them went really fast. And this is an awesome project for any scrap wood you have lying around. Look at all these ladies getting their craft on.
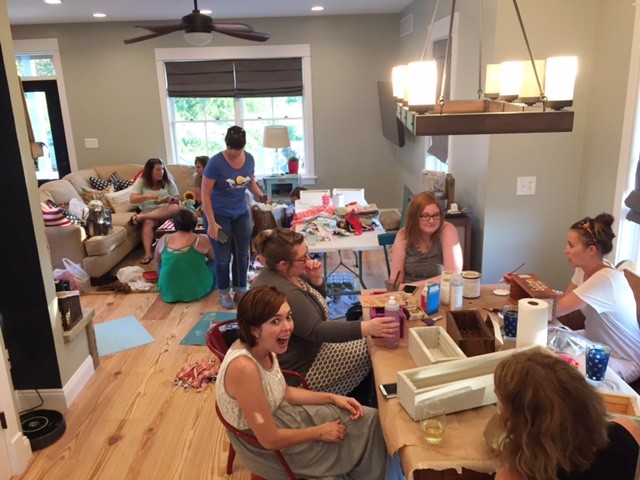
Also, here’s a famous blogger sighting for you. It’s like Where’s Waldo, but it’s where’s Michelle? She may not blog all the time, but she’s still around crafting and making goofy faces in photos. Love her.
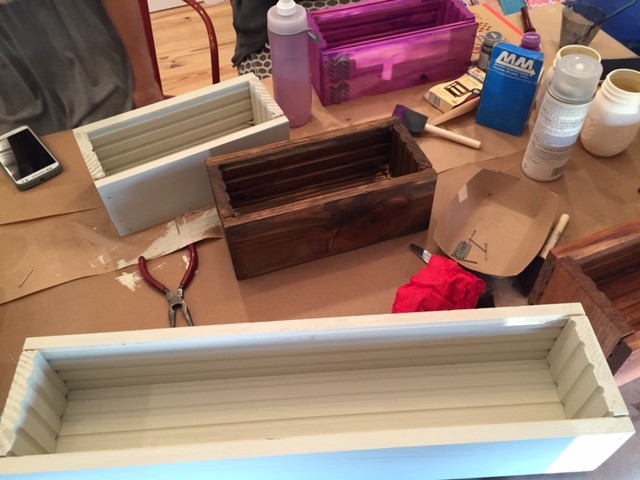
Here’s a little peek at the different boxes – it was fun to see how people customized their projects.
Wanna make one? Here’s how we did it.
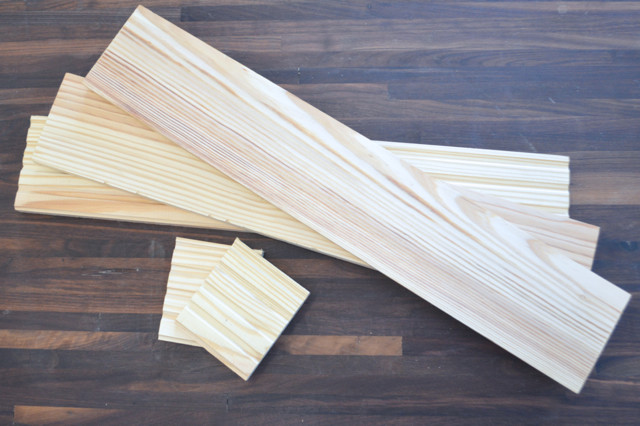
I started with our pine floor leftovers. These were pieces that were cut offs or too short to use. There was a large pile of short pieces in the garage and the size worked perfectly.
First, we cut the tongue and groove from the end with the table saw and then cut them in half width-wise (the pieces ended up being just under 4 inches wide).
Each box takes 5 pieces total in two different sizes – three long pieces and two end pieces, as shown below. The long pieces can truly be any size you want. Most of our boxes were long enough for three mason jars to nest inside (about 13 inches long), but I had just enough boards leftover to make one super long box for myself. (Perks of making all the cuts.)
We cut all the long pieces first and then cut the end pieces to nest inside each end. (About 3 3/4 inches wide, in our case.)
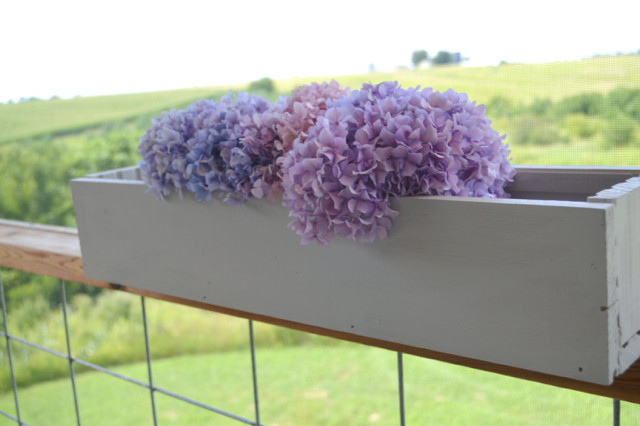
We used the nail gun to assemble the sides – which took a bit of practice. And while they aren’t perfect, they are fun and rustic and an easy way to create a fun piece of interest. My mother-in-law didn’t object to me taking these blooms from her yard and they nest inside perfectly.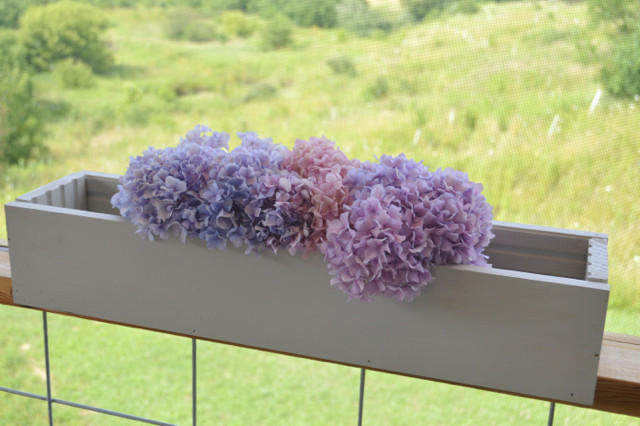
I need a hydrangea bush. Or 10.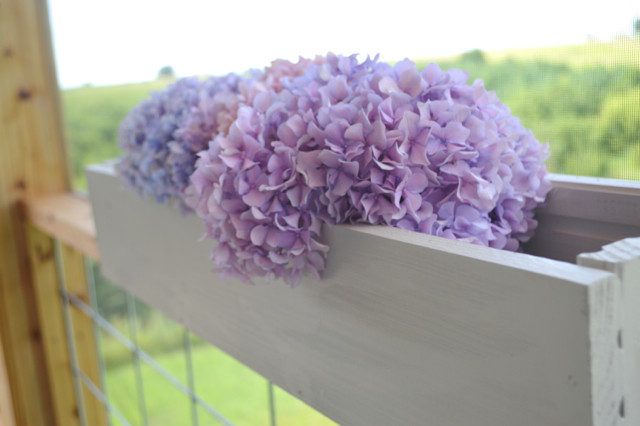 Here’s the first prototype we created before craft night – the ends on this one are a bit different and I stained it in walnut.
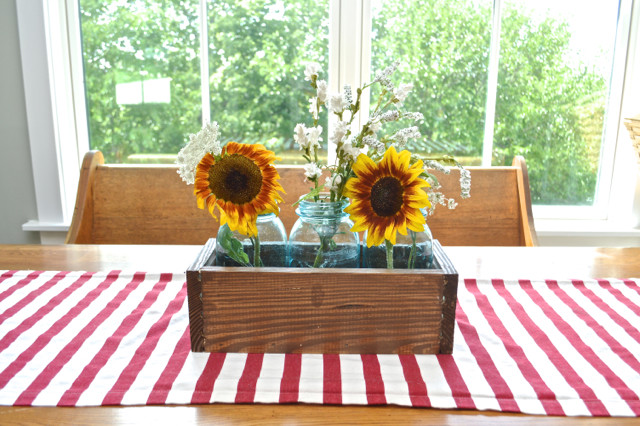 Would you believe those sunflowers were volunteers that came up in the garden this year? I am obsessed with them!
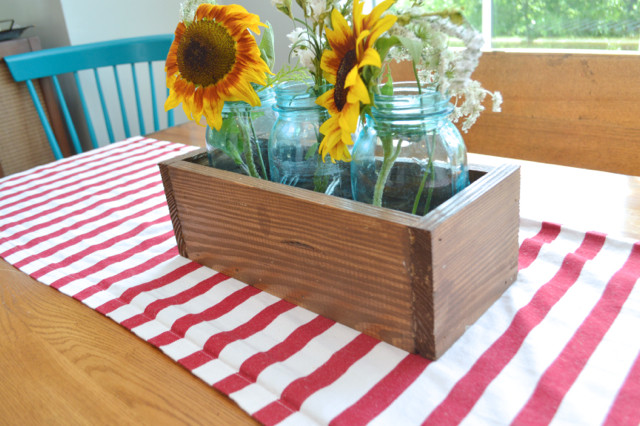 I was so happy to host craft night this time – I’ve been impatient to host at the new house and I love picking the project (#controlfreak).
Craft Night is truly one of my favorite nights of each month.
Michelle and I started these nights over three years ago (!!!) and they continue to be a great way to connect and create with some wonderful ladies. It also has been such a fun way to try new crafts and actually attempt some of those projects we pin.
I had a few questions about how our craft nights work – there are a lot of ways to coordinate them, but here’s what works for us.
We all rotate hosting in our homes and the host picks the project. (We have a Facebook group for event invites and details.)
Typically, the host provides a list of materials needed and everyone buys their own stuff or we crowd-source items that we can all use. Often, someone has items in their stash we can share. (Like the wood in our garage.)
Everyone brings an appetizer or dessert and we spend the night crafting, chatting, eating and drinking. Heavy on the chatting, eating and drinking.
It’s pretty low-key and works well that way. No pressure and no drama.
this looks like such a fun project to do with friends! i need wood boards. and friends. so i can be a cool kid.
Looks so fun! I have a long wooden box centerpiece, but I didn’t get to hang out with friends when I made mine 🙁
Ok, it’s posts like this one that make me sad that while we’re both in the midwest, we’re not close enough that I could crash one of your craft nights! Love the wooden boxes — and seriously, DIY peer pressure is the best kind!