It was my parents’ 35th Anniversary last weekend and my brother and I wanted to do something special to celebrate. (Spoiler: We went a little over-the-top. But you only celebrate 12,775 days of marriage once.)
After talking with my mom and dad, we settled on a dinner at our house with just the family. (Not something we get to do nearly often enough.) And since it was just dinner for 6, we put a lot of the focus on a great dinner and personalized table settings!
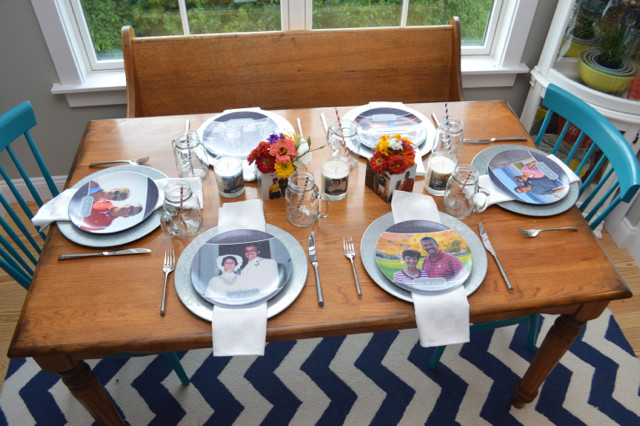
Like many of us, my parents can be hard to buy for. So, we made the table settings into part of their gift. And we made the two of them the STARS of the table.
They were so surprised when they saw all the little details, which made it all worth it.
The table was quite simple to put together – but this could be such a fun way to personalize a table for any milestone birthday or anniversary.
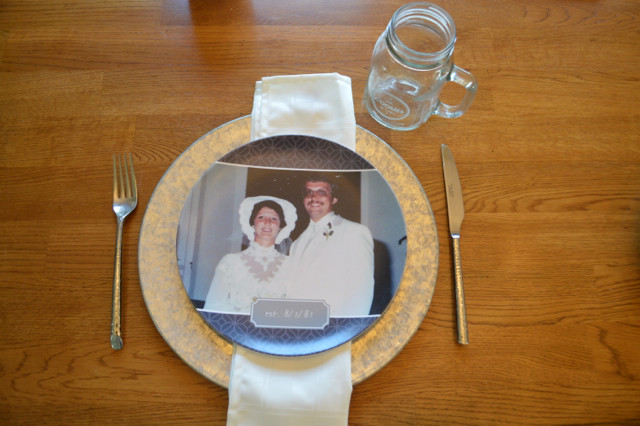
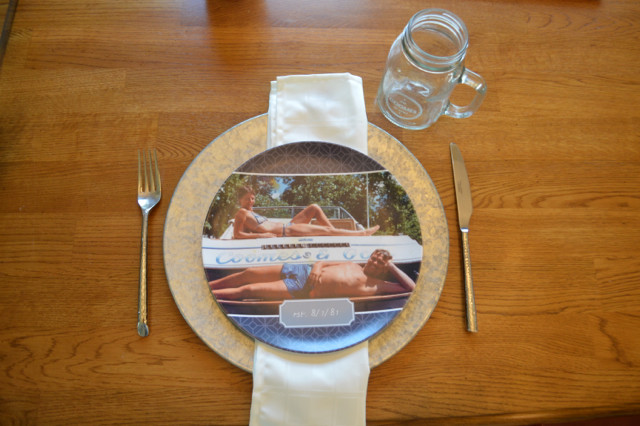
It was so fun to look through old photographs of my parents – we tried to include photos from all stages of their lives together. There were some short shorts (dad) and tiny bikinis (mom) in there, too.
(We actually had most of our family photographs scanned several years ago, which made this project very simple. But I also like to use my little photo scanner for photos I didn’t have scanned yet.)
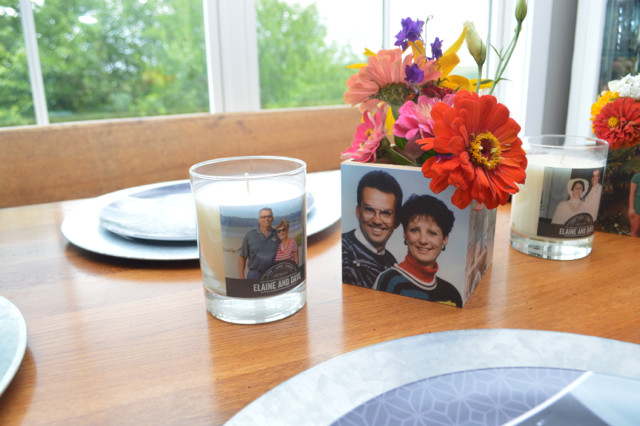
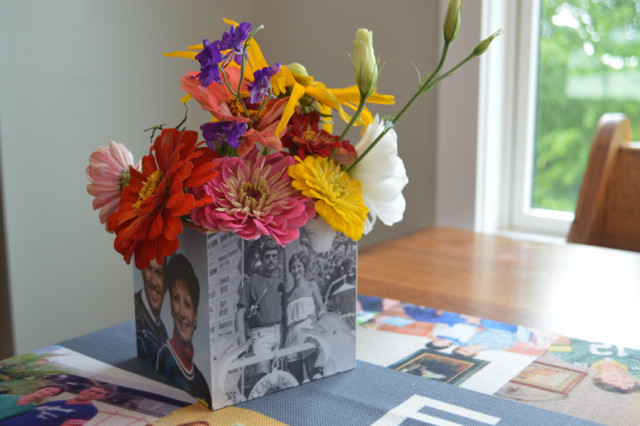
We started with two Shutterfly photo cubes that we made into low vases for the table. You can add up to 5 of your own images to the sides of these cubes. Since they are hollow, you can fill them with pencils for a desk, flower for a table, or anything else you can think of.
To make these work “upside down” (which allows you to use them as a vessel), you’ll need to “flip” each of the photos on sides when you create it in Shutterfly. (After the upload, you’ll edit each side and flip the photo.)
Because the photo cubes are relatively small, I didn’t have any vessels that would fit inside the box to hold water. Because they were wooden, I didn’t want to put water directly inside. So, I got creative.
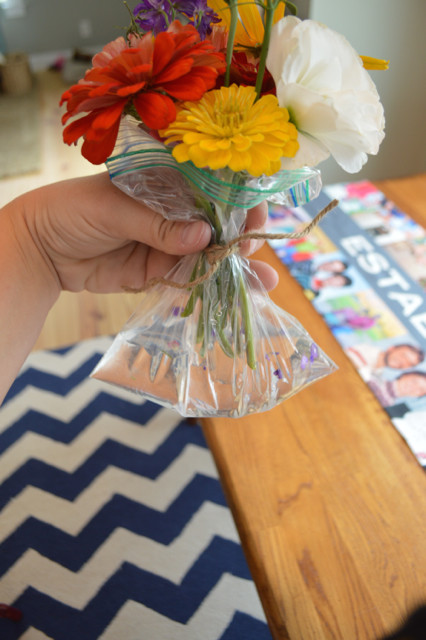
I simply added the flowers to a zip-top bag and filled it a bit with water. I tied it (not too tight, not too loose) with twine. This configuration was the perfect way to get the flowers to fit inside the box, stay hydrated, and look great. And it allowed me to skip floral foam. The flowers were also really easy to move and shape this way.
Totally not a florist and I have no clue what I’m doing, but it worked out well and the flowers lasted for almost another week, so I don’t think I broke any cardinal rule.
With the flowers, we didn’t need much more. I added a few personalized photo candles to the center, and it looked perfect (and didn’t block the conversation or food-passing).
These candles smell AWESOME! (My favorite scent is grapefruit blossom.) And they come in an awesome gift box, which makes them a wonderful gift in their own right. But on the table, they just added a little ambiance. And more chances for photos.
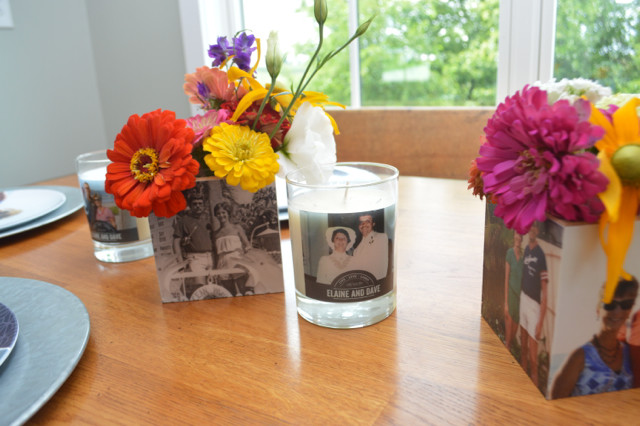
The design I chose also allowed me to add their names and wedding date (8/1/81).
Finally, it was time for my favorite parts – the plates and mugs! Instead of doing a photo collage and making all the plates the same, I went with a different photo for each plate. By using the same design, they still feel cohesive on the table. (And each includes the wedding date again.)
This was seriously the most fun part of the table! They make such a statement! And everyone was fighting over who got which plate.
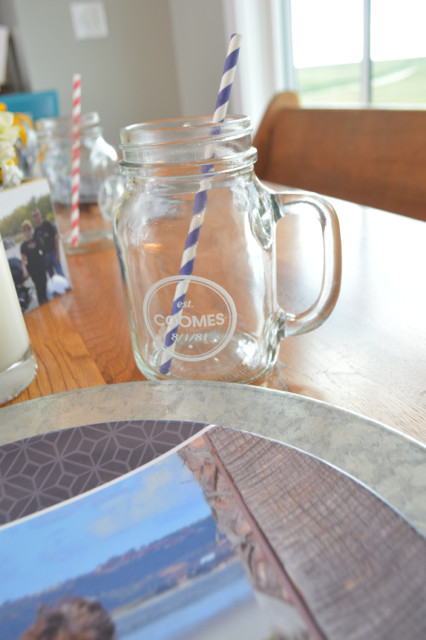
The customized mason jar glasses were also a subtle nod to their wedding date – and they can use these forever. (These are also glass and just generally lovely. I think I need a set for my kitchen.)
I didn’t get any photos of the food because we were all working hard to get it on the table – but my brother made crab legs and then we had bruschetta chicken, corn on the cob, asparagus, salad and bread. And cheesecake for dessert.
So, that’s how we pulled together a fun and customized table for my parents’ anniversary – using photos of them through the years. Think of how many occasions could work for this idea – birthdays, anniversaries, and even holidays (I think it would be SO FUN to get a holiday family photo plate for every year.)
Here’s a quick look at how we made this table come together, in GIF form. (Aren’t GIFs fun?)
I’ll be back next week to share how we brought some personalized style to other areas at our little party. Because when celebrating, there can never be enough photos involved!
Thanks to Shutterfly for sponsoring this post and helping us make my parents’ anniversary extra special. These personal creations are sure to become heirlooms to our family. And thank you for supporting NewlyWoodwards sponsors to help make posts like this possible.
That evening was as great as the wedding 35 years ago. Thank you so much.
The photo plates are a fantastic idea!
I seriously want to create photo plates for every occasion. So fun.
OMG OMG OMG. Where were you when my parents celebrated 50 two months ago?!!? Now I’ve got Christmas wrapped up for everyone. I usually give photo ornaments to the grandparents, but I might do this too. Completely fun.
Also great for a 40th birthday party I have coming up.
It was really so much fun to see them realize that everything at the table was all about them! The plates were probably a personal favorite, but I think the candles would make such lovely gifts. (I’m also thinking it’d be a perfect wedding gift with engagement photos.)