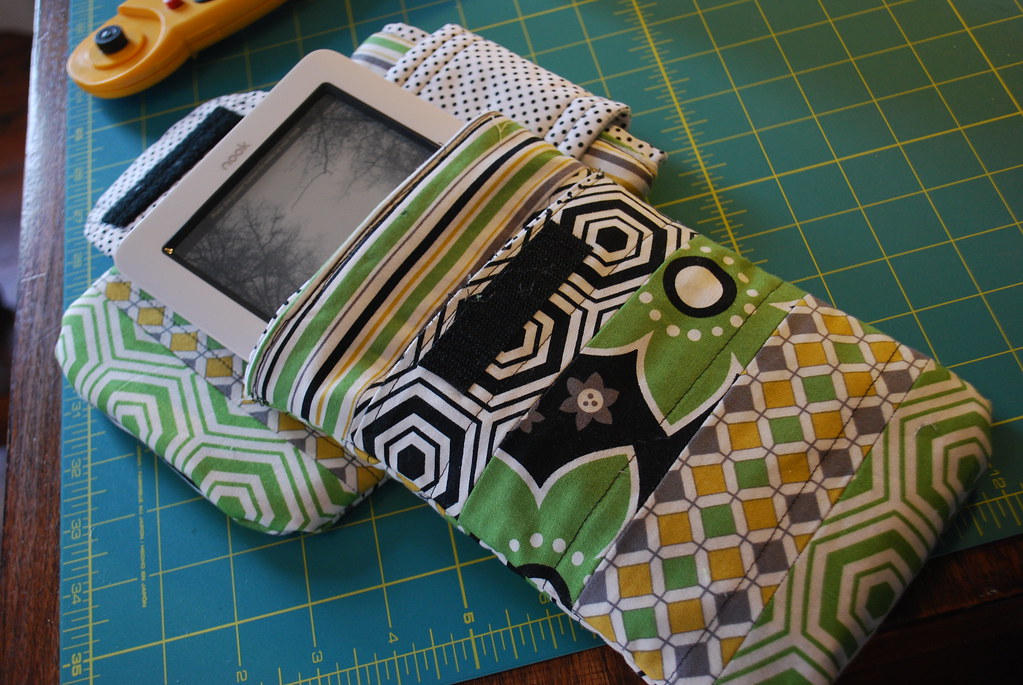
I made a couple more sleeves for a Nook and thought I’d do a quick tutorial.
But let’s just say that this may be my first and last tutorial. I tried, I really did. But, I think other people may be better at the whole thing. Plus, I just kinda learn things as I go, and I’m not 100 percent sure it’s the best way to do it.

But these cases are cute and I think you need one, so bear with me, okay?
But, let me be up front. THIS IS NOT AN ACT OF PERFECTION. I take little shortcuts and don’t expect everything to be perfect. So, if that’s a problem, you may not wish to do this project.
So are we all on the same page? Good!

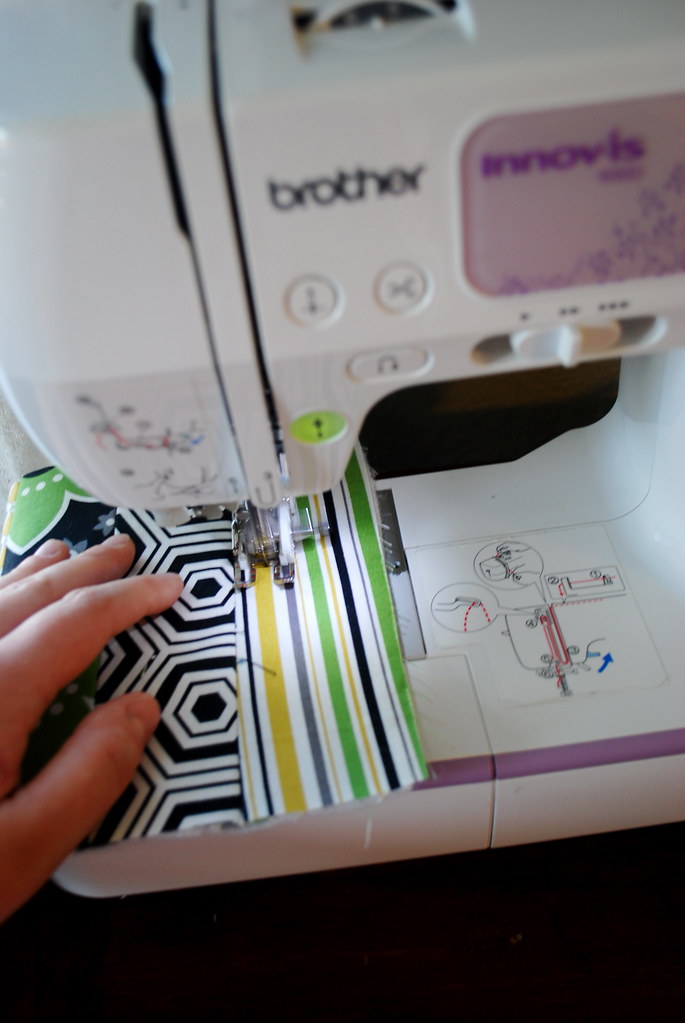
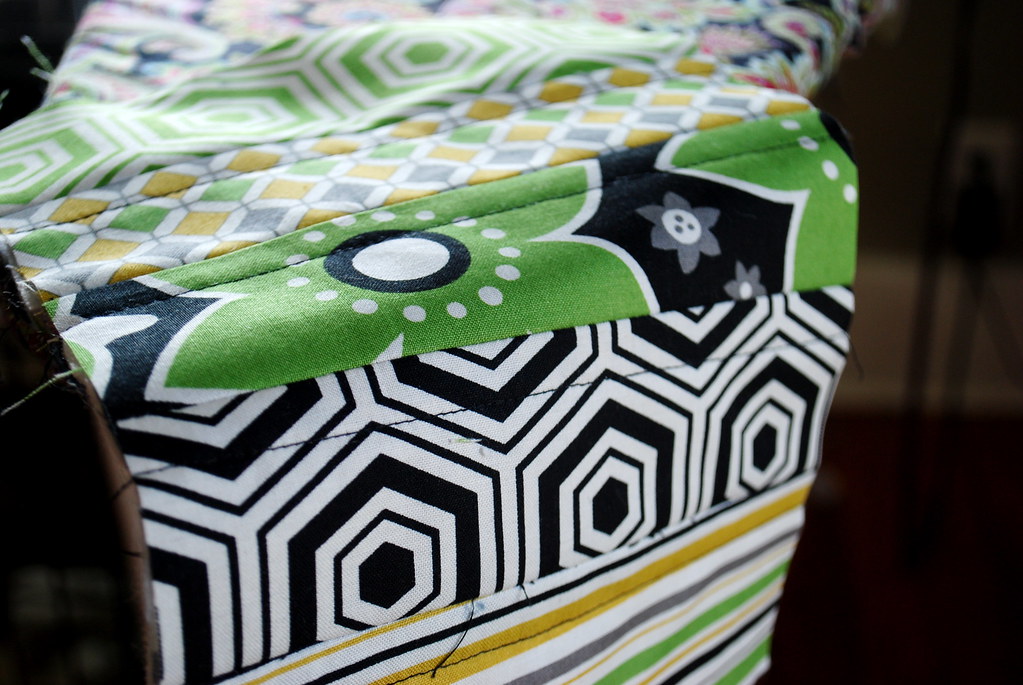
Fabric A (exterior) (For my fabric A, I joined 5 strips from a Top Drawer Bella Green jelly roll to give it a pieced look. You can also use a single fabric, like I did in my first sleeve.)
 Fusible fleece interfacing
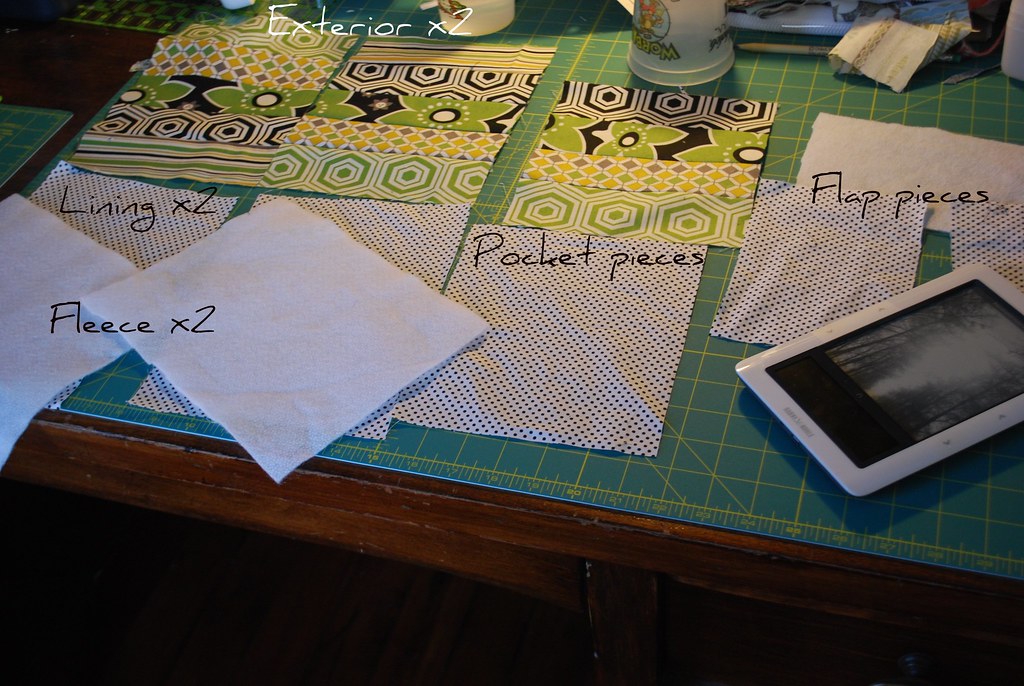
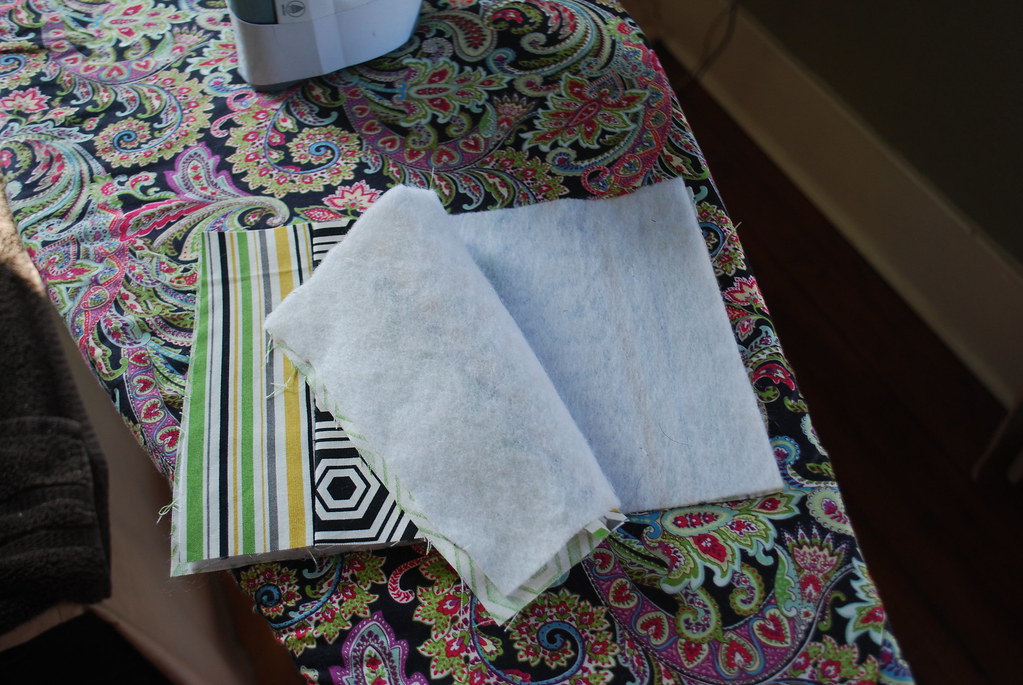

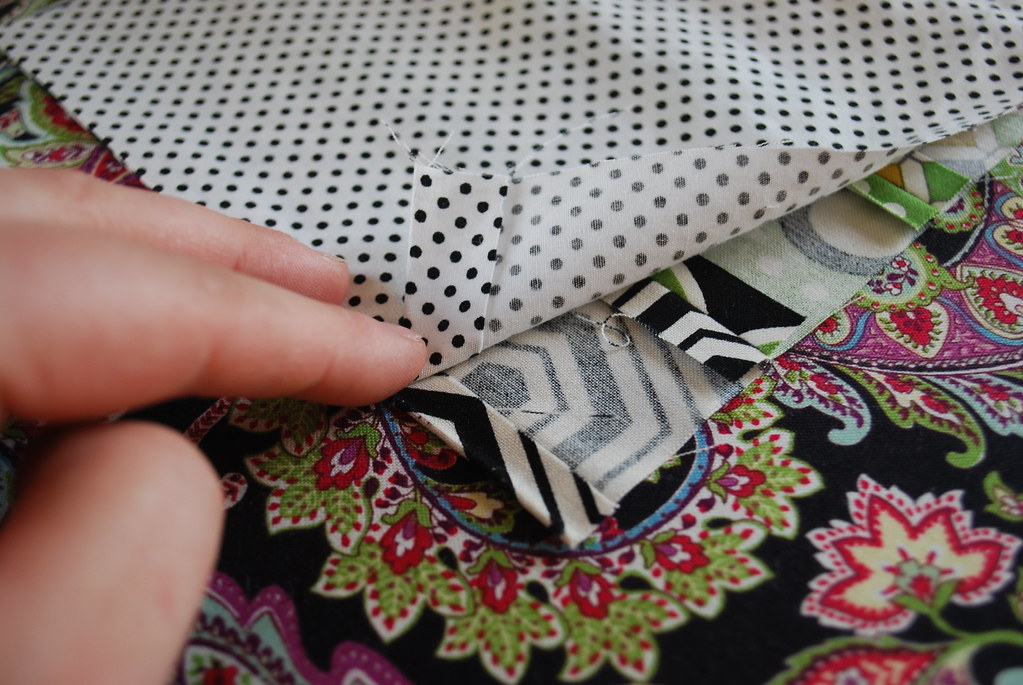
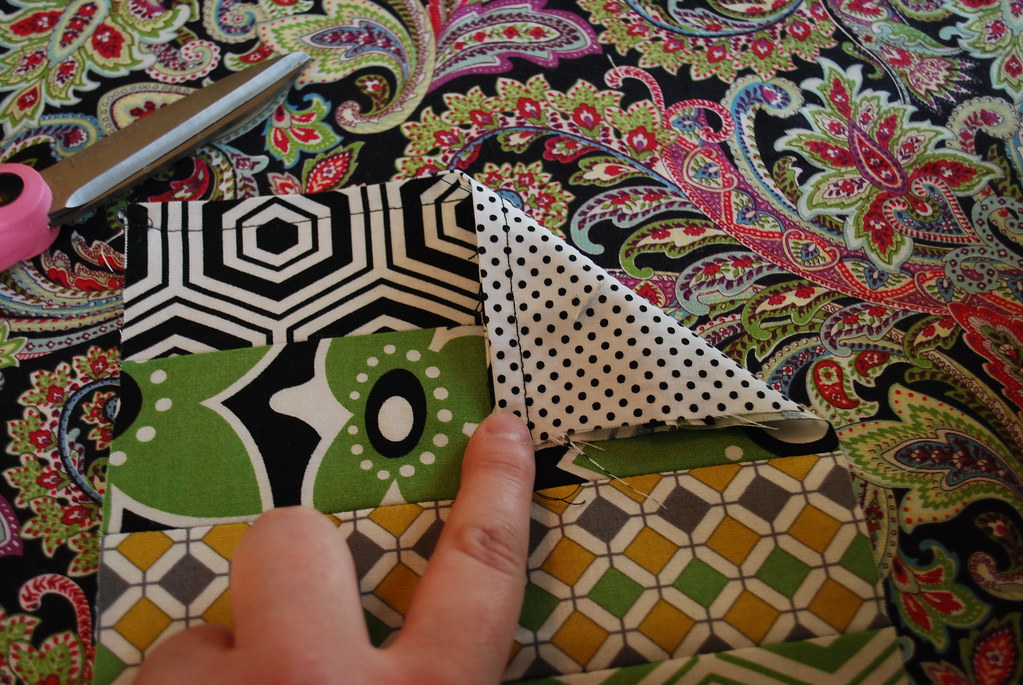

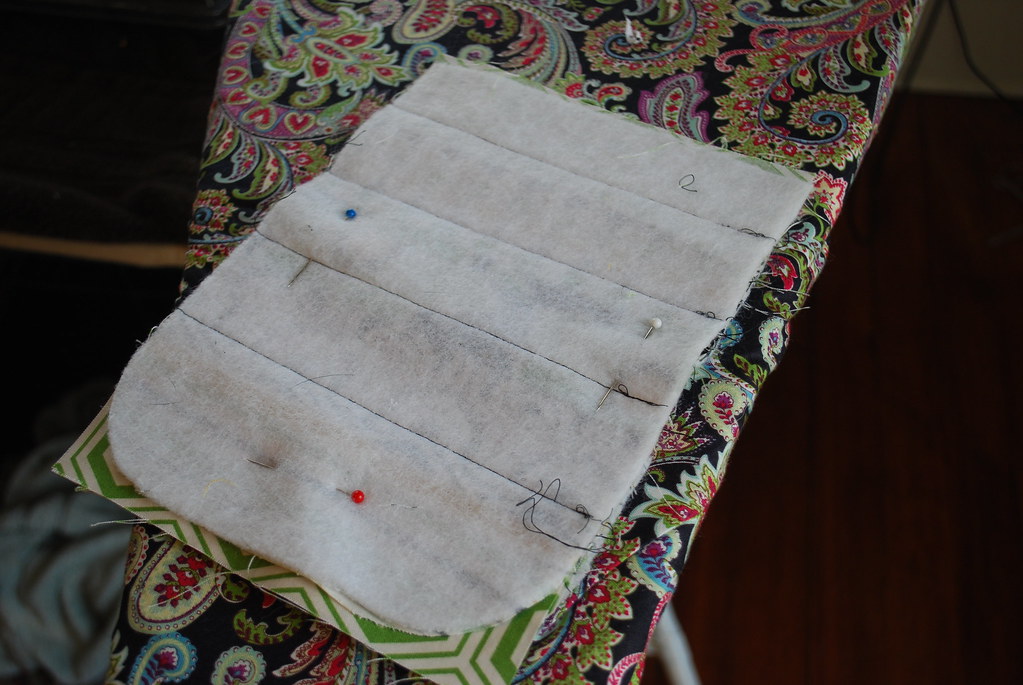
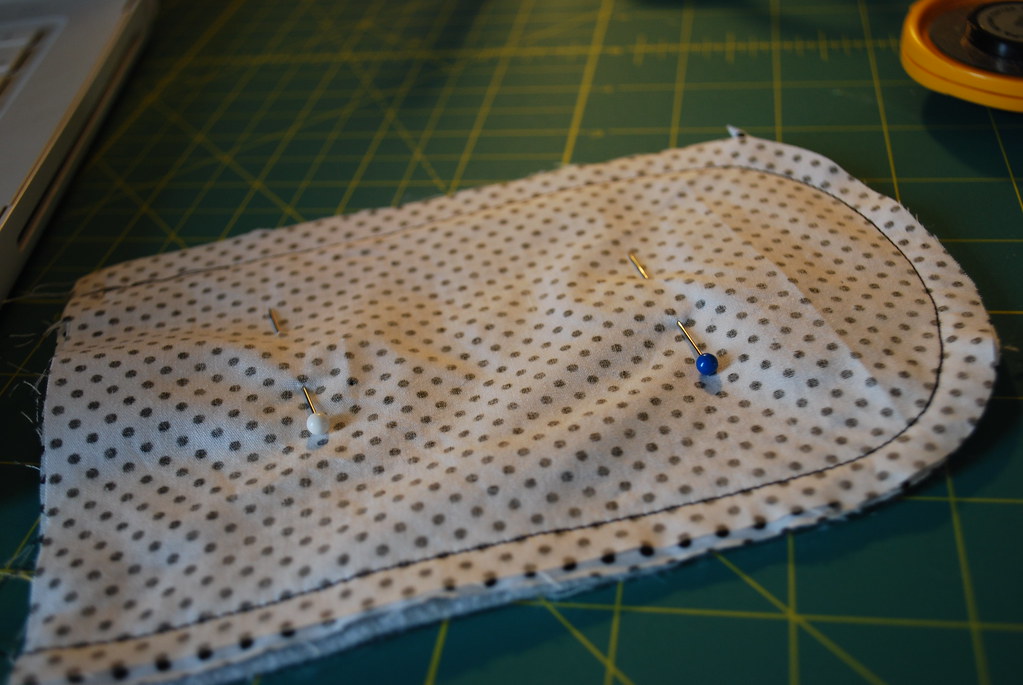
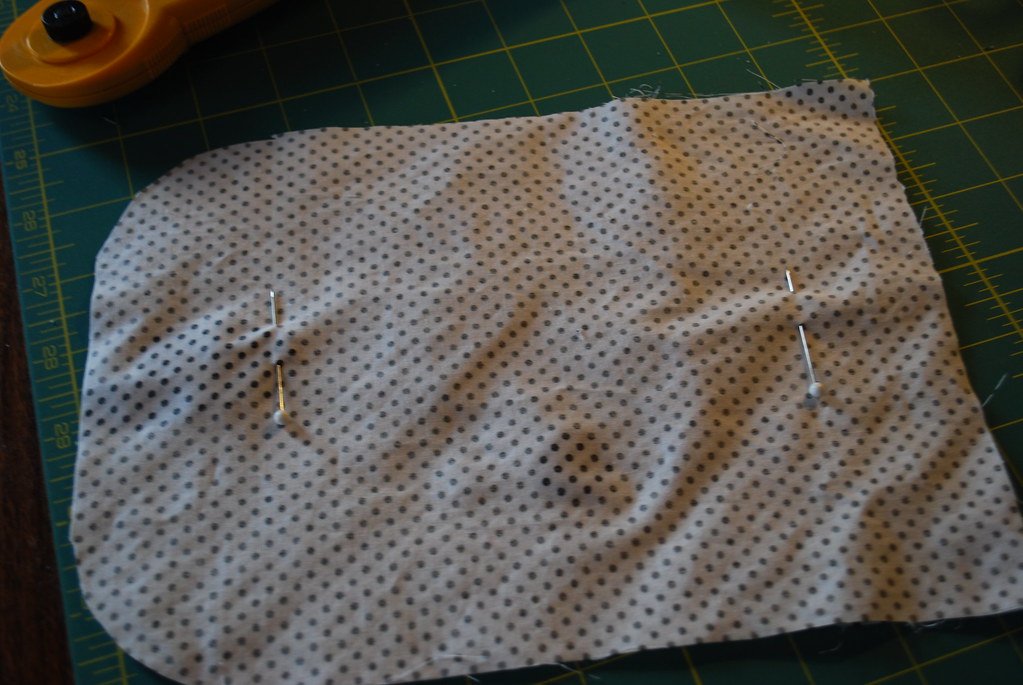
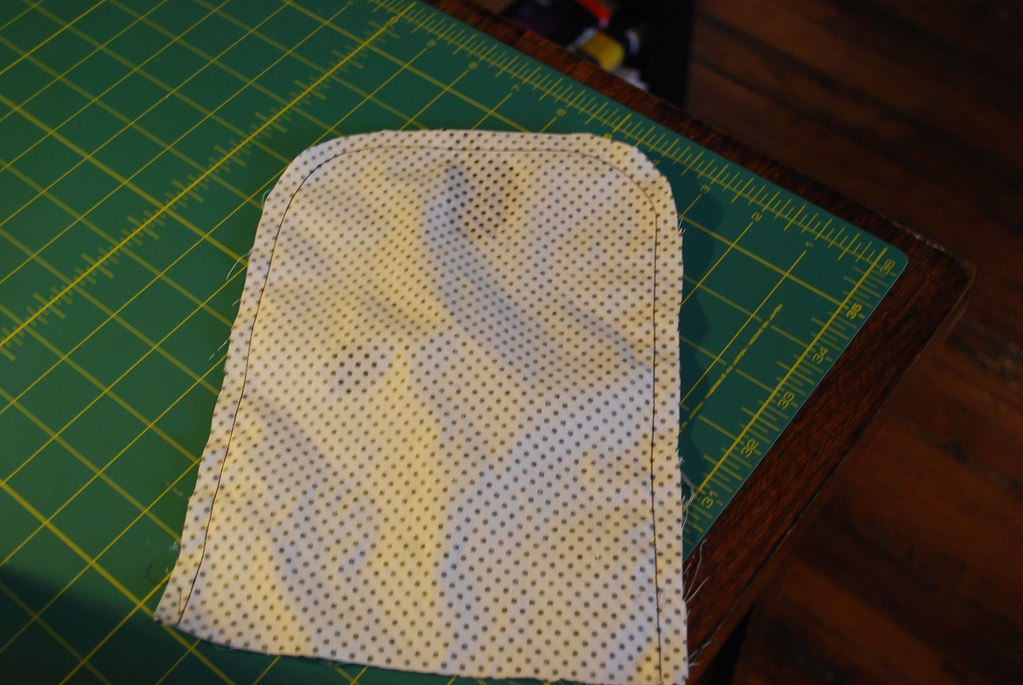
Now, make a sandwich of the main body (with pocket on one side) and lining. (Fusible fleece should be on the outside.) As you can see, the bottom of the pocket is outside the main body pieces because I didn’t cut them off. That’s not a problem, they’ll be on the inside and you’ll trim it later.
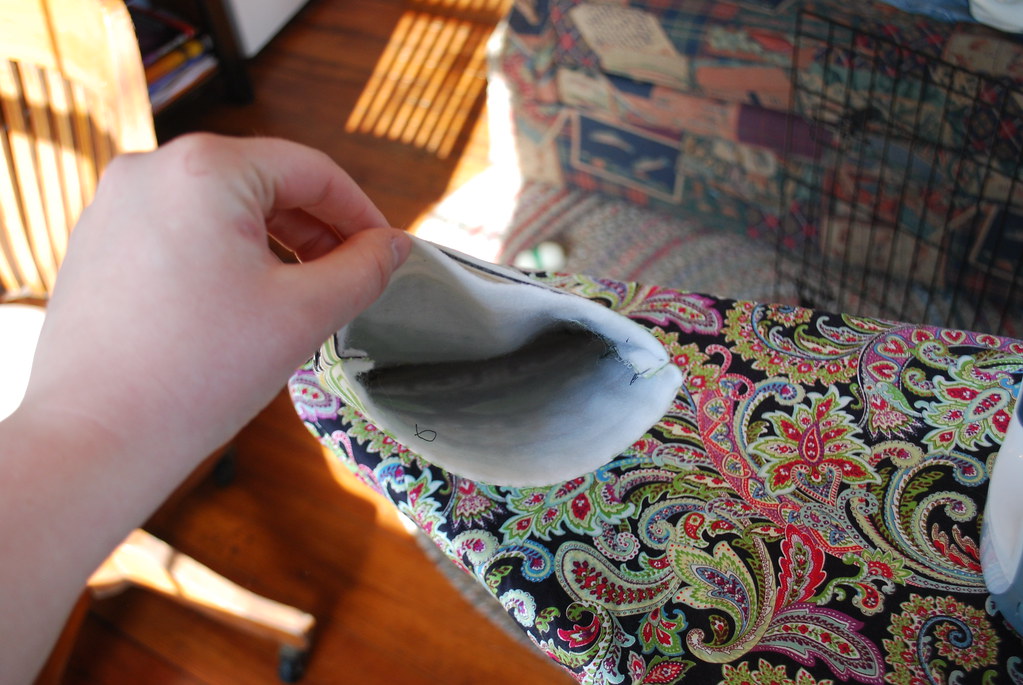
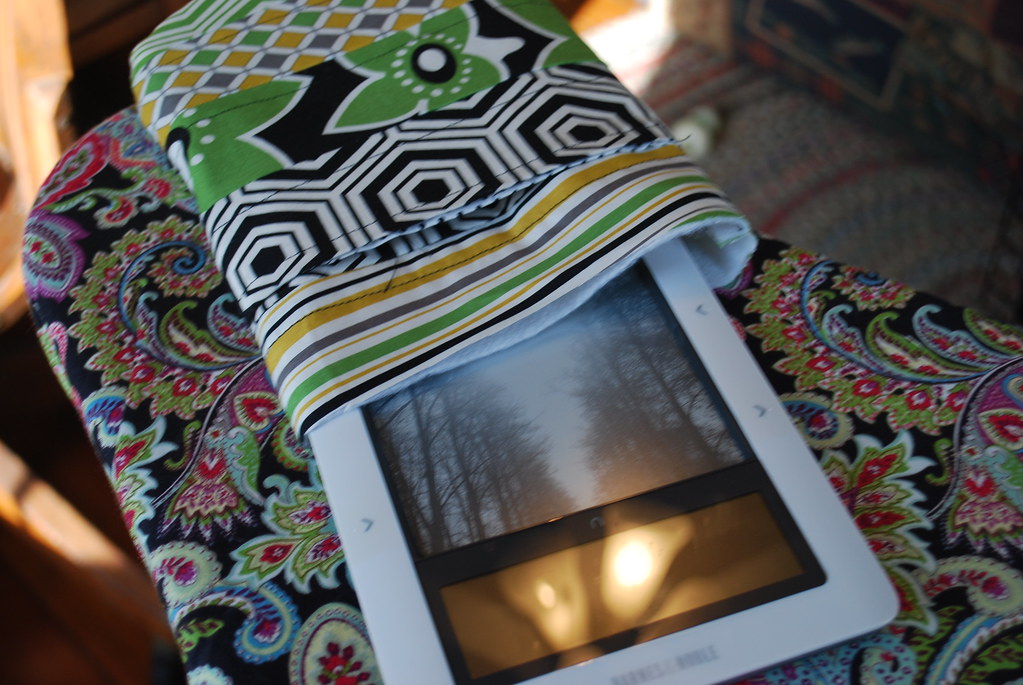
At this point, it’s a good idea to check to make sure your reader fits inside. You know, just in case.
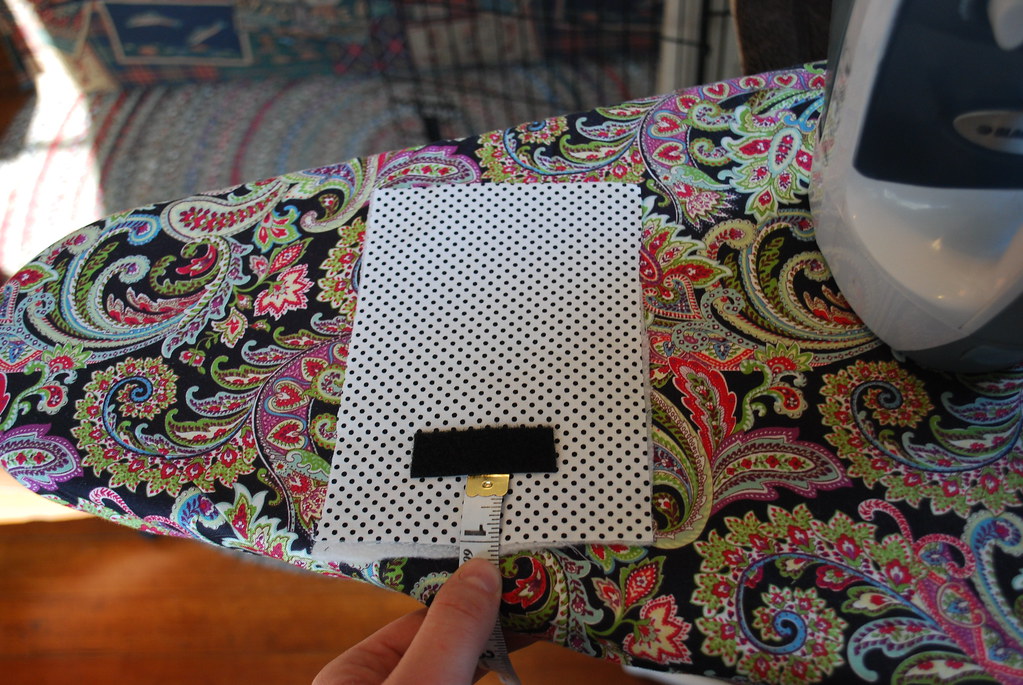
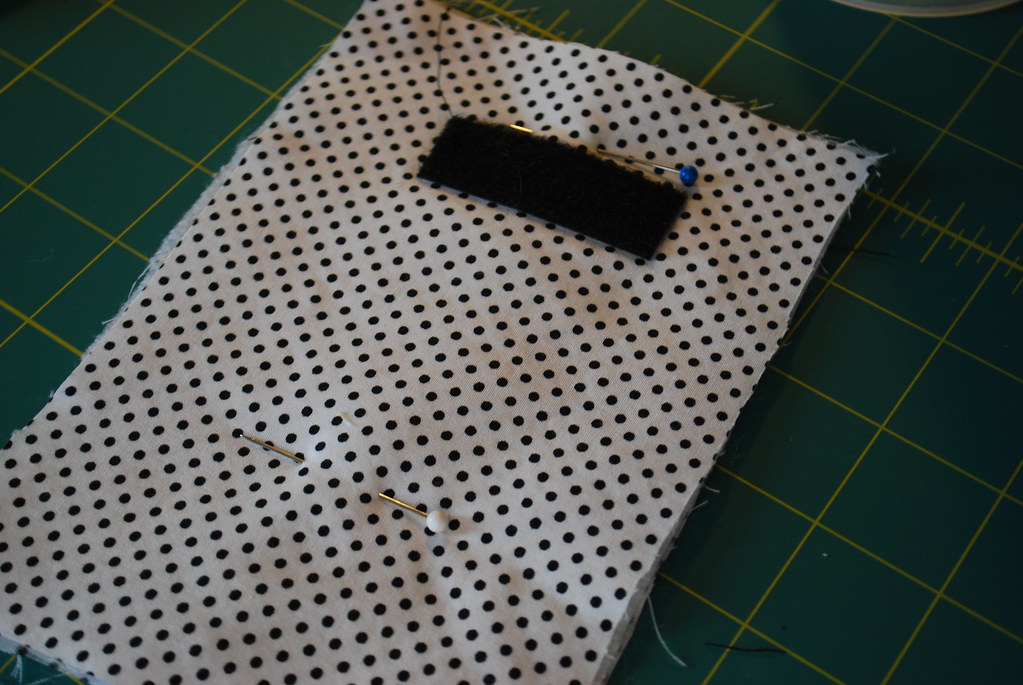
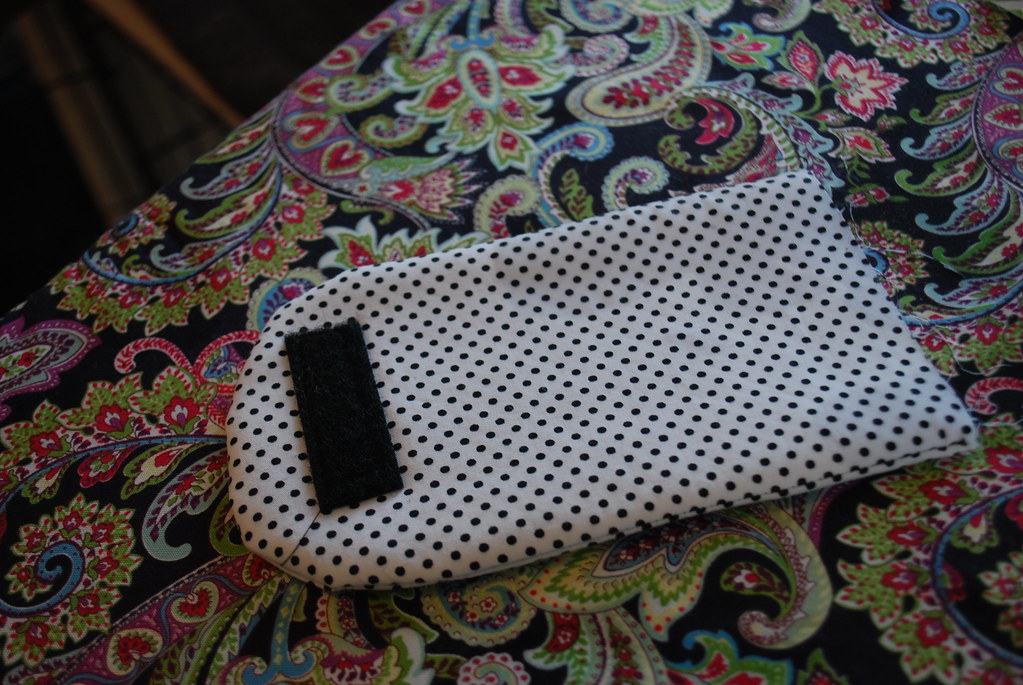
(This is about the point I realized I forgot to add the Velcro. So I quickly added it to the pocket, approximately centered.)


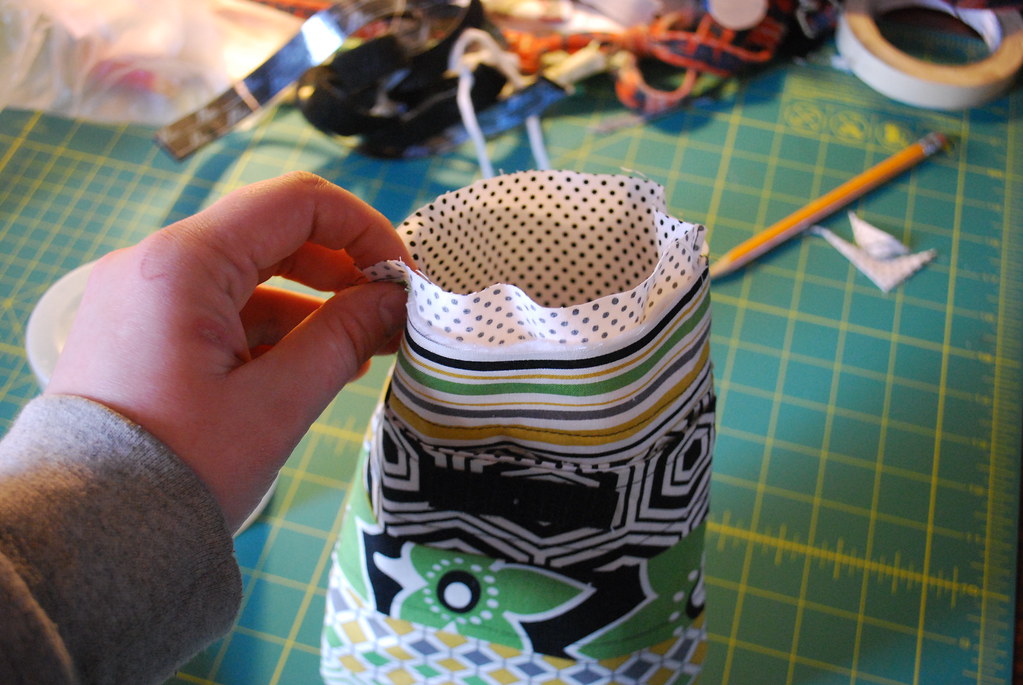
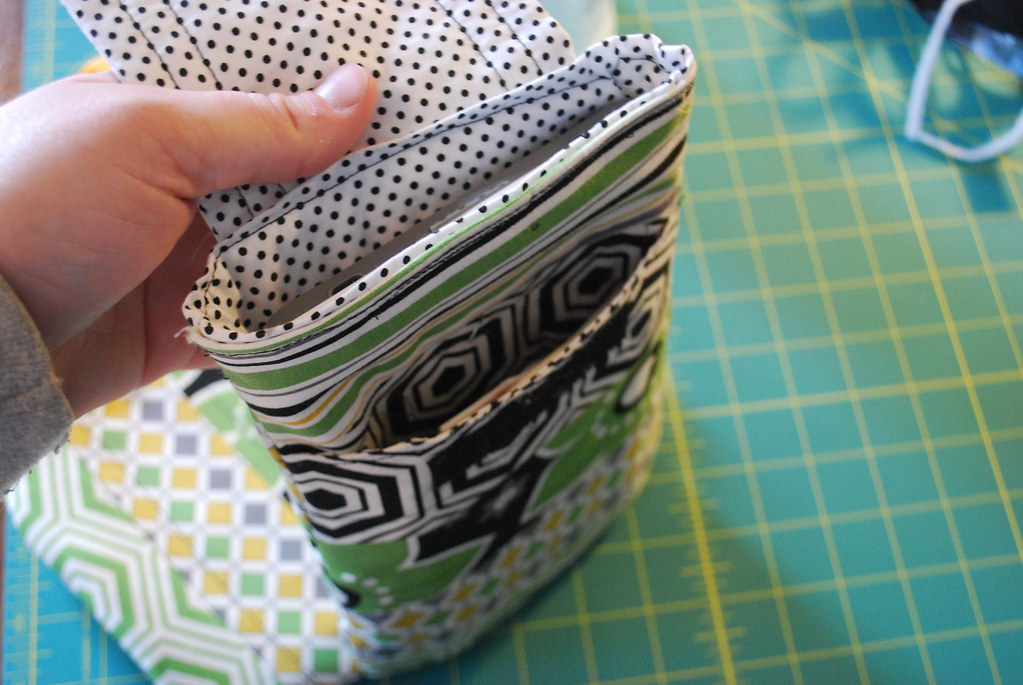
I’m sure there’s another way to do this, but I’m going to try to explain how I do this. First, put the lining into the main body (with the good side of the fabric facing the interior). It should fit snugly.


(Test the placement by Velcro-ing the flap to the Velcro on the front pocket).

What do you think?
(Although I’d really appreciate it if you didn’t tell me how horrible this tutorial is. It may drive me to drink.)
very cute! We just featured this post on our Facebook Page!
Kim, I think your tutorial is spectacular! I started sewing when I was 9. Had 2 grandmas who both sewed. Haven’t sewn a stitch for 18 years, but you’ve inspired me, as my Nook arrives tomorrow, and I can’t pay $40 for a NICE cover, so I will make my own. I have leather scraps and lots of padding, so I will make it to protect from it being dropped, LOL, as I dropped my Pandigital Novel and broke the screen. Anyway, thanks so much for the great tutorial and for inspiring me!!
You inspired me. And now the little sister wants one two. Looks like I’ll be making two of these.
Great tutorial, thanks! I whipped one up this morning for my new nook. Thanks for including instructions on how to cut for a different size e-reader!
This is the best project I have found for my kid and I to take on. This is not too hard and certainly not too easy. Just enough steps to take a while and create an understanding of cutting and measuring but not exact like clothes. This is really a good idea, appreciate it.
I just made the cutest cover for my Nook using your tutorial! Thanks so much for the great idea! Mine turned out great and I only made a few mistakes in the process.
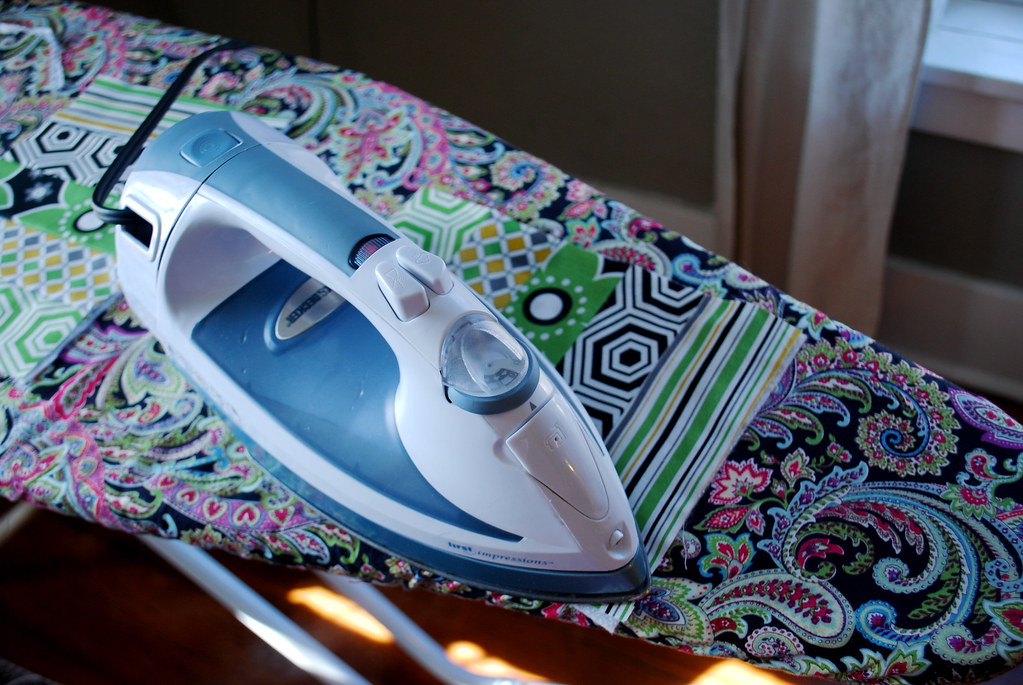
I think you did a fantastic job! And I love your ironing board cover – so fancy!
what do i think? i think you did a FANTASTIC job and if i ever get an e-reader, i’ll email you so you can make one of these for me 😉 i dont have the patience (or know-how or materials) for all that!! haha.
I LOVE it!! As soon as I’m done getting married, I am making this!!
1. It DID turn out super cute!
2. If I had a nook and I could actually sew, I’d make this!
You did a great job! If I had a nook, I’d bookmark this. John is always telling me I should do tutorials to bring in readers but I don’t know what I’m doing 90% of the time nor could I explain it in writing (also I’m not in blogging to drive up my numbers). But I humor him and tell him I’m just waiting for the perfect project.
Great tutorial, I’m pretty sure I could follow that. Nice fabric choices, as well.
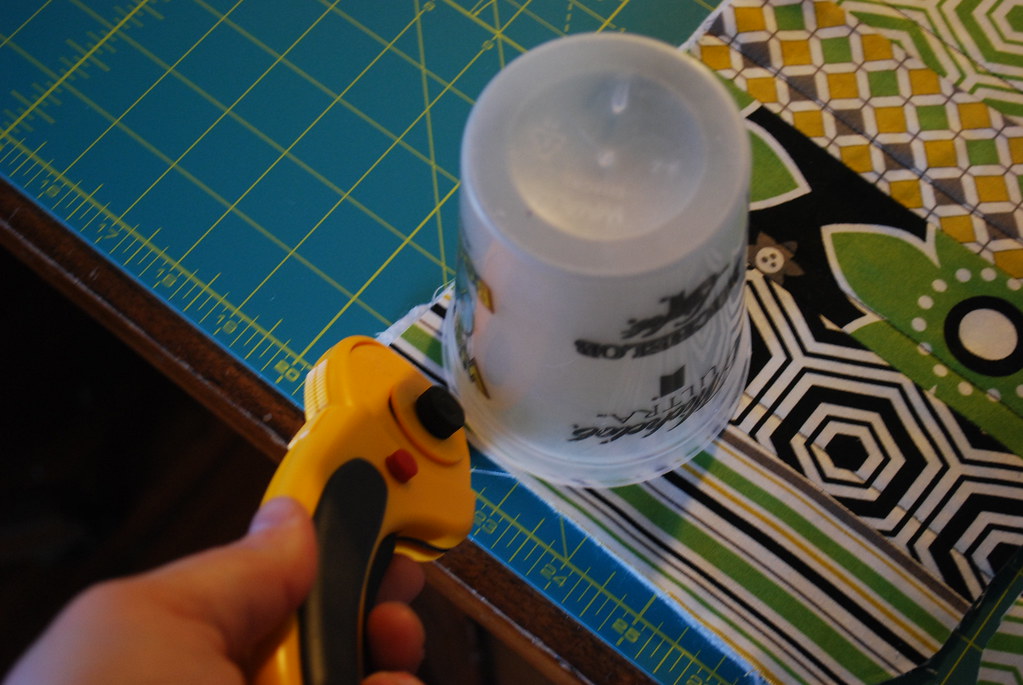
What a great tutorial, Kim! I love your technique for rounding the edges–that’s perfect! 🙂 You did a wonderful job!
Oh, and I forgot to say that I love your ironing board cover!
You did a great job with the tutorial. Tutorials, especially sewing ones, are hard and take way more time than anyone thinks! That is one reason why I opted not to do a tutorial on the nursing cover I posted today!
You are a rock star!! The sleeve you made is so cute, and you have mad skills!
I am most definitely impressed with your sewing skills. Thanks for the tutorial. Trying to teach myself how to sew, maybe i’ll get as good as you one day.
Um, super cute. I’ll have to make one of these for my sister. Since I’m technologically behind in the reading department.
You did a great job on the tutorial – I’m pretty sure I followed 🙂 I really like the fabrics that you used for this one too!
Great tutorial. Your easy and my easy are a bit different. If I ever get a Kindle or E-reader, I believe I will just ask for a cover as a gift from you. You know…because you love me and you know I need it! Your wonderful skills are NOT inherited from your mother. I’m just saying….
So, after our QC bloggers spring junking trip…you are going to share with me your mad sewing skills…deal? deal! 🙂
I love this! I have a Kindle that has a beautiful green cover but this may be fun to mix it up!
Thank you so much for doing this it is great! My cover for my kindle is on it’s last leg so it will need a new cover soon. Yay so happy you shared how to do this. Thank you.
fancy schmancy!!
great tutorial kim. now i just need an e-reader. i would accept an ipad too. i’m not picky. 😉