Once the calendar page turns to December, I cannot stop myself from covering every single available space in our home with something holly and jolly.
It’s a sickness. It’s a gift.
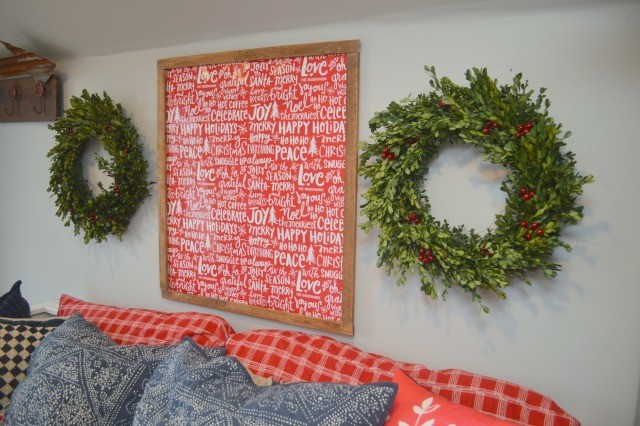
But even though we’re in a small space without a traditional tree, I’m trying to make it feel extra festive. And I think it’s getting there. Starting with my new oversized DIY wall art – from WRAPPING PAPER.

You know why I love this project?
- Because it’s festive and Christmas-y
- Because it’s HUGE and you can make it any size for your space
- Because it’s affordable
- Because it’s personalized
- All of the above
If you answered “all of the above,” YOU WIN. And you get a whole post about the project as a prize.
I know. I’m generous.
I started with a roll of personalized wrapping paper from Tiny Prints and some pine trim boards I picked up at Home Depot. I cut the boards down to create a square. (It is an approximately 28 inch square.)
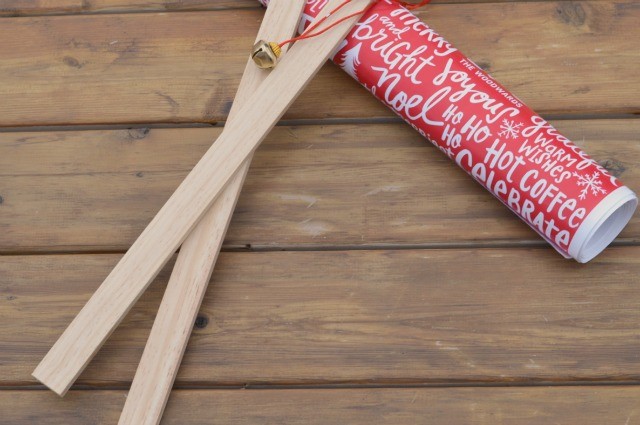
I love that you can order wrapping paper with your name on it now. Ours says, “with Love, the Woodwards.” YOU GUYS! OUR NAME IS ON THE WRAPPING PAPER! I just don’t think it gets any better. (There are also some great options with photos that I’m eyeballing.)

I made a “fake frame” by stapling together the boards into a square. I stained it all and let it dry.
Then, it was just a matter of cutting a piece of wrapping paper to size and stapling it to the back of the frame. After adding a picture hanger, it was ready to go on the wall. This was a quick and simple project – and it’s really lightweight for hanging.
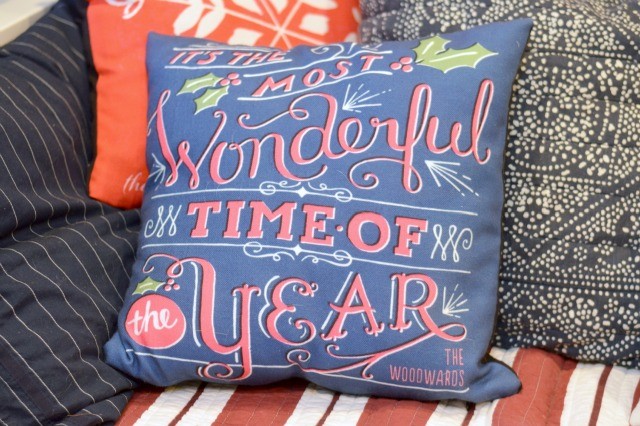
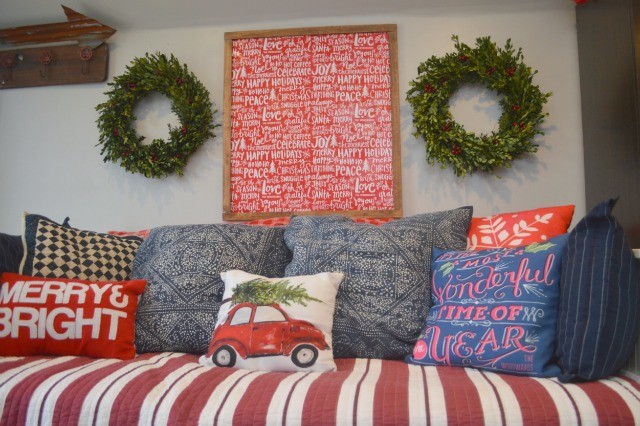
Our bed also got a bit of a upgrade with some of our holiday pillows – including these pretty personalized versions from Tiny Prints. (The Most Wonderful Time of the Year and the Snowflake pillows both include our last names.)
This is probably my favorite project of the holidays – it’s such a quick and simple way to make a big impact for Christmas.
And the best part?
The artwork matches our holiday cards this year. 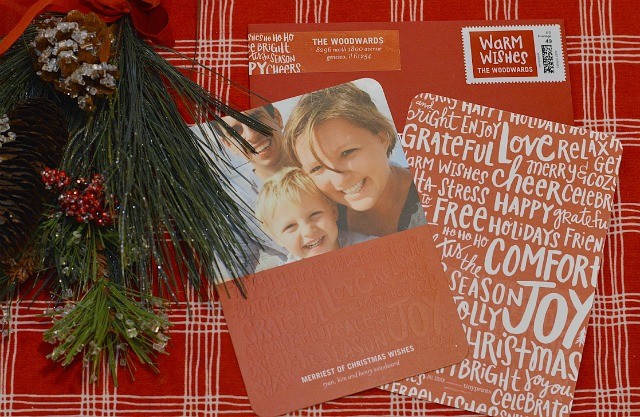
(My 2015 choices for: Invites, Personalized Postage, Wrap-around address labels)
There are so many wonderful ways to maximize the effect of your stationary this year – I love that I could pick out personalized postage, address labels and envelope inserts to match our letterpress invites.
The entire effect is just beautiful. There’s something special about letterpress – and these invites are a modern, fun take on that. And the back of the invites (and the envelope inserts) coordinate with my artwork.
If you still have to get your holiday cards, there is time. And there are some amazing deals at Tiny Prints right now, including up to 50 percent on holiday cards. They didn’t even tell me to tell you that. There have also been daily deals that are worth checking out.
Also, I love that when you are looking at card options, you can see them all at a glance with your photo. It makes the process to choose a card much simpler.
I was provided with materials by Tiny Prints to complete these projects and write this post. Thank you for supporting NewlyWoodwards sponsors, who make projects like this possible. See my full policies here.
SUCH a cute idea!! So clever and affordable. I saw a neat tree this weekend made with similar pine trim boards. I might have to try to tackle it. What sort of staples did you use?
I’m moving in! So clever, easy and economical. And your cards are over-the-top gorgeous! Such a beautiful holiday post, thank you.
Thank you so much, Jaime! I was really happy with how it came out – and I’m slowly realizing I can do things – with wood and tools – all by myself. (Although this was so simple, I usually would have asked Ryan to help me.)