Our basement family room is really coming together. And today, I’m excited to be finally sharing the DIY toy storage console that Ryan built (last Christmas) and I painted (over the summer).
Better late than never, am I right?
This post includes affiliate links, meaning, if you click through and make a purchase I may get a commission (at no additional cost to you). Read more about our policies here.
It took me this long because I had to clean everything up and pull it all together. That is the part that takes the longest.
And in this area – the most challenging part was TOYS.
It starts innocently enough. You have a small basket of books or baby toys in your living room. It’s simple to get them put away at night – and they can remain neatly out-of-sight when not in use.
But friends, the toys can very rapidly take over the house if you aren’t paying attention.
Soon, you are tripping over Imaginext Batcaves and stacking board games in every empty corner.
Ask me how I know.
But I’m going to tell you a secret. (Shhhh) I totally got rid of about 90 percent of Henry’s toys last year. It was a little experiment. I packed ALMOST everything up before Christmas and then waited to see if he would notice.
There were bins of Power Rangers and Paw Patrol and Dinosaurs and animals and costumes in the garage for MONTHS.
And, spoiler: He never once asked about the toys. NONE.OF.THEM. It helped that he also received more new toys for Christmas, but he truly never even seemed to notice. He’s at an age where he prefers to play sports over toys.
So, over the summer after holding onto them in bins for 8 months, I sold or donated them all. And then I put all the money raised into his savings. And he even voluntarily sold some other toys to earn more money.
Maybe this makes me the meanest mom ever. But I was sick and tired of having so many toys that NEVER got used. It was disgusting. And there just wasn’t room to store them all.
Fast forward to now – I’m finally pulling together the basement area – where we keep the toys we still have and use. (And honestly, I’m considering getting rid of even more. It’s a never-ending battle.)
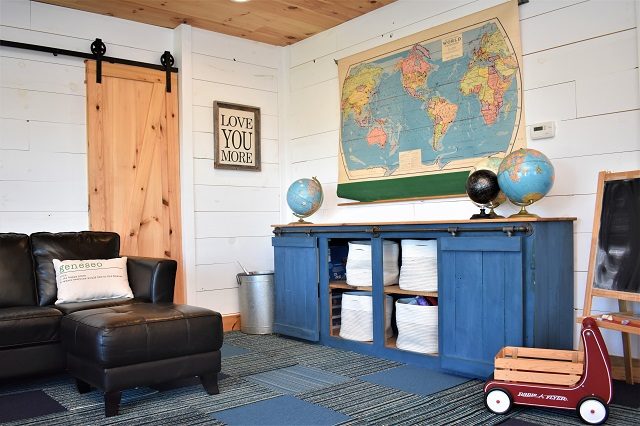
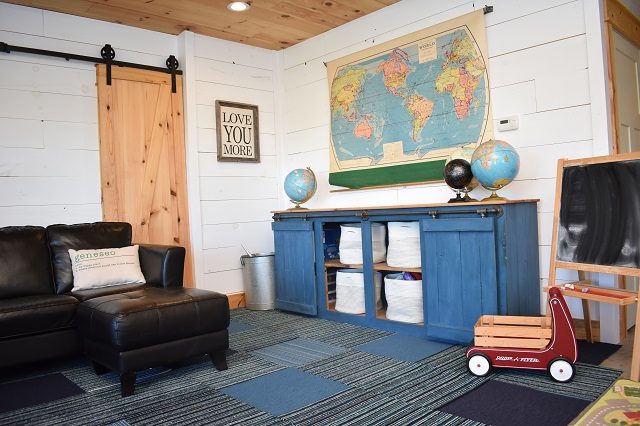
But, pretty much everything tucks away again. Which is a huge success for our family! And that beautiful beast of a storage console is the secret weapon.
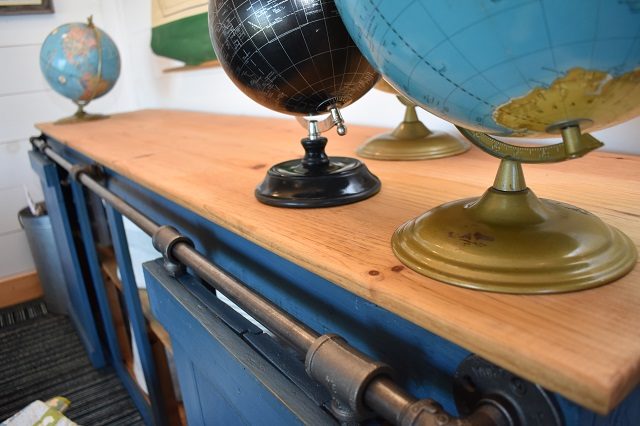
I know – isn’t that console AWESOME? It’s like it was made for the space. Because it was.
Ryan made it for me last Christmas out of barn wood and leftover wood floors from teh walls and ceilings. I lived with it for a while, but knew I wanted it to be a bright color.
Finishing with Milk Paint
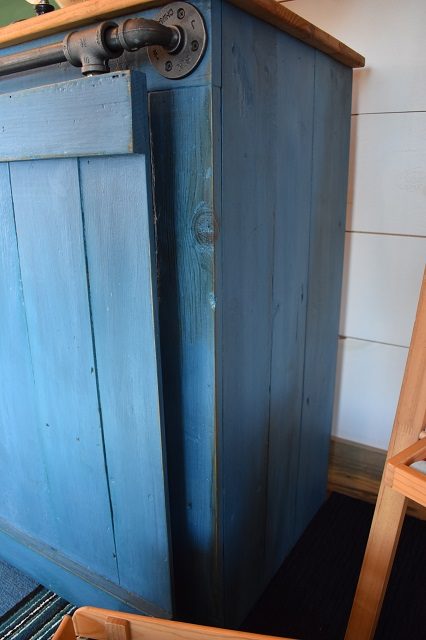
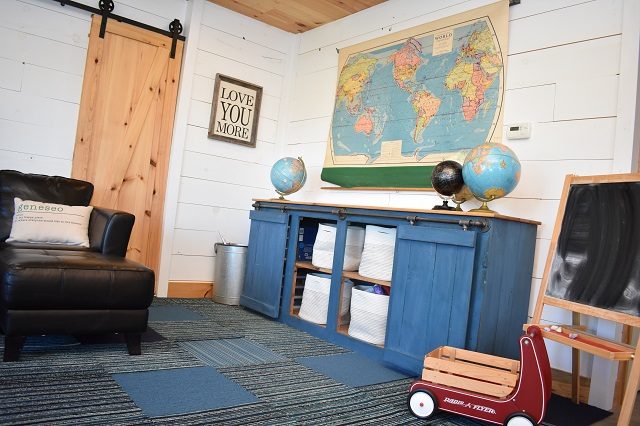
I ended up painting the outside with Real Milk Paint in Deep Sapphire. I’ve never used it before and I LOVE it. It’s nontoxic, easy to use, and safe for kids. You simply mix the powder with water and paint it on. (No primer needed.) It leaves a super matte, almost-chalky finish.
Then, I did a little sanding and distressing to show off all the beauty of the barnwood before finishing it with Dead Flat Finishing Cream. I especially loved that the finishing cream left an awesome, smooth finish without any buffing. (Milk Paint sent me these items to try out.)
For the interior shelves and the top (made of yellow pine), I finished with Real Milk Paint Dark Raw Tung Oil. The dark tung oil just makes the pine a little darker than all the other pine in the room – which I like.
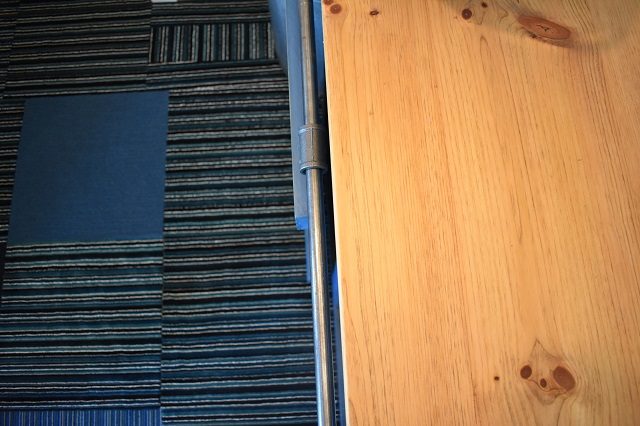
We’ve used tung oil for many projects in the past – and I like the finish here, too. It protects the surface but still lets the natural wood shine.
Instead of using barn door hardware, Ryan created the hardware from plumbing fittings.
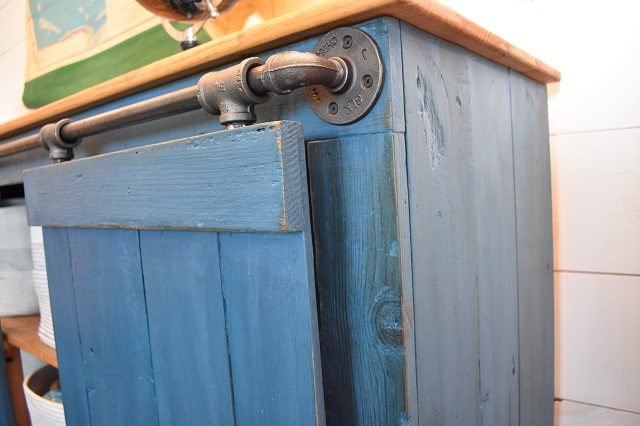
The heavy, solid doors glide easily, and it looks great.

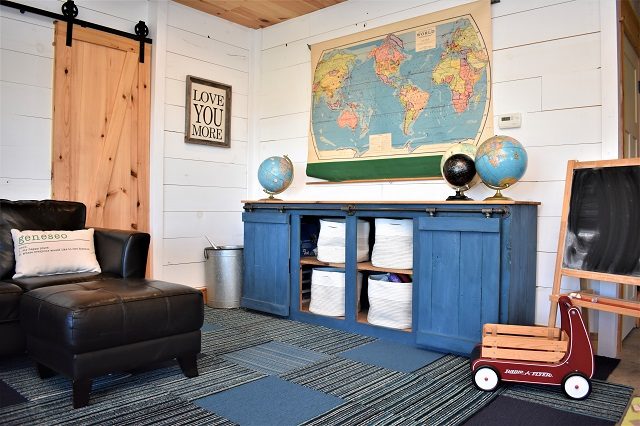
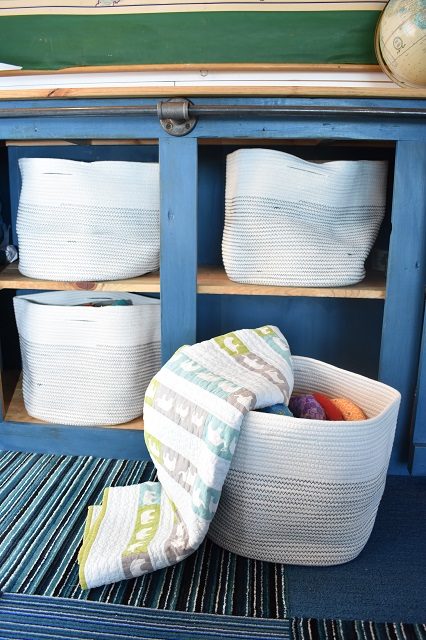
I finally found the perfect toy baskets, too. I wanted something soft and light – to make it easy for kids to handle them. I love these cotton woven baskets – they hold a ton, fit perfectly here, and look great. They would make equally great laundry hampers, blanket holders, or magazine storage. (I found them on Amazon.)
Behind the sliding doors, I hid away items that don’t fit easily in the baskets. Like Legos on one side. (Although these may need to be stored in Henry’s closet because Lucy’s getting too curious.)
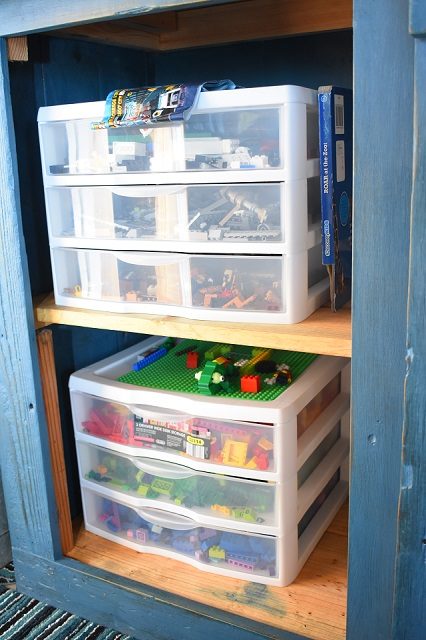
Some board games and bigger Legos on the other side. (We still keep some of the most-used games upstairs for easy access.)

The final details in the space were all items I already had. The vintage map and globes were all originally in Henry’s nursery. They really look perfect down here.
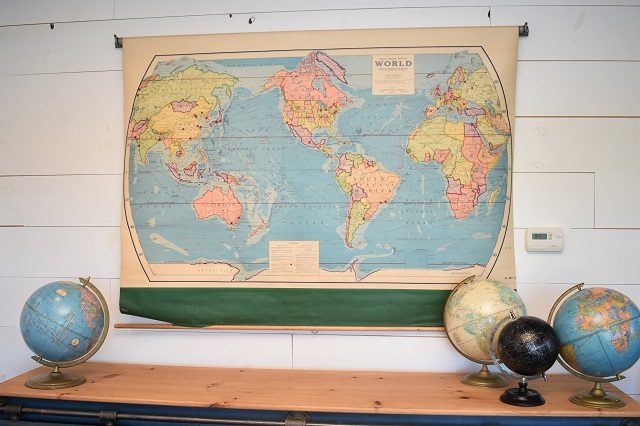
And with other toys (like the chalkboard and red wagon), we have a fun schoolhouse vibe going on. I’m loving it. It feels fresh and fun. Perfect for a family room and toy room. It helps that our basement gets an abundance of natural light.
If you’ve missed any of the basement updates – check out how we added shiplap walls and ceilings in the basement, added barn doors, and shared ideas for a multipurpose room,
And don’t miss some of our other favorite toy storage projects:
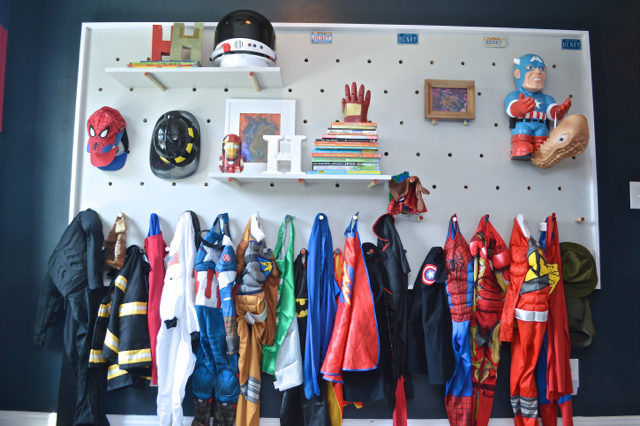
DIY pegboard wall and costume storage
that is amazing, kim! i love the color, too!
I think IKEA should be worried about your strong storage game! Love that blue & that hardware is SO good! I hear you on the toys taking over & that something had to be done. I’m struggling with the toys everywhere in our house…don’t know what’s worse, stepping on a Lego or stepping on a Shopkin….I’ll be OK…..drop off casseroles.