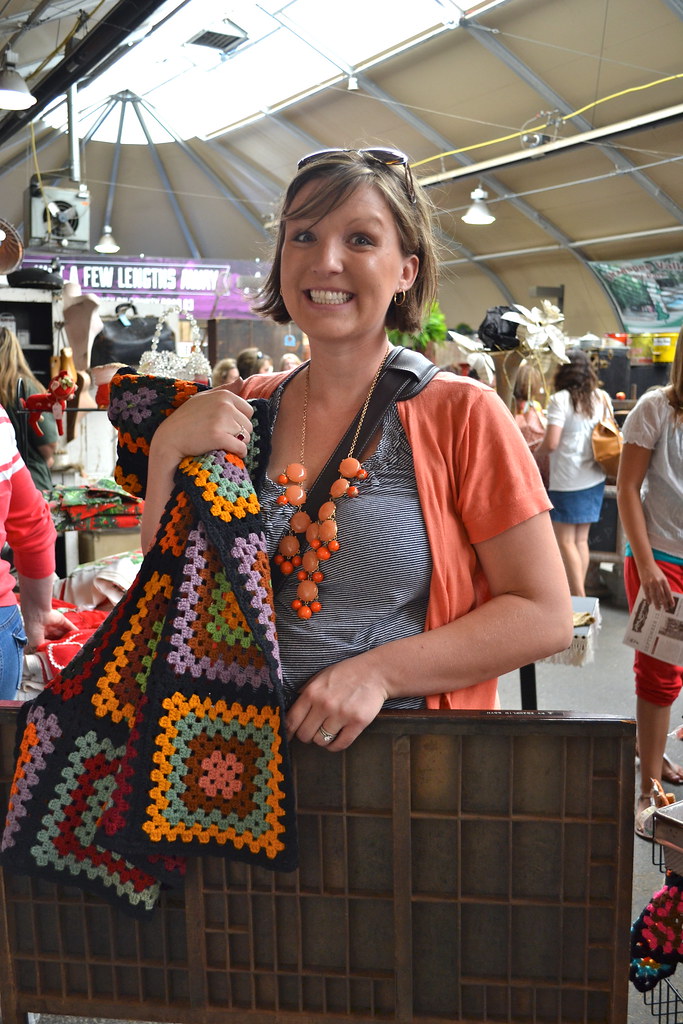
When I was in Minneapolis at the Junk Bonanza with Cindy and Michelle, I picked up an old letterpress drawer. I’d been eyeing them at thrift stores for several years, but I wasn’t sure what I’d do with them.
Well, after a few months of sitting in our dining room, I’ve made it fit in a little more. And all it took was a few sheets of scrapbook paper.
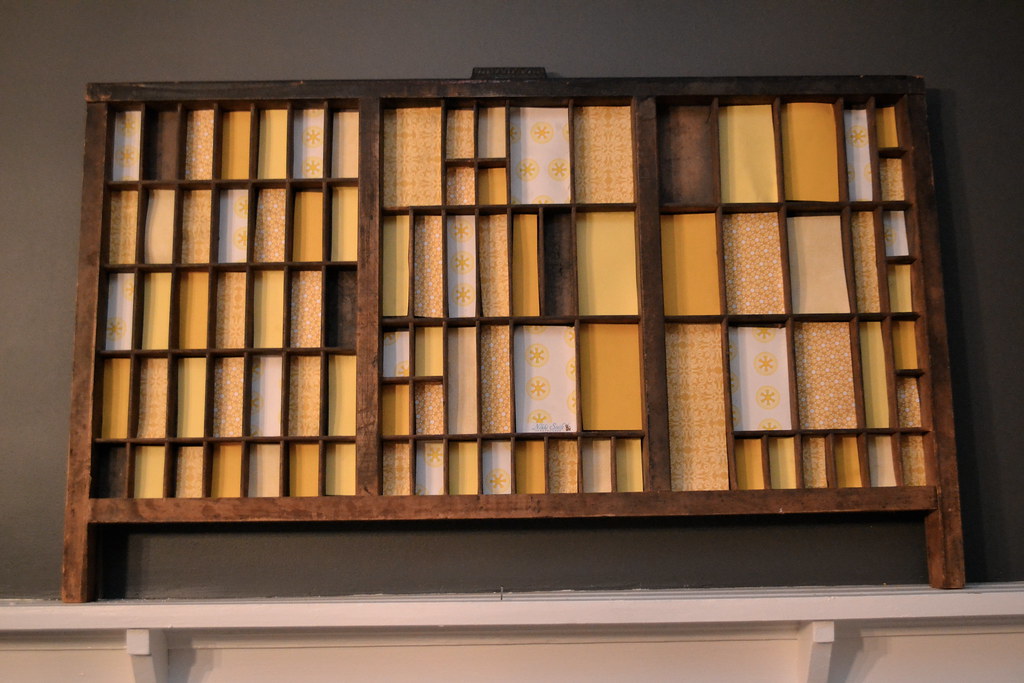
I liked the wood color, but I thought some color would liven it up. I didn’t want to paint it, so I thought I’d give paper a try. This was such a quick and simple project. I just cut the paper by eye. (So, I didn’t measure or anything. If you are a perfectionist, you may want to measure, but I just eyeballed it and I think it turned out fine. I used 5 sheets of scrapbook paper for the entire thing and had some leftover.)
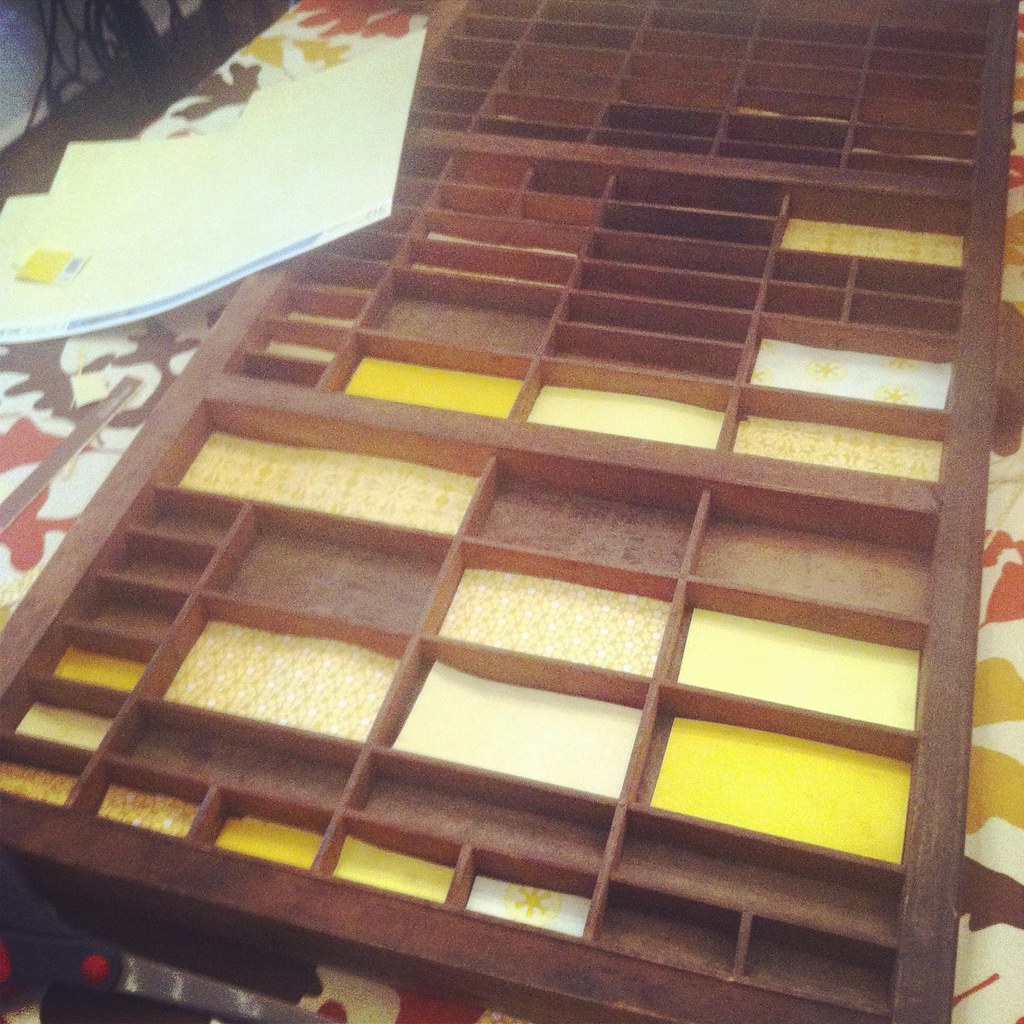
I originally planned to tape them in, but they stay without any adhesive, so I didn’t worry about it. And now I can change them out if I want to. I won’t, though. I’m lazy like that.
Anyhow, I really think it fits in with the dining room colors and style now. The truth is, I wanted to do something practical with it but it hasn’t happened yet.
But, I love that it brings a little cheer to the walls in the dining room. I have a hard time figuring out what to put on the wainscoting. I don’t want to “over decorate” the space, but I also want a little something. I think this does the trick.

What do you think of my mini-update?
Linked to Weekend Bloggy Reading at Serenity Now.
It turned out awesome. I love the negative space, makes it look like a crafty Mondrian. Nice. I have one of these drawers that I’ve had since I was a baby. I’ve always wanted to do *something* with it, but I was hesitant to do anything permanent.
I love that you just cut the paper without measuring–my kinda gal, that is for sure! It looks great in your dining room!!
So cute! Love the look of it together with your “Gobble” sign!
It looks great! Now tell us about that afghan you are carrying in the photo.
Cute! For Christmas, how about an advent/treat calendar with ornaments in the spare boxes?
That looks cute, and you can easily change the paper out if you get bored with it =)
Love it! You know what would be cool when Henry gets older?! Display little Matchbox cars in it (assuming they’ll fit). Also assuming that this isn’t a Kim-only item.
I love how you say you won’t change the paper because you are lazy like that. That is me, to a T. Cute idea!
It looks great! I could never come up with something like that
I love the paper you used – so bright and cheerful!! 🙂
I love it! Im still mad jealous ovet it!
That’s such a neat idea. I love the box to start with, but the paper really makes it stand out. Very nice!
Love the mini-update! It totally brightens things up and adds some interest! 🙂
Great punch of color. Maybe you could use it for a seasonal/holiday. Little wooden blocks or letters would look great too!
I love it! I use our printer’s tray to corral trinkets and treasures – but I used craft paper to brighten up some of the little boxes (http://www.annabelvita.com/2012/07/05/printers-tray/) and if I ever get bored of the cluttered look I’ll think about doing something simpler like this!