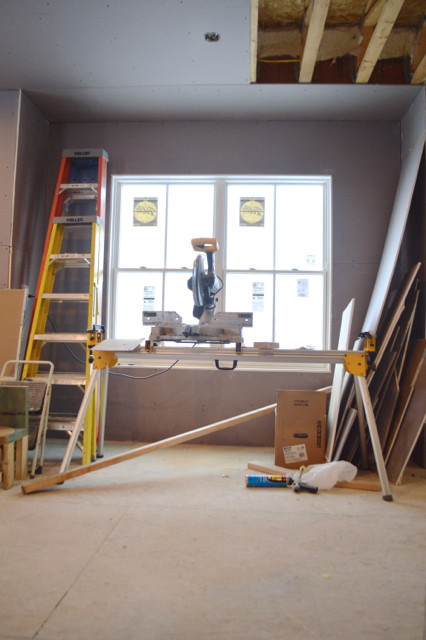
On Monday, I shared all the details about getting ready for insulation.
Phew.
I left off sharing our Christmas miracle. In the form of a boom truck loaded with wall board. Who needs a sleigh, Santa? Lame.
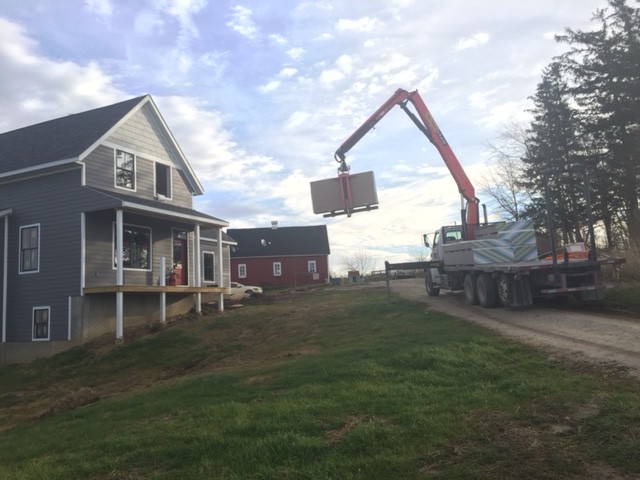
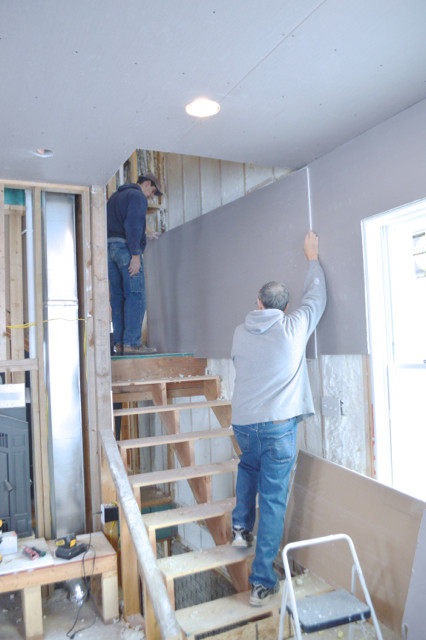
And just like that, they were off to the races. Luckily for us, my dad arrived home for the holidays the night before. And we put him to work immediately, along with my brother and my father-in-law. Don’t you wish you were part of our family?
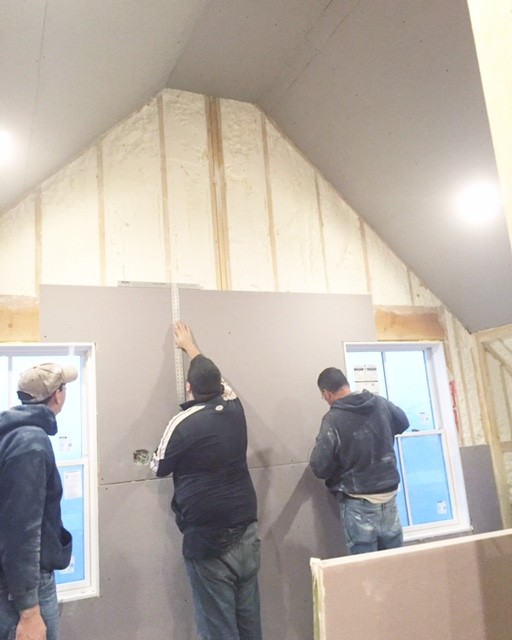
Even with all the great holiday activities, this dream team managed to get almost all the boards hung. They started with the upstairs, because the ceilings peak at 12 feet. It was handy to have an extra few hands.
We’re planning to plaster the walls instead of mudding and taping. I’ll share more about this at some point. But at this point, it just means we needed a specific plaster board instead of drywall. It’s not a stock item at most home improvement stores, so we worked with a local supplier. The boards look almost the same and installs in a similar way.
Here’s the first look at Henry’s room.
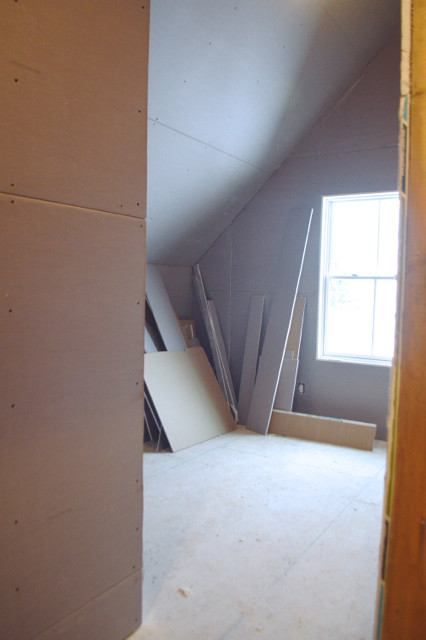 It’s not big, but it’s more than double his current barn room, so it will do just fine.
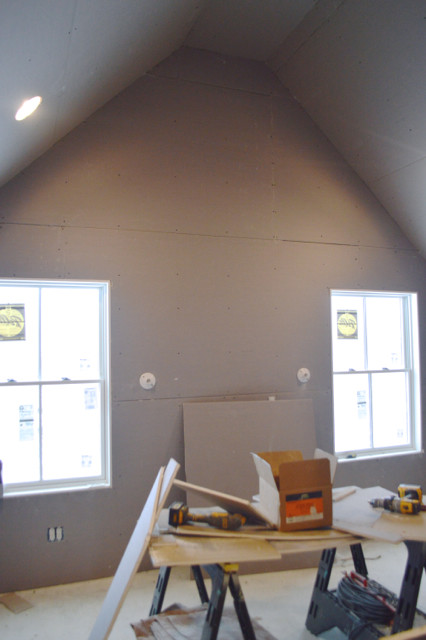
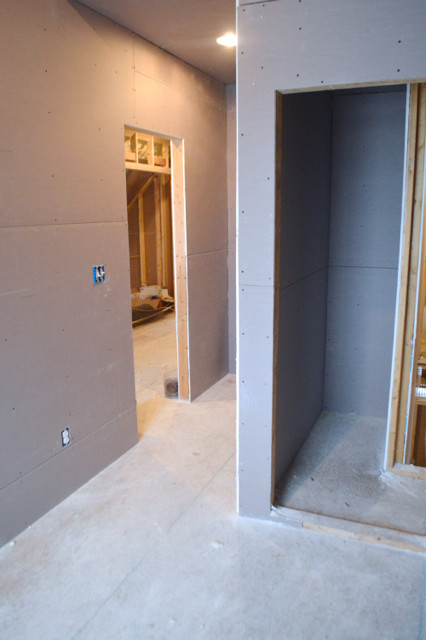 And here’s another bedroom. The high ceilings help the spaces feel larger. (Each of these rooms will have a ceiling fan.)
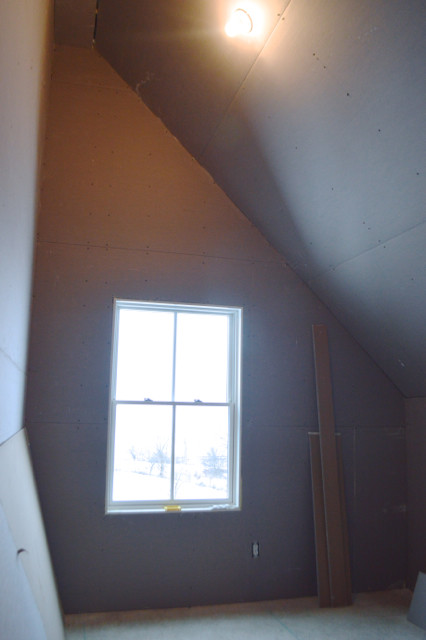
And here’s a few shots of our bedroom. I seriously cannot even with that ceiling. Gah. The ceiling. And I have ideas for that ceiling.
There are two sets of closets on each side of the room – which will be a dream for storage. A dresser or desk will fit in between.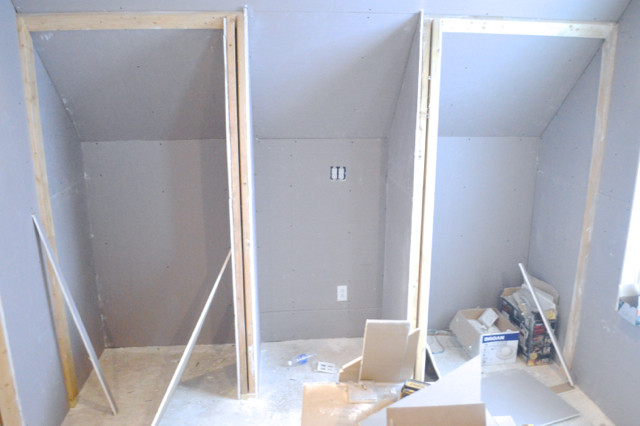
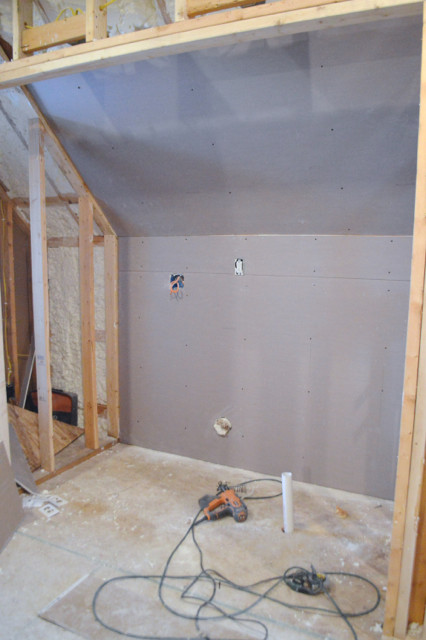
And on the landing at the top of the stairs, there are two giant closets – one for laundry and another for storage/linens.
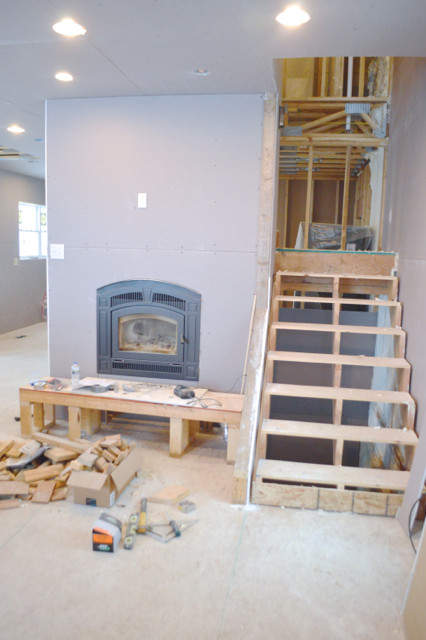
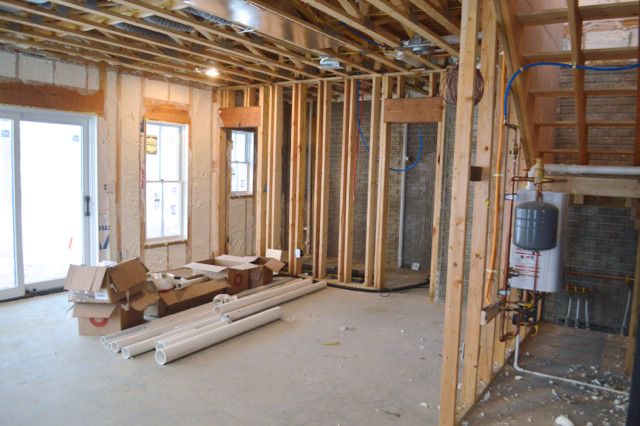
After the upstairs, they worked their way back downstairs …
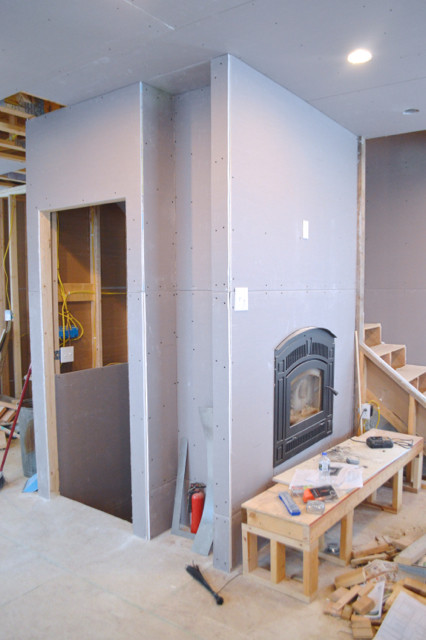
The fireplace looks incredible. Unfortunately, we will have to rip off that board and replace it with cement board for safety. (Glad we figured out the mistake before we finished it with stone.)
I seriously cannot wait to have this open space. After two old houses, I’m looking forward to being able to see my child from anywhere. And I’m looking forward to being able to be in the action, even if I’m cooking dinner.
My dad had the idea to utilize this small area for built-in shelves. I’m already filling it up in my head.
Because the windows have integrated sills, they already look so finished. The cuts around the windows and doors all look amazing.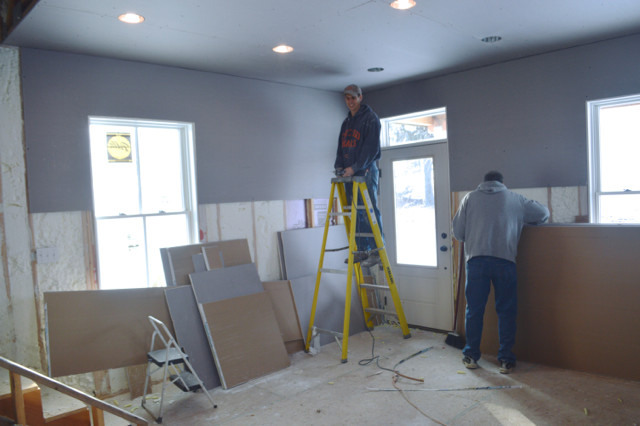 Here’s a peek into the dining room (bump out) and kitchen, before wall board.

Here’s the dining room now. Eventually, I’d like this area to have a built in banquette under the window.
 The kitchen looks so spacious. I may actually like doing dishes with that beautiful view out the windows. (Kidding.)

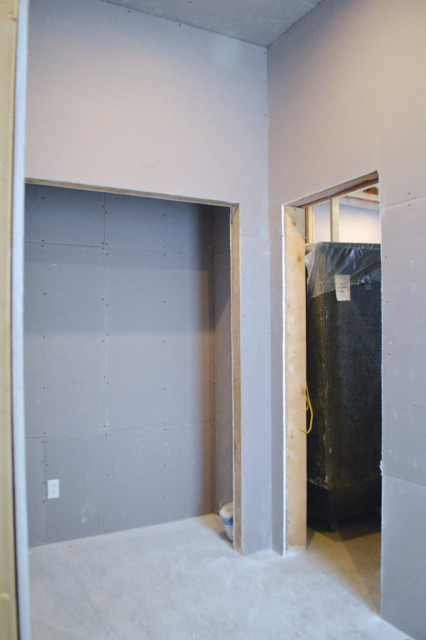
From the kitchen, there’s a small hallway leading to the mudroom and garage.
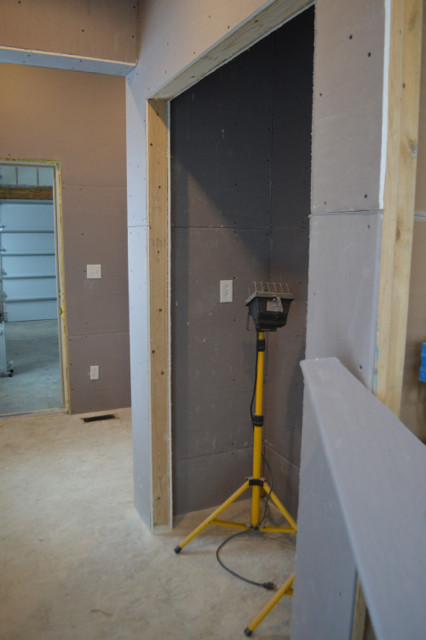
Oh, HAAAYYYYYYYYYY pantry.
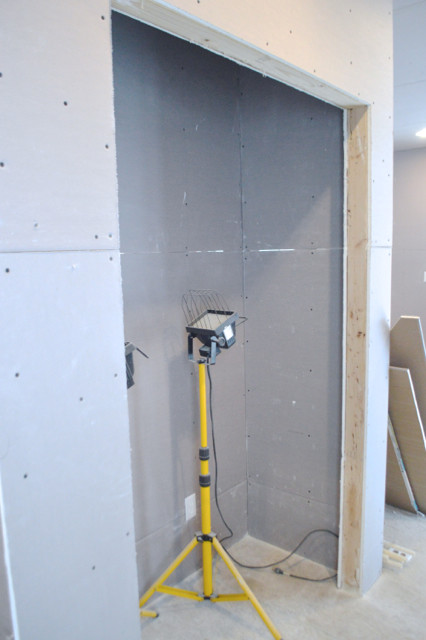 Oh, HAAAAYYYYYYYYYY coat closet. Since I didn’t have either of these things in my last house, I’m already whispering sweet nothings to these beautiful storage areas.
You already had a peek at the garage. It’s great – and has that cool bump out which will be perfect for all of Henry’s toys. Oh, and did I mention that the in-floor heat is going strong? It’s super toasty in here.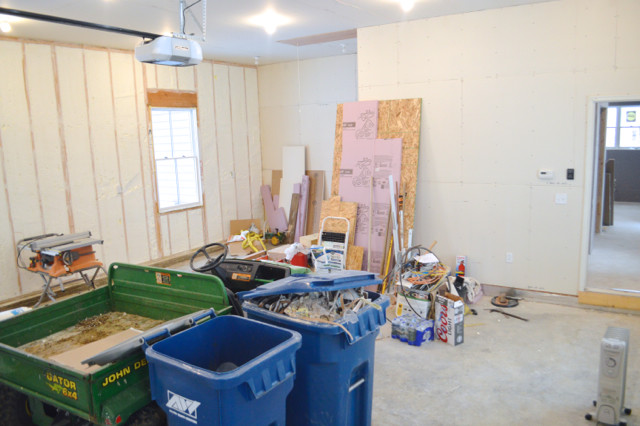
And the in-floor heating is working in the basement, too. I’m already planning to bring some of Henry’s toys over to the basement when the geothermal folks wrap up their work. It’s really warm and the perfect spot to burn off some energy.
Love all those vaulted ceilings – so beautiful! And I’m super jealous of your geothermal heat. We were really hoping to go that route but found out our location is not a good candidate for it. I was so sad.
Interesting about the location impacting geothermal. I guess we must have a good location – several of our “neighbors” have it, too.
Love the tall ceiling in your bedroom. Lately I’ve been obsessed with old windmill fans as wall art, either the whole fan or cut in half, that would be a perfect, large wall space for a large statement piece like that, can’t wait to see what you do. Thanks for sharing all the progress.
WOW! it’s a house! so awesome!
so much storage–yay! Coat closet and pantry are two things we lack in this house, too. It’s very sad.
Isn’t it amazing how much of a difference drywall makes? We were in a two year reno on a new house (accidental renovation – we got a shady home inspector and the house was structurally unsound – long story) We moved in May 2015, but it was such an amazing difference when all these studs were covered with drywall! Being able to actually see how big (or small) everything is….
So exciting seeing it all come together!!!!
Woo! I’ve been following along since just after the barn loft wrapped up and I’ve been waiting for this stage with bated breath! I’m in new home sales and it’s always the drywall that starts making it feel real. Congrats on getting to this stage, it looks great! (Not that anyone had any doubts ?)