I believe everyone should have a window seat in her life. It’s like air – totally necessary. Unfortunately (for me), there isn’t really a nook in our house to make it happen.
Luckily for me, we bought a small house that has the perfect spot for one. (Confused? We purchased another small two-bedroom house in December, a fixer-upper – sound familiar? We don’t plan to live in it, but it was too good a deal to pass up. So, the husband has been working hard trying to get it in liveable condition since then. We’ll probably rent it after that. It’s about ready.)
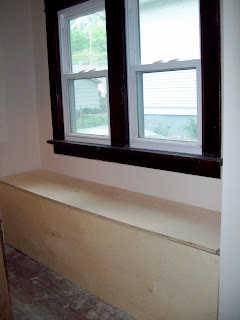
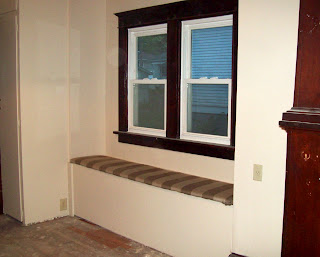
A few weeks ago, Ryan built a window-seat bench in an area that had floor boards in bad shape. Instead of replacing all the original hardwood, he just covered this area. I was in my height of glory – I love window seats.
Below is the box he whipped up. We decided to cover the top in a nice, neutral upholstery fabric to look more inviting. (This is the same process I used for our bench by the back door, too. So, if you don’t have an area for a window seat, make a bench!)
In step the stars of this show:
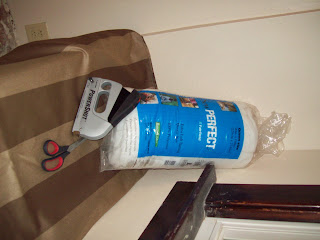
Batting, staple gun, scissors and fabric of your choosing (I picked up this pretty striped upholstery fabric on clearance for $3.99).
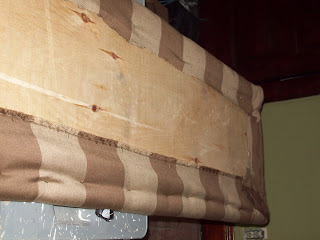
First, I stapled the batting onto the lid. Make sure to pull it tout.

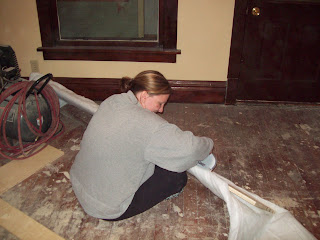
Then, I attached the fabric (do you like my pristine work environment?), making sure the stripes were straight and the fabric was tight.

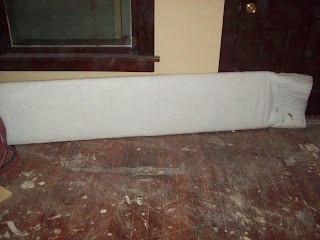
I decided not to cover the whole backside, although you can easily do this.
Voila! A nice, simple, 20-minute cover for a lovely little window seat.
What do you think?
Trade you my lamps for your gorgeous window seat! Never mind the fact that I currently do not have a window for the seat. Those details can be addressed later.
I absolutely LOVE this! I always wanted a window seat too.
Great job. It came out great. Loving the fabric.
I think we need to see more pictures of this adorable little place!!
Very cute and crafty! I love, love, love the wood tones in that room, too. It’s gonna get snatched up as a rental!
That is so awesome!
Love it! I too am obsessed with window seats. 🙂
I didn’t know you bought another fixer-upper! Yay!!!!
Cute, Cute! I would love to have a window seat myself to read in front of of…maybe one day 🙂