If you need me, I’ll be in the house, petting our new wood floors.
That’s normal, right?
If this is wrong, I just don’t want to be right.
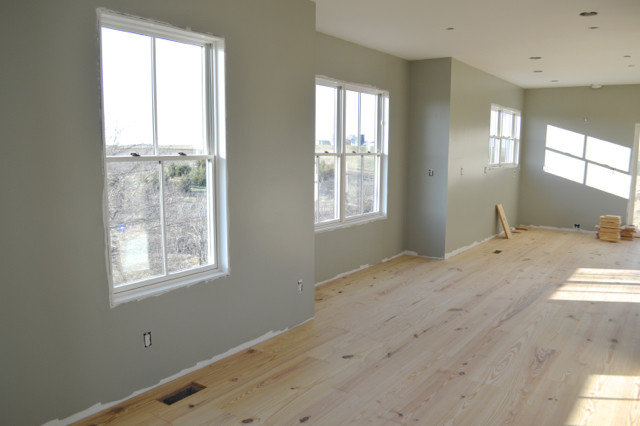
Once the walls were painted and the fireplace was concreted and stoned (those are totally verbs at the Woodwards), it was time to lay the floors. As a quick reminder, we chose wide plank yellow pine from Lumber Liquidators. (Make sure to read all about our flooring choices and inspiration.)
One major note about unfinished wood flooring – the planks need to acclimate in the space. We stacked the floors inside the kitchen for more than 2 weeks to prevent shrinkage and expansion.
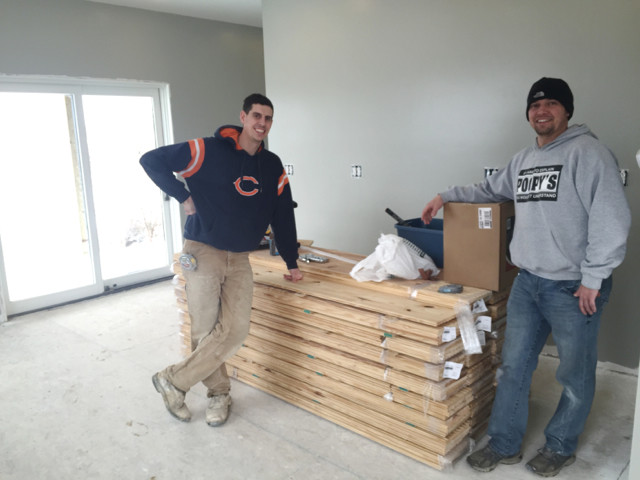
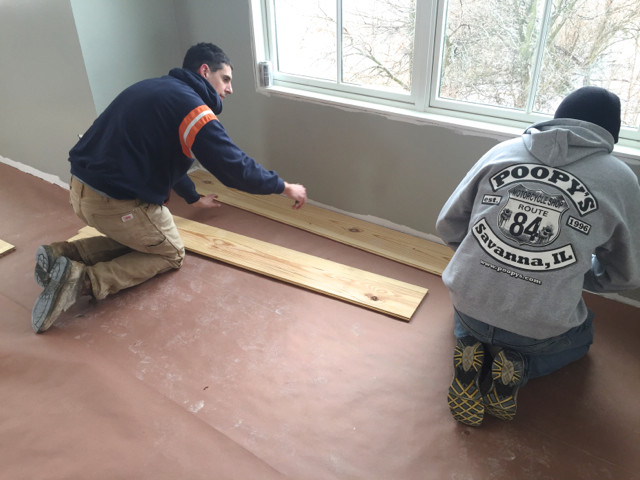
Ryan and his friend Mark got started in the small dining room bump out. (Our living/dining/kitchen areas are all open, so the flooring flows through the entire space.) They started by rolling out rosin paper down over the clean floors. The rosin paper prepares a smoother surface for the flooring and provides a barrier between the wood and the subfloor.
The planks were *almost* 9 inches wide, so they cut down the first board to be flush when the bump out met the main living space.
As for tools, here’s the cast of characters:
- A flooring air nailer (which was borrowed from a friend at work)
- Hammers (used to hammer the air nailer into the tongue of the boards)
- Wedges, drill and screws (Ryan created these wedges for this project – he screwed one into the subfloor and then slid the other between the wedge and the edge of the flooring. When he hammered them against the boards, it created a nice tight fit.)
- Crow bar (to adjust and remove planks from against the wall)
- A square (to keep everything nice and square)

Once the first few rows were (including cutting out around the air vents), it went relatively quickly. The first night ended with this progress.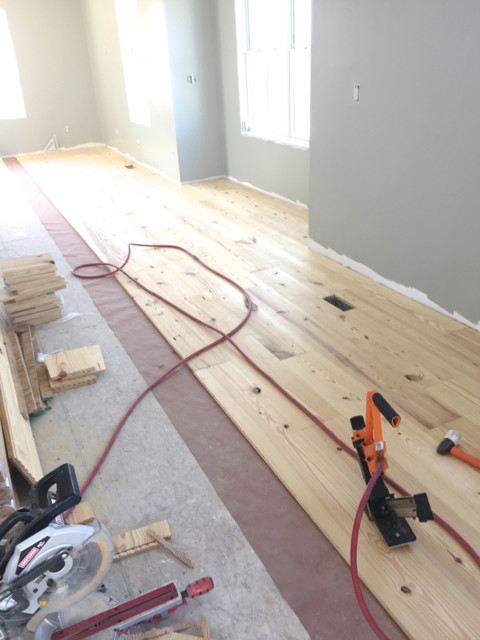
On day two, Ryan was on his own (unless you count Henry, which we do). He was able to knock out almost all of the dining area as well as most of the living room and half of the kitchen. The pattern wasn’t anything scientific, he just eyeballed the boards to make it appear random.

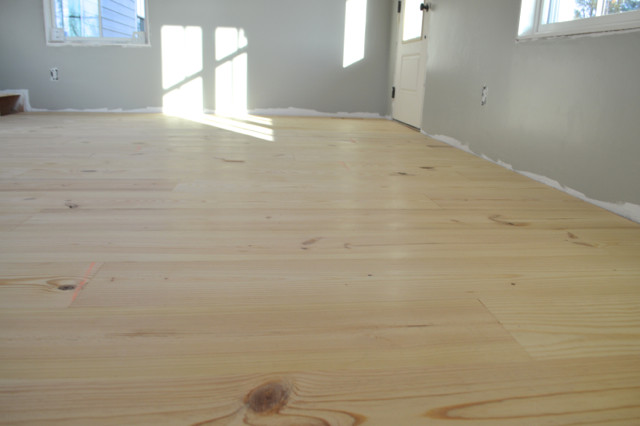
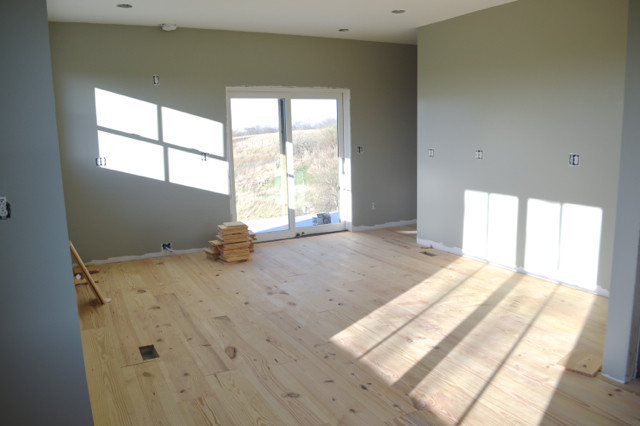
The wood floors fit together beautifully with the tongue and groove.

There are a variety of sizes when you order the unfinished wood – including smaller ends on some of the boards. We had some leftover, but also were able to use them to start and end rows throughout the space.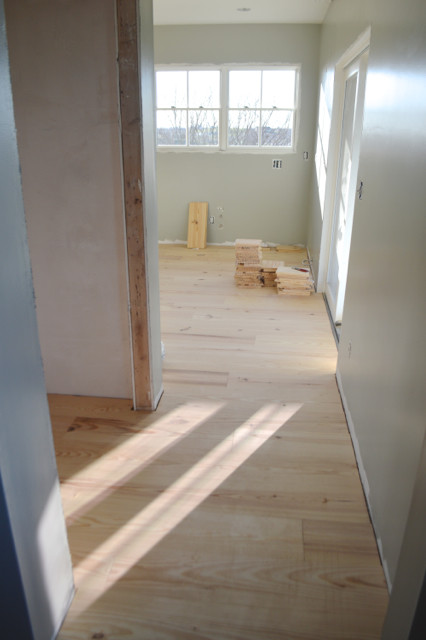
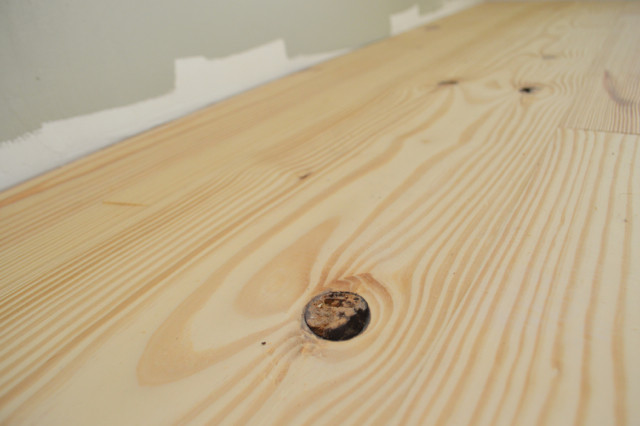
Part of the nature of yellow pine are knots. On this particular width, there was a lot of beautiful graining along with some really awesome knots. I think the character and difference of every board is my favorite part of the floors.
I think my favorite part of this flooring is seeing it stretch across the entire main living space – it really brings the space together. And having this cohesive feel was really the goal of having such a wide open layout.
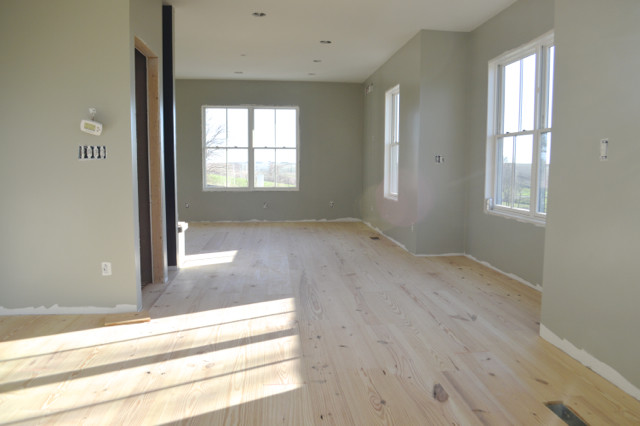
We have had wood flooring in our last two kitchens and I’d never go back. There’s just a wonderful warmth to wood in a kitchen.
Next up is the finishing process – which includes sanding the boards in place with an orbital sander. Because the boards are brand new, it won’t take much sanding.
Then, we’ll finish the boards. We just ordered the finishing supplies, and we’ve decided to avoid poly in favor of oil this time around. We are not planning to stain the floors, opting for a natural, light finish. (While we’ve chosen poly three times for floors, we decided on an oiled finish this time – giving us the opportunity to touch up any wear and tear over time.)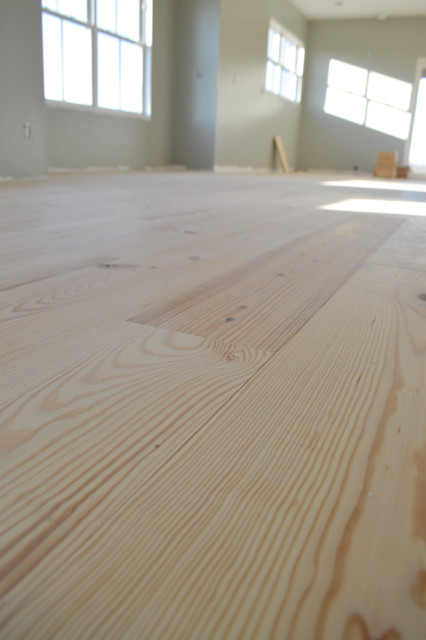
The pine floors are relatively soft, so we know there will be wear over time. But with the light color and oil finish, we think it will only add to the character – to make it really feel like an old farmhouse.
We’ll be back soon – I am pretty excited to see this flooring completed.
Thanks to Lumber Liquidators for providing flooring for our main living space in our new home. Check out Lumber Liquidators on Facebook, Instagram and Twitter for more flooring inspiration. And thank you for supporting sponsors who make projects like this possible.
This post makes me both happy and mad. Happy because I am obsessed with wide planks and mad becuase when we redid our floors, my husband picked narrow and I caved and let him win 🙁
I’m excited to see how the floors turn out! I’ve been thinking about something lighter and more neutral for our next house. We have the dark stained floors now, and while I love the look, I have two white pets and I can see alllll the hair.
Oh wow! So so beautiful! I would pet that floor too 😉
Gorgeous! You guys are really getting close now!
Ohh those floors have me excited 🙂 Love it!!!
Your floor looks great but I just have to say pine is not a hardwood.
You are correct.
I absolutely LOVE it! You guys did a great job!! Someday my entire house will be covered in pine flooring. 🙂
LOVE THIS!!!!
Oh I love these floor boards. I can just picture how they’ll age and develop over time. Love seeing your farmhouse come together! 🙂
OMG! I love these planking. You did a great choice. I totally understand why you’re petting your new floors. I would do it too. <3
You all did a great job. Ryan and Henry with the planking and you with the painting.
Oohhh, major swoon! I absolutely love the look of wider planks for flooring; they make such a statement! Ryan did a great job (and of course, so did Henry!). 🙂
They look great! I’ll be interested to see how the pine stands up to the wear and tear of normal living. I am also excited to see how the lighter finish looks with the decor. I usually gravitate towards darker stains and finishes for flooring, but the natural pine looks wonderful.
Thanks! We have had pine floors before and they were wonderful. I’m not a perfectionist so I just took any imperfections in stride.
These look great! I’ll be interested to hear how they stack up to the wear and tear of normal living. We’re looking at doing hardwood floors throughout our main floor as well and I hadn’t thought about the natural pine. I am looking forward to seeing how you put it all together with the lighter finish. I tend to gravitate towards darker stains for flooring, but the light pine looks wonderful as-is.
it’s beautiful! i love the knotty look. not to be confused with the naughty look which i don’t love.