When it comes to home improvement, we have so many favorite projects over the past 8 years. After two renovations and a barn rehab, I simply couldn’t narrow down the list of favorites.
But, no matter how many times we do something ourselves on our home and run into challenges, when we are done and step back and admire that work – it’s totally worth it! That love it moment never gets old!
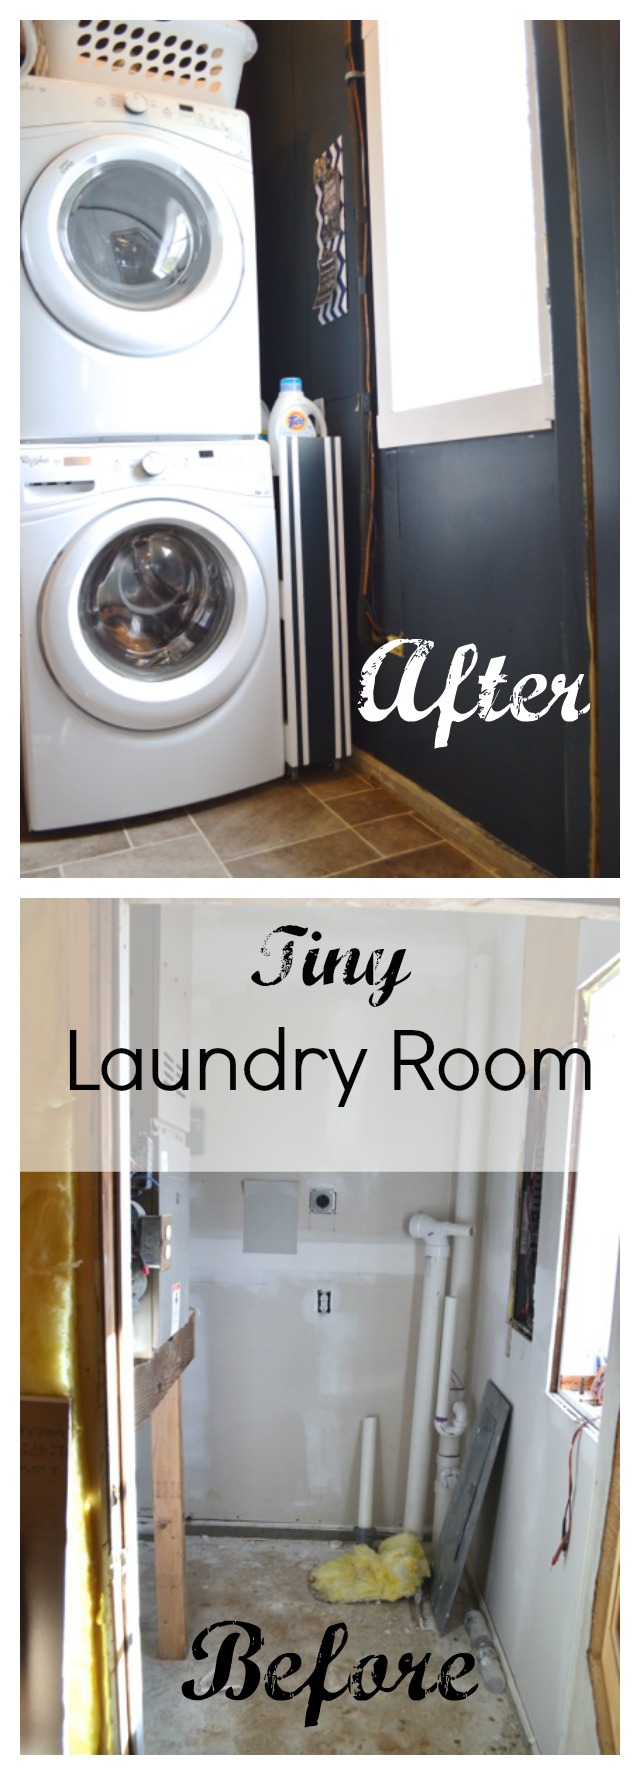
This project was all about working with what we had. Our barn had a teeny little laundry room that also (double, tripled?) as the dog’s sleeping area and the utility room. It is a hard-working space, and with a little elbow grease, it became something I’m not longer embarrassed to see.
In case you are curious about how horrific it looked before … it’s like something out of Dexter, am I right?
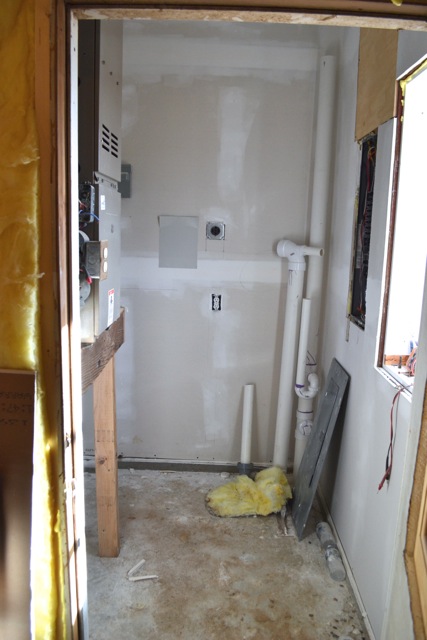
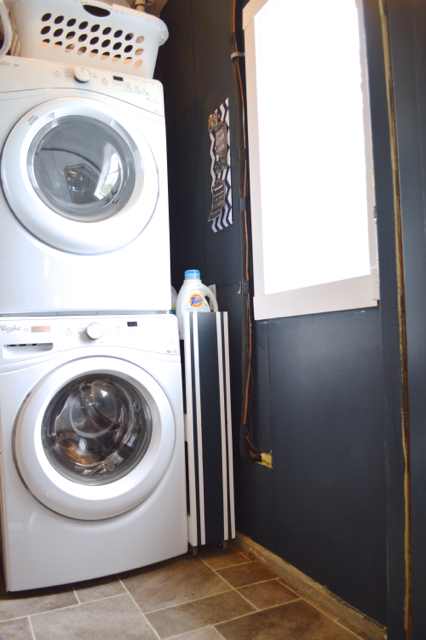
It all started with new appliances and flooring – we chose stackable versions of appliances for space savings and vinyl for durability and price. And while it was sort of functional, it was so ugly. And dusty. And we just lived with it for a while.

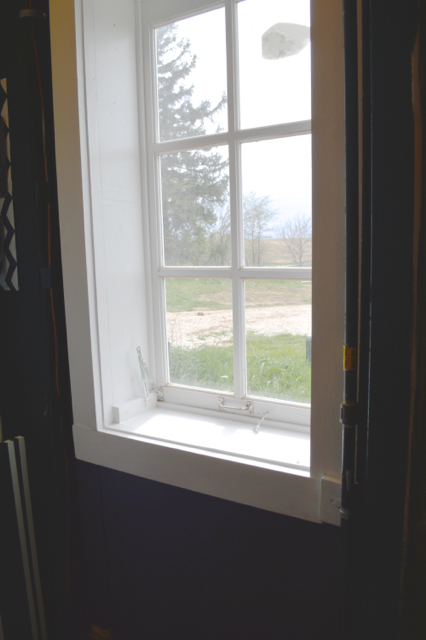
Finally, it was time to get started on some budget-friendly decor details to make this space better for daily use. Framing out the window made the space already feel more finished. Painting it in semigloss white paint made it clean and fresh.
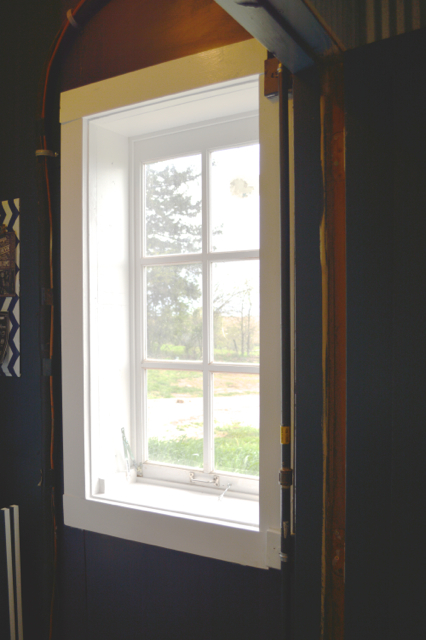
Then we worked on painting the walls – I chose the same color I used on our built-ins – Seared Gray by Behr. Since there are a variety of wires and pipes and tubes running in this room, I hoped the dark color would conceal some of it. And I think it worked pretty well. (Our windows provide a lot of natural light, so I think we could get away with the darker color.)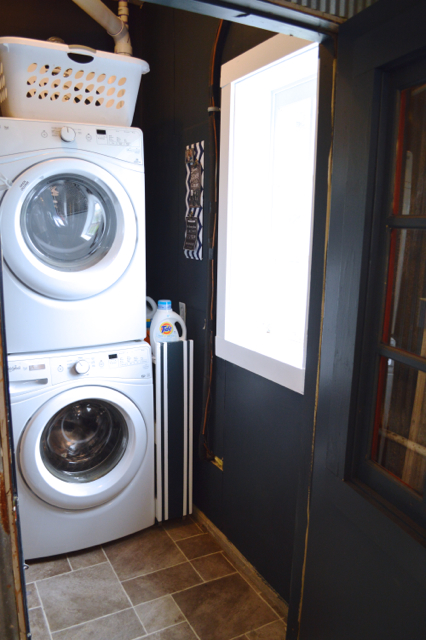
Finally, Ryan built me a rolling storage cart and I covered the electrical panel to create a magnet board.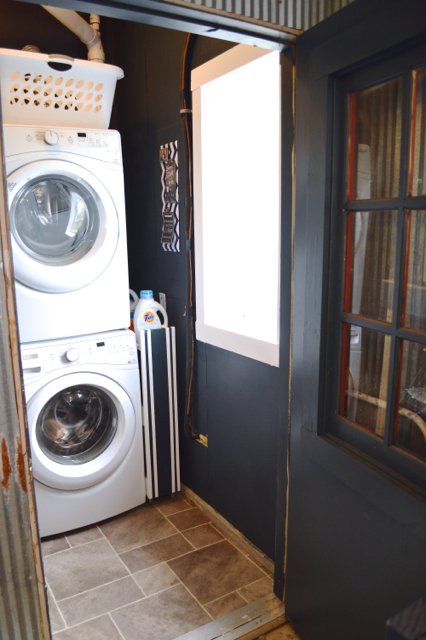
Drumroll please ….
I really do love it!
Love your little laundry room! I’ve been loving stacked washer/dryers lately. It’s a much better use of space. Looks awesome Kim!
I LOVE this!!! Even though it’s not visible to your guests, it is to you, so you made it just absolutely beautiful. My theory is always – if my company isn’t going to see it, I’ll let it be ugly. But this is just great.
I have a tendency to do the same thing – don’t ever look in my closets or cupboards. Thanks for the comment!
Love your laundry room! So adorable yet so functional. My love it moments are every time I finally finish painting 😉
Great use of space! I love how much natural light you get from that window.
Undoubtedly, my biggest “Love It” moment was when my dad and I finished retrofitting my tiny master closet. When we moved in, it had about four or five feet of hanging space with a shelf on top. To make matters worse, it was also the home of the only access to the attic. With a little creativity, however, we were able to maximize its storage space to meet the needs of my husband and me, without sacrificing accessibility to the attic. I even have a custom shoe organizer!
I “love it”!! I especially love the wall color! I’m going to grab a sample of it and see if it’ll work for our interior doors!!!