NewlyWoodwards

an unconventional home

  • House Projects
    • Building
    • DIY
    • Renovation
  • Crafting
    • Crafting
  • Decor
    • Decorating
    • Gardening & Outdoor Spaces
  • Holiday Decor & DIY
    • Christmas
    • Fall and Halloween
    • Patriotic
    • Spring
    • Valentine’s Day
  • Cleaning & Simplifying
    • Cleaning
    • Minimalism
    • Organization
  • Budget & Money
    • Budget & Money
  • About
  • Contact
  • Disclosures and Privacy Policy
  • Shop our favorites
    • Shop our home
    • Shop our favorite books
    • Shop our favorite kids items
    • Shop our favorite DIY and tools

Making a vinyl record bowl

June 5, 2013 by Kim Woodward

I’m back with another Southern Blue birthday party DIY. This one is SUPER simple and quick. So quick and simple, in fact, that you will want to make a ton of them.

These are bowls made from old vinyl records! I mean, how cool is it to have your pretzels in a Blue Brother’s record?

DIY record bowl


The most difficult part of this project is finding the records. I scouted out Goodwills and Salvation Army and found some cool records for well under $2/record. So cool, in fact, that Ryan confiscated most of them and told me I couldn’t craft with them.

But this Blues Brother’s record was deemed appropriate to make into a bowl. So, I followed the steps outlined at Stars for Streetlights.

Simply put the record on top of an oven-safe bowl and put in a preheated (350 degree) oven.

Record bowl

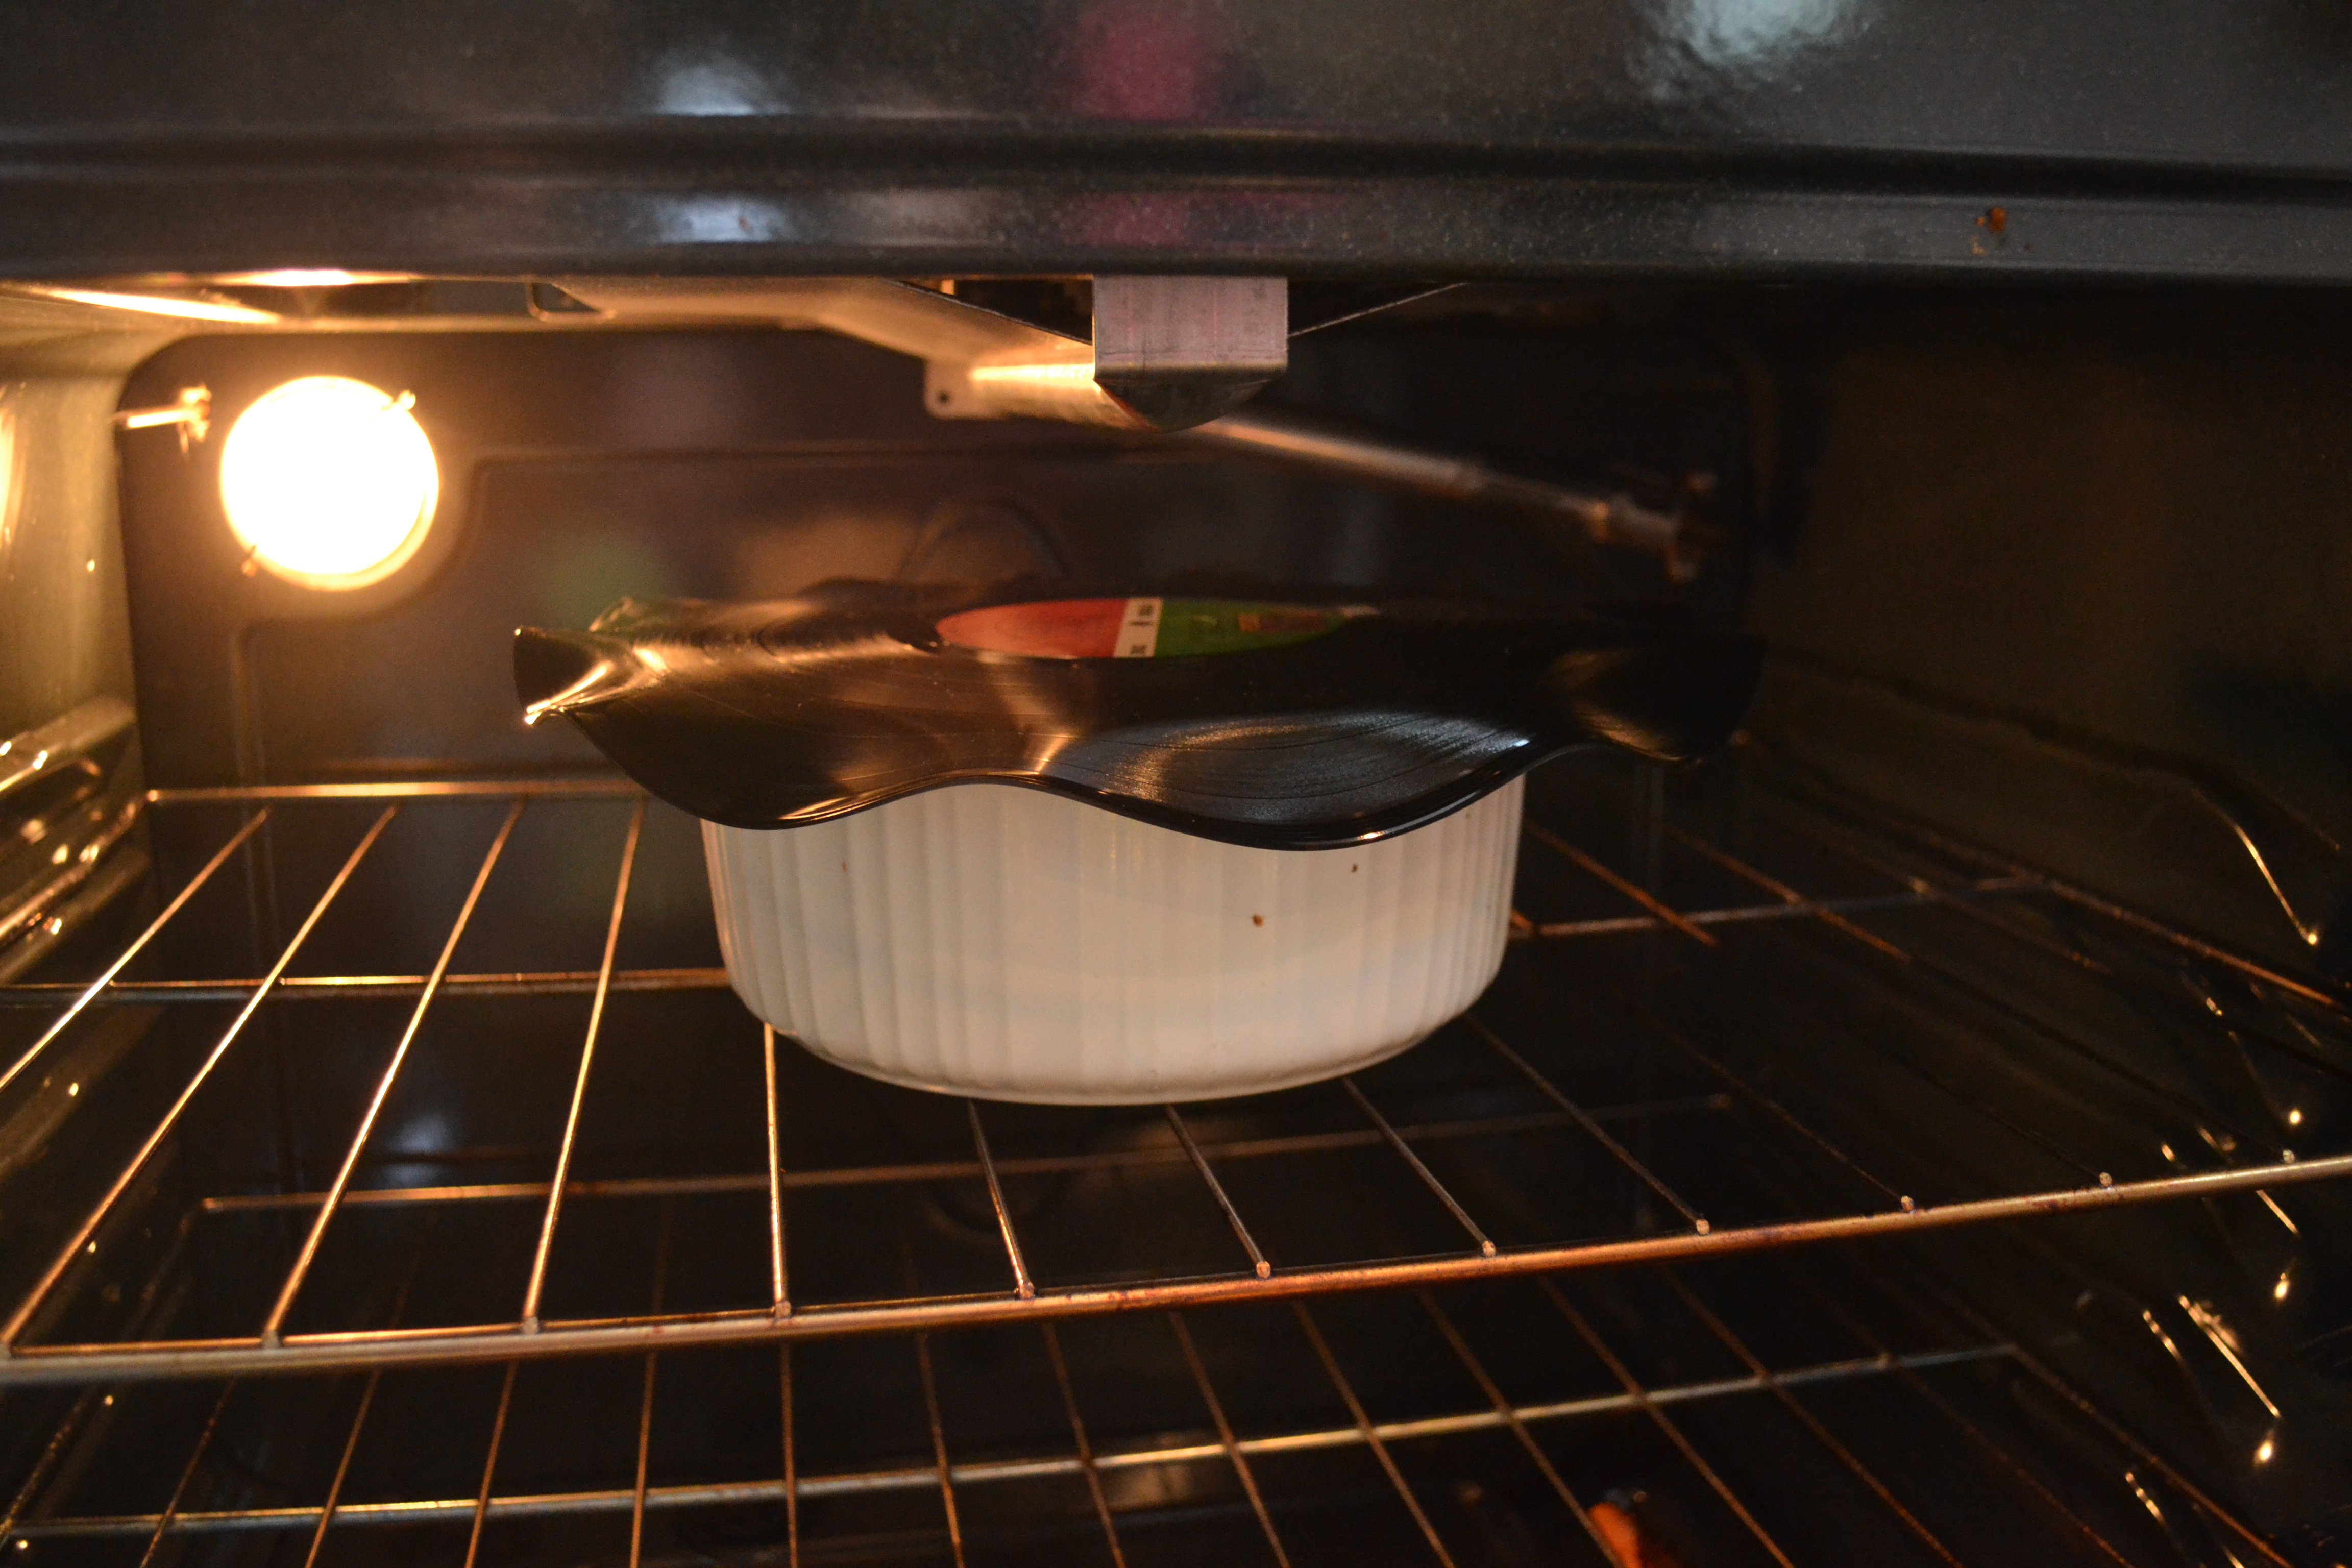
Just leave it in there a few minutes until the record softens. When you remove it from the oven, push the soft record towards the bottom of the bowl and it will take on the bowl shape.

Record bowl

Once it dries, you’re good to go. Southern Blues Birthday Party002

In addition to party snacks, I think these would be fun for a desk or even for a little succulent potted plant (the middle hole in the record would provide you with drainage).Southern Blues Birthday Party057

This project really rocks, right?

Share this:

  • Click to share on Facebook (Opens in new window)
  • Click to share on Reddit (Opens in new window)
  • Click to share on Twitter (Opens in new window)
  • Click to share on Tumblr (Opens in new window)
  • Click to share on Pinterest (Opens in new window)
  • Click to email a link to a friend (Opens in new window)

Filed Under: Crafting, Decorating, DIY Tagged With: party planning

Comments

  1. psn card kaufen says

    July 28, 2014 at 3:39 AM

    It is in point of fact a great and helpful piece of info.
    I am happy that you shared this useful information with us.
    Please keep us up to date like this. Thanks for sharing.

  2. Palm Beach Shores Realtors says

    June 17, 2014 at 12:07 PM

    Hey There. I discovered your weblog the use of msn. That is an extremely neatly written article.
    I’ll be sure to bookmark it and return to learn more of your helpful info.

    Thanks for the post. I’ll definitely comeback.

  3. Stephanie says

    July 3, 2013 at 7:28 PM

    ingenious really!! cool!

  4. Emily says

    June 19, 2013 at 1:42 PM

    Once again, I really love this idea!

  5. Leigh Powell Hines @Hinessightblog says

    June 8, 2013 at 8:41 AM

    Thata is really clever, Kim.

  6. Kelly @ View Along the Way says

    June 5, 2013 at 10:12 PM

    TOTALLY rocks! I love this project! Seriously, this is the coolest party of all time.

  7. Gabbi @ Retro Ranch Reno says

    June 5, 2013 at 6:42 PM

    You are so darn creative…what a perfect project for Henry’s first birthday party!!!

  8. Amanda S. says

    June 5, 2013 at 10:58 AM

    So much fun!!! I’ve never seen anything like it before — so cool!! 🙂

  9. kristi says

    June 5, 2013 at 10:58 AM

    Way to rock it, momma!

  10. Krystle @ Color Transformed Family says

    June 5, 2013 at 9:55 AM

    That’s pretty cool. I’ve never seen that done before.

  11. Kristin @ bliss-athome.com says

    June 5, 2013 at 9:46 AM

    That does really rock! So creative Kim 🙂 Party planner extraordinaire!! xo Kristin

  12. Ashley@AttemptsAtDomestication says

    June 5, 2013 at 8:56 AM

    Such a fun craft! Definitely have to keep this in mind!

  13. Emily @ imperfect says

    June 5, 2013 at 7:58 AM

    I would be so scared, but it turned out awesome. You are so creative, love this!

  14. claire says

    June 5, 2013 at 7:58 AM

    cute – and easy!

  15. Lindsay says

    June 5, 2013 at 6:47 AM

    Looks like such a fun project and it turned out great!

Search

Popular Posts

  • Email
  • Facebook
  • Instagram
  • Pinterest
  • RSS
  • Twitter

Copyright © 2026 · Beautiful Pro Theme on Genesis Framework · WordPress · Log in