Spring and summer seems to kick our DIY home projects into overdrive. Something about the ability to work outside and open windows gets me itching to work on new projects and finish up those we have been ignoring.
That’s why I’m excited to share a simple new DIY project today as part of Seasonal Simplicity Summer DIY or craft hop with The Happy Housie.
The most recent project we finished in our home is something that will be useful all year – for both decor and the added storage it ads to our open living space.
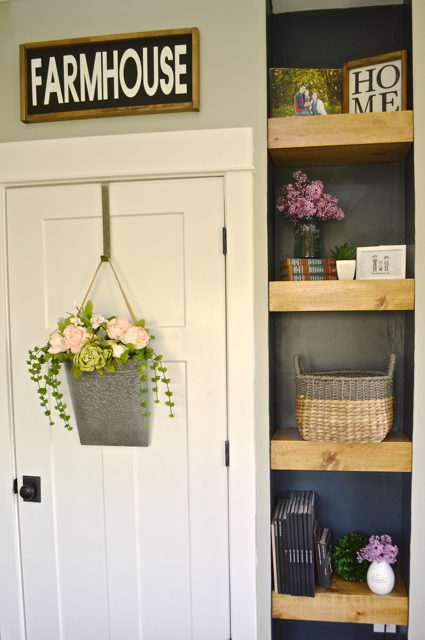
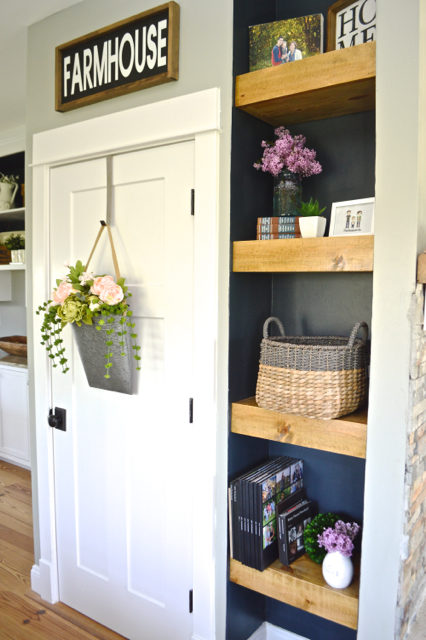
These new DIY chunky wooden shelves were a relatively fast and painless DIY project. Plus they add so much oomph in the nook next to our basement door. I also love that they aren’t fussy – they are clean and simple and could fit into any decor.
I’m all about simplicity. Or at least I want to be.
I mentioned that this project was fairly simple. Ryan was even able to use a lot of scrap wood we had around the house, which made it super affordable and fast.
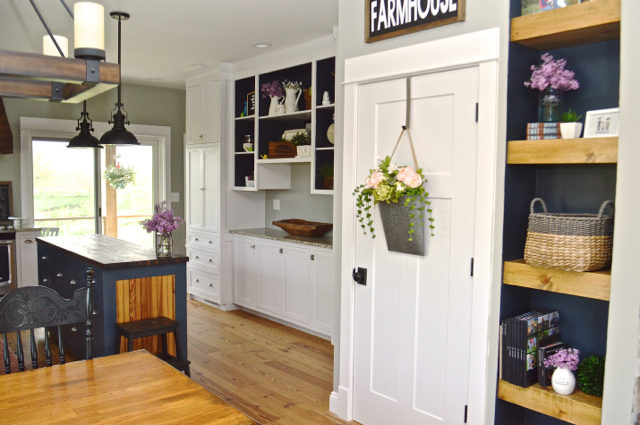
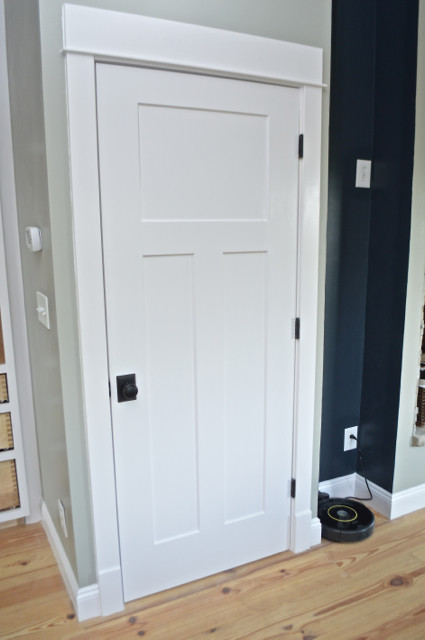
This little nook between our basement stairs and fireplace has been empty for the two years since we built the house. It’s the perfect spot to tuck away our robotic vacuum but I knew we’d eventually add shelves above as the perfect way to mix form and function.
It’s right in the middle of our main floor, so it’s visible from all the places.
Ryan started by installing three 1x4s around the wall. These won’t show at all so anything would work for this.
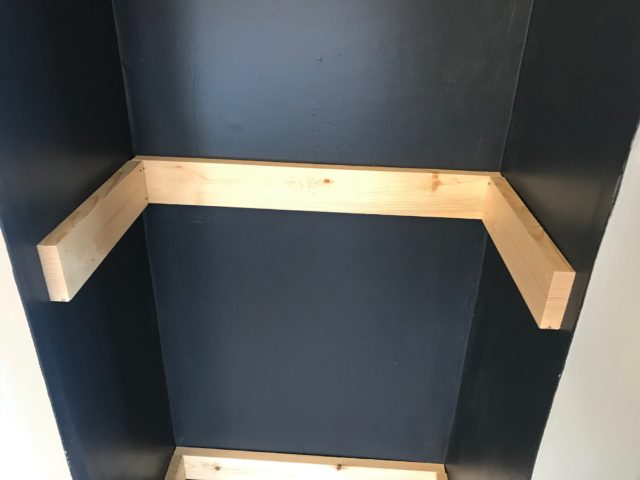
These would become the frame for the chunky shelves. I wanted them to look like a big piece of wood, so he wrapped the top, bottom and front of each frame in wood. (The top and bottom pieces of the shelves were made from 1x12s and the front was cut down from a 1×6.)

Before installing, he stained the wood with a custom mix of XX and XX, to mimic the old barn wood throughout the main floor. He used a nail gun to attach the pieces to the top, side and bottom of the frame.
(I didn’t take pictures of this part, but my friend Caitlin at Desert Domicile has a really thorough tutorial if you would like that sort of thing.)
I finished it up with a few coats of water-based poly and then we were good to go.
Which meant it was time to decorate them. Very simply. I added just a few touches of spring and summer and tried to resist the urge to overdo it.
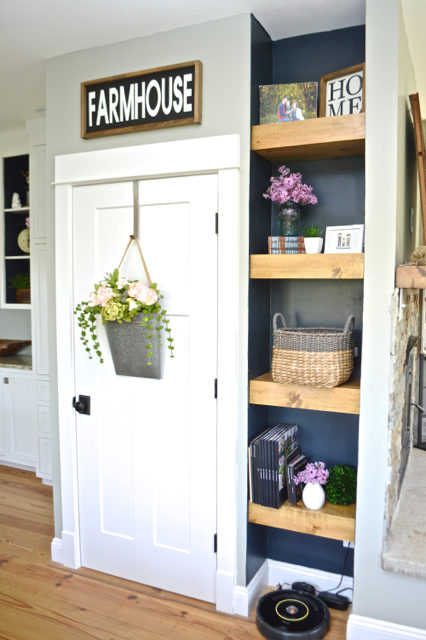
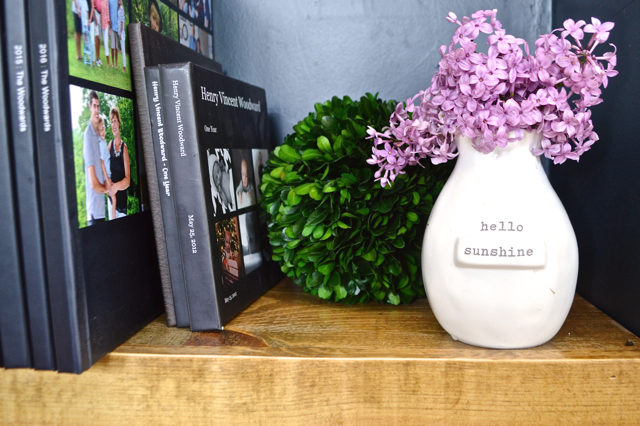
Of course that includes all the lilacs, because I just can’t get enough of them. There’s just nothing quite like the scent of fresh Midwestern lilacs.
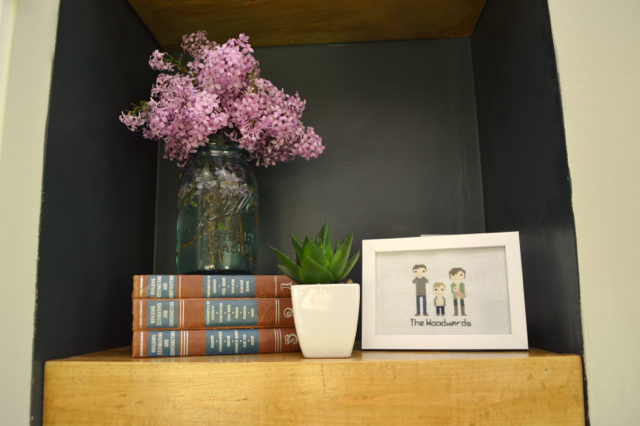
This is the perfect spot to stow away our family photo books – and it’s great that Henry can pull them out and look at them more often.
I also added a small basket to the second shelf, which is the perfect spot to store away all the junk that seems to accumulate on our dining room table – like playing cards and books. They are still super accessible, but also hidden away.
This wasn’t a huge project, but it’s amazing how much more finished it looks.
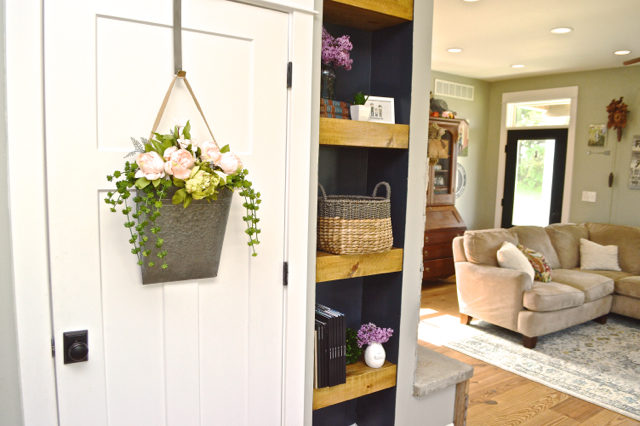
It just vibes so well with everything on our main floor. And I know I’m going to love swapping this space out all year.
Love DIY projects? Love summer?
Then don’t miss all these awesome projects from fellow bloggers. I’m always overwhelmed by all the inspiration – in a good way.

The Happy Housie / Home Made Lovely / Taryn Whiteaker / Craftberry Bush
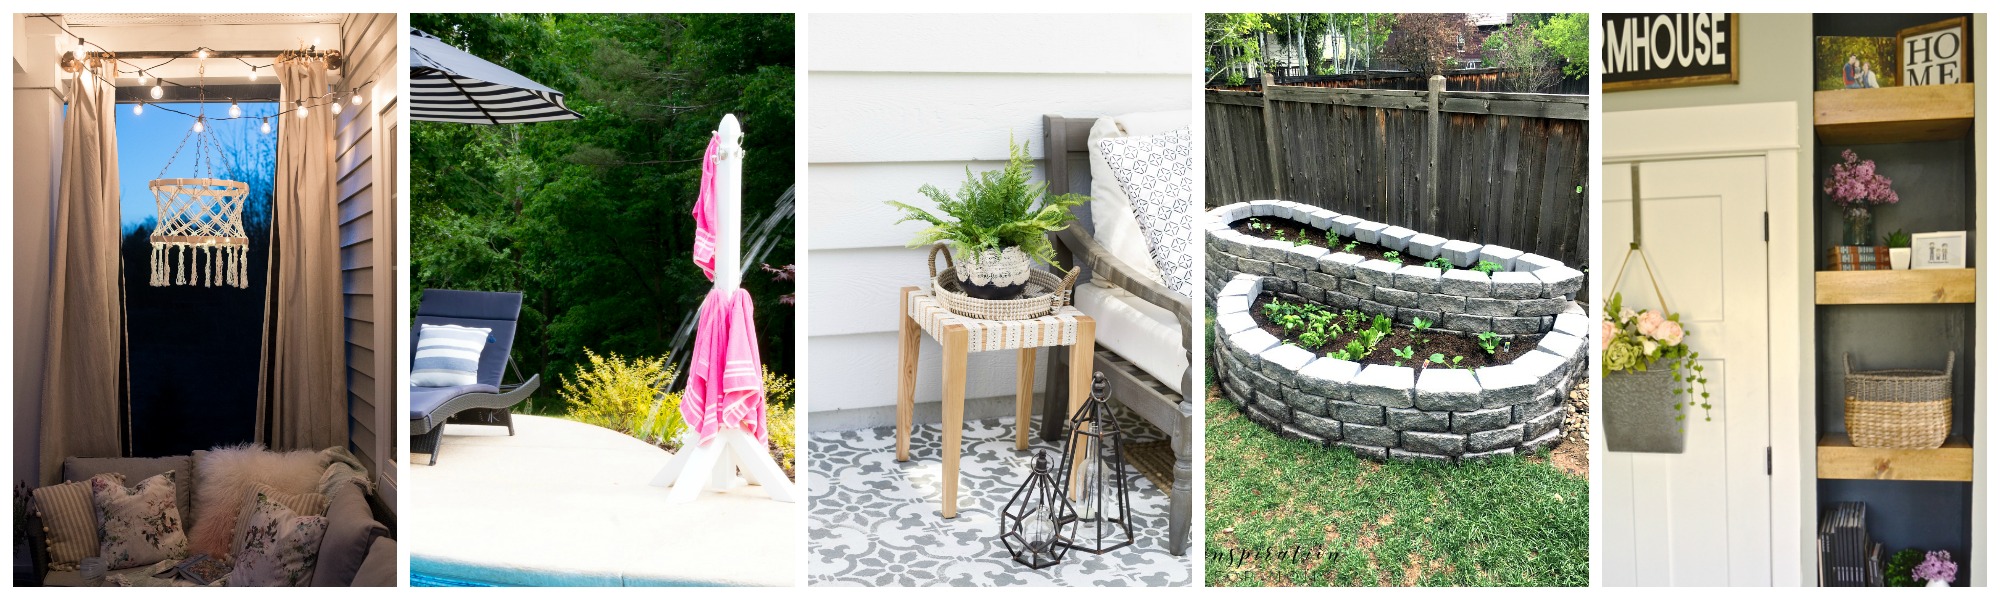
The DIY Mommy / Duke Manor Farm / Zevy Joy / Inspiration for Moms / Newly Woodwards
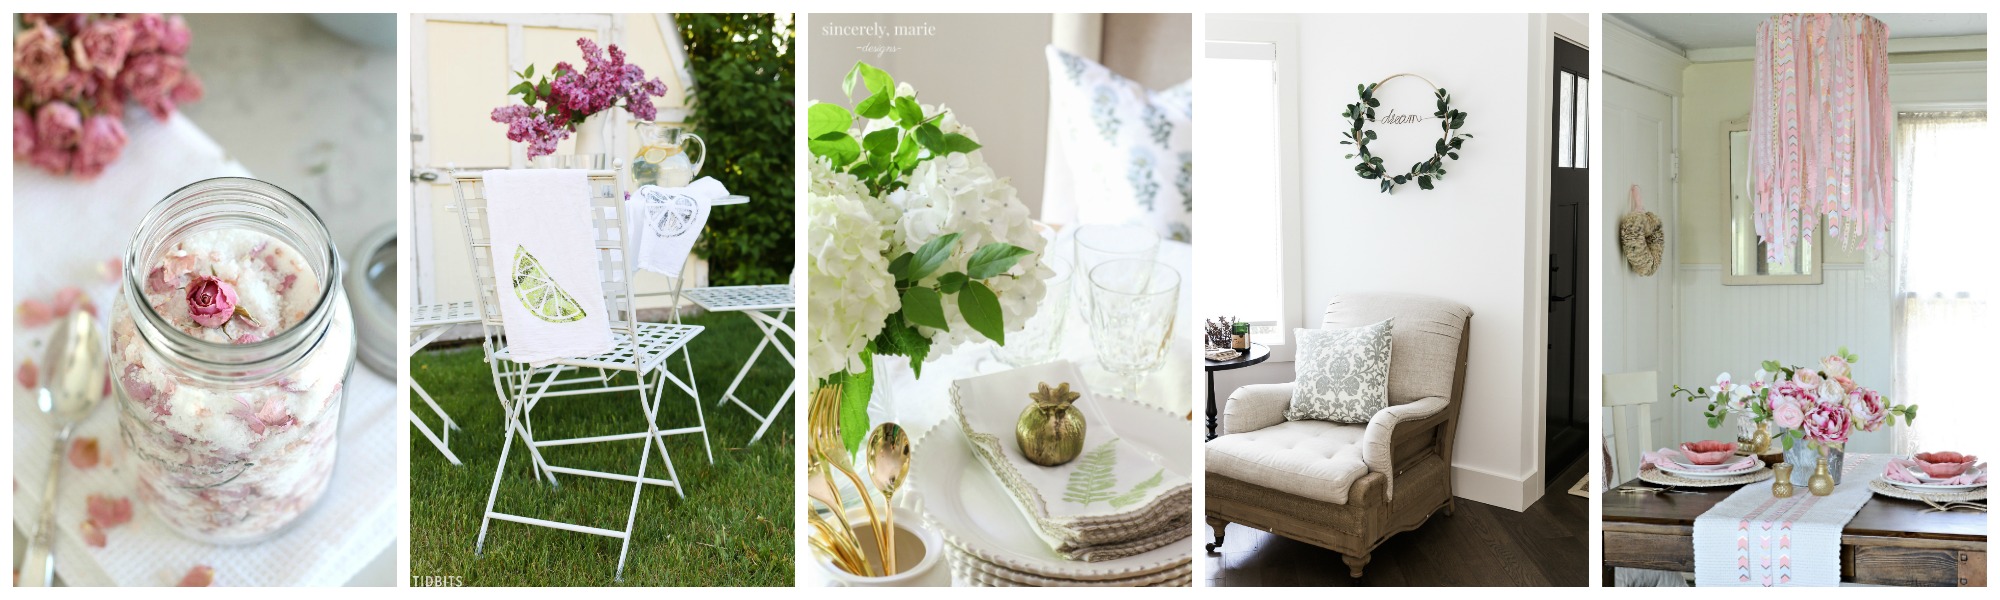
Satori Design for Living / Tidbits / Sincerely, Marie Designs / So Much Better with Age / Town and Country Living
Paint Me Pink / Finding Silver Pennies / Southern State of Mind / The House of Wood / Amber Tysl
Which is your favorite project?
Did you like this post?
We'd love to send you more inspiration and encouragement for your home. When you sign up below, we'll send you our free guide to save thousands on your next home project. Because your home shouldn't own you.
These turned out great! Love both the functionality and style 🙂
they look awesome! love the chunkiness and those lilacs!
These look fantastic, Kim! Such a great DIY and a lovely addition to your beautiful kitchen! So glad you could be part of this hop! Pinned and sharing:)
Love them! That little nook is so adorable now!
The chunky wood shelves make that little wall indent a real showstopper. A great place for changing displays and also storage in some attractive baskets or boxes. The thickness of the shelves is what gives it that designer look without spending a fortune. It has given me an idea for how to beef up some 3/4″ shelves in an alcove in my bedroom. Thanks for sharing.
So clever! That space is so much more functional now! Love that.
It’s amazing how these simple updates can make such a huge difference and make every nook and cranny look intentional and functional!
(BTW – I think you forgot to edit in the two colors you mixed! It still shows XX :-))
Me: (looking around house for nook to put chunky shelves)
What a great idea! Love the light wood against a dark wall.
great little project! That looks like such a fun, non-overwhelming place to switch out decor with the seasons 🙂
Looks great!
What color is the back wall? Looks like a great navy midnite Blue
Tks
It’s Behr seared grey, but it’s definitely more navy than grey. =)
What a great idea! You made the most of an unused space and you did it beautifully. Love the way you styled your shelves – so pretty!!
Thank you so much! Styling isn’t my strong suit, but I like how this came together.