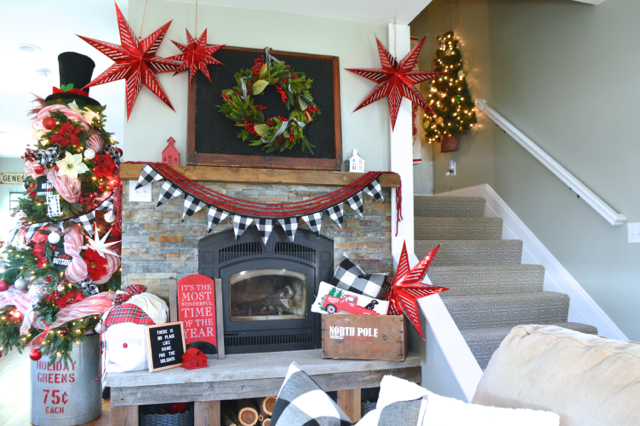
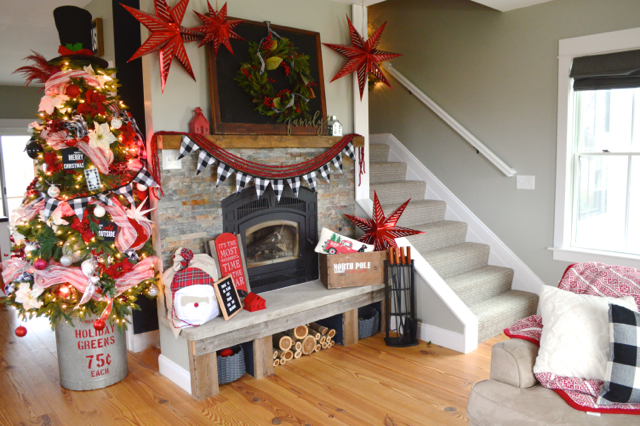
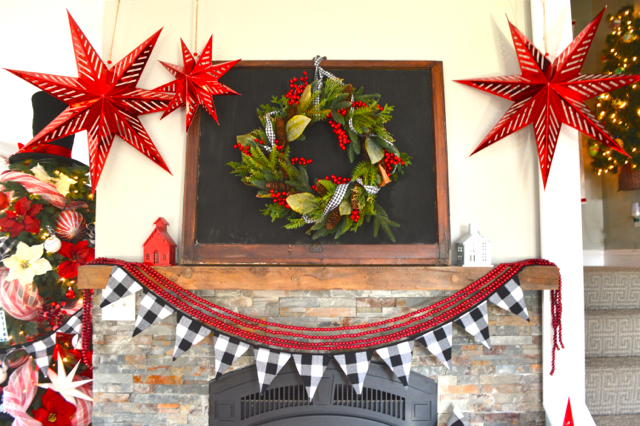
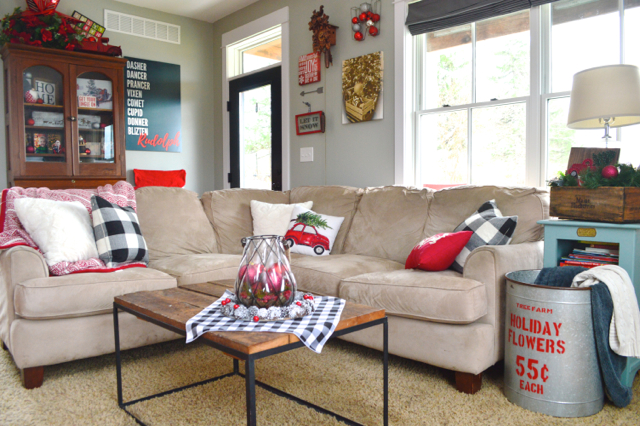
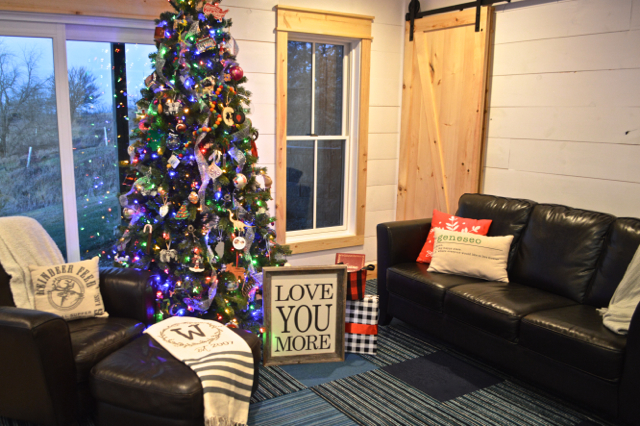
You already got a glimpse at our living room tree – it’s right next to our black and red mantel. And I got lots of comments about it.
So I’m back to share some of my favorite details – including how I create a lush and festive designer Christmas tree. These are the trees you swoon over in stores or on blogs. They look full and lush and are filled with loads of decorative touches.
And it’s a lot simpler to create this look than you’d think.
This post includes affiliate links, meaning, if you click through and make a purchase I will get a commission (at no additional cost to you).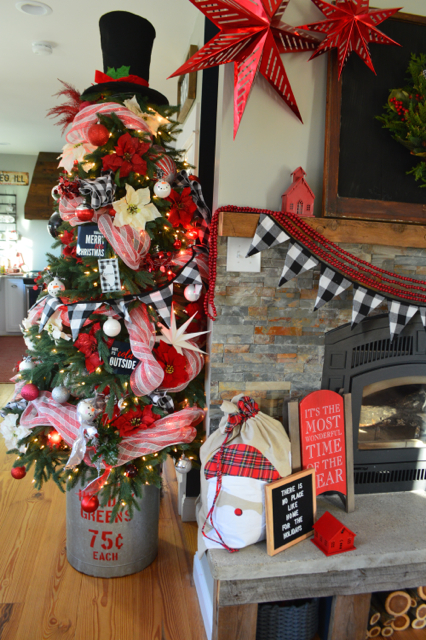
I’m no designer. But I’ve studied these trees for a long time, and I think I’ve found the key to creating a beautiful designer look. (No designer credentials needed.)
I love to have more than one tree in our house every year – it gives me the opportunity to bring a little more cheer to every room. Plus, I like to switch out the themes and change them up sometimes.
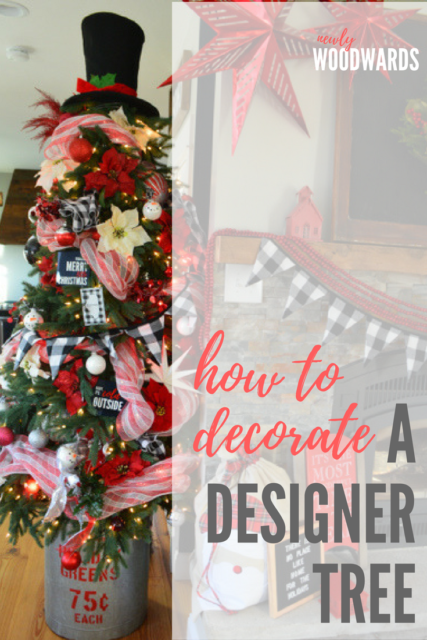
This one is a 7.5 foot slim tree, and I placed it into a galvanized bin that I picked up a few years ago on clearance. (All sources at the end of the post.)
Quick tip: To get the tree to stay in the bucket, wrap the base of the tree with blankets, pillows and bubble wrap until it’s tight and steady in the base.
How to create a designer Christmas tree
The first step in a designer Christmas tree is a theme. I went with a subtle snowman theme on this tree. But it can be anything:
- Colors
- Vintage or modern feel
- Specific designs
- Movies, characters or teams
Really, the theme can be anything you love. Look around your home and see what you already have a lot of. It may just make a great theme for your tree.
Once you have a theme, you move on to the actual decorating.
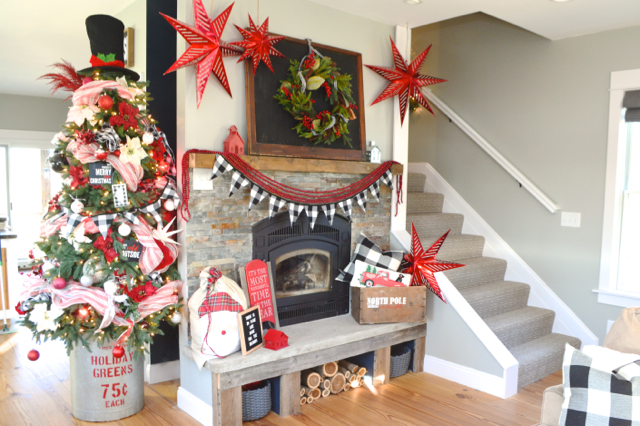
My #1 secret to a lush, designer Christmas tree is LAYERS.
While you may typically focus on your ornaments and ribbon on your Christmas tree (like I did on our sentimental family tree), you’ll want to think beyond the ornaments to create a fuller, designer look here.
It’s all about MORE.
Here are the layers I used, in the order I add them to the tree:
- Lights – I usually try to add at least two different types of lights to each tree. This one has regular lights and red bulb lights. The more, the merrier, I say.
- Tulle/Deco Mesh – This is my very favorite thing. If you add this to your tree before any other decorations, you’ll have a nice, full base for everything else. I have white tulle from our wedding I’ve used in the past. And on this tree, I added white/red striped deco mesh.
- Flowers and stick decorations – Next up, I added a variety of stick decorations – these are what you’ll find at Michael’s or other craft stores. I used glittery sticks, berries and poinsettias on this tree.
- Large ornaments – If you can find some large ornaments or feature pieces, this is the time to add them to the tree. Large stars, little pieces of art, or jumbo sized ornaments are great here
- Small ornaments – Finally, you’ll want to step back and look at anywhere the tree is looking sparse. This is where you’ll add normal ornaments to fill in. You want it to feel totally full. (I also use random things like cute linen napkins to add some volume.)
- Topper – Finally, think beyond a star for the topper. You can add a bunch of stick decor (like I did here) or you can think about something else unique – like this
You can see how all the pieces came together on our tree – including the top hat as the topper. Perfect for a snowman themed tree.
One of my favorite details – these customized metal prints from Shutterfly. You can create these to go with any theme, and I think they add a nice little feature to the tree. (You can also download the free artwork from our holiday gallery wall last year.)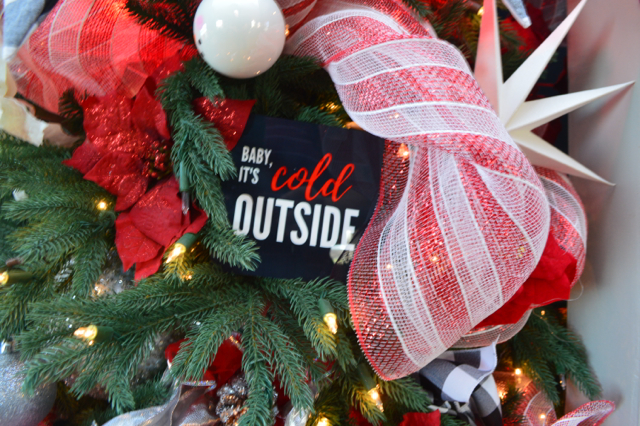
And Henry and I made these adorable snowman ornaments last year – we just used paint and solid white ornaments. And I also added a simple checkered garland and some checked napkins to bring in the black and white I love so much. 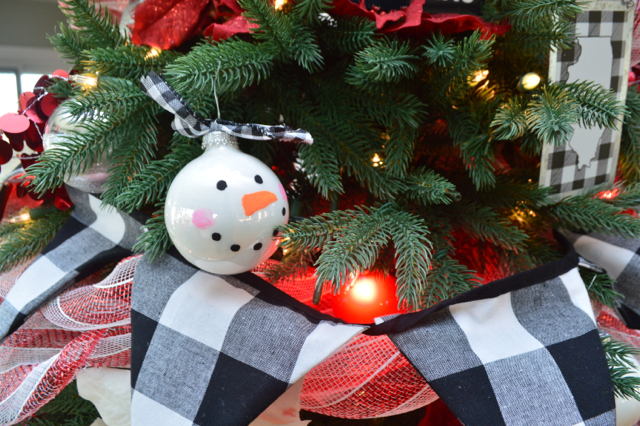
I hope this gives you some new ideas to deck your halls and trim your trees. Not every tree needs to have this look, but it’s a fun way to mix things up. And I promise you’ll get tons of compliments.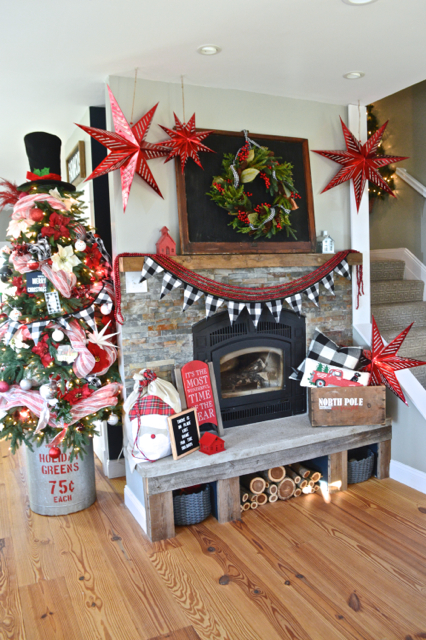
And if you want to try some of these ideas, it’s never too late to add another tree to your home.
Missed it?
More holiday inspiration:
Get the look.

Like it? Pin it.
Your guide to (affordable) holiday decor
Get more holiday inspiration straight into your inbox.
As a thank you, I'll even send you a HOLIDAY SHOPPING GUIDE with my very favorite (unexpected) spots to pick up unique holiday decor.