Make a DIY hydrangea wreath for only a few dollars using a wreath form and scissors. It’s a quick and easy for any crafter – and it will last forever. So what are you waiting for? Grab a few friends and find a hydrangea bush. (If you like this wreath, you’ll love my $2 boxwood wreath.)
I just can’t get enough of them and their green goodness. They are beautiful fresh, but they still look incredible when they dry! Which is a double whammy of LOVE.
DOUBLE WHAMMY!
I already have some dried hydrangea in our fall home tour, but this dried hydrangea wreath has taken the obsession to the next level.
Since so many people love the $2 boxwood wreath, this is another quick, simple and cheap wreath for your home. And the best part? It lasts WAY longer and better than the boxwood version (which doesn’t dry as pretty as this).
If you think you aren’t really a DIY wreath person – this is the wreath for you. It’s the simplest project and makes a big impact. (Plus, do you know how much hydrangea wreaths cost? Lord, have mercy.)
DIY HYDRANGEA WREATH
Start with an inexpensive grapevine wreath form. This one was less than $4 at your superstore of choice.

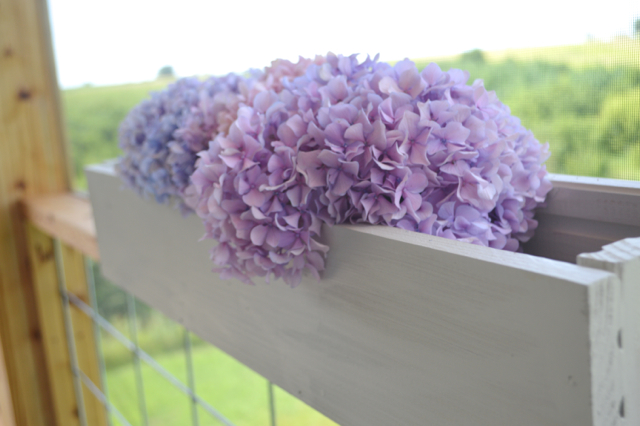
You’ll also need a lot of fresh hydrangea, and now’s the time to get them. They are beautiful right now. Just cut the stem with scissors, and leave a good amount of stem to work with.
When I spotted three GIANT OVERFLOWING hydrangea plants at my friend Amy’s house, she was more than happy to let this crazy lady fill up an entire garbage bag. I am still trying to talk myself out of going back and scaling her fence for more. I *think* these are limelights.
I found it easier to make this wreath hanging up (it’s hung on the window using a suction hook). You make the wreath while the blooms are still FRESH, and you can just add them one by one into the wreath form. Since they are still fresh, they are easy to work with. I just cut off the stem if it was a little too long.
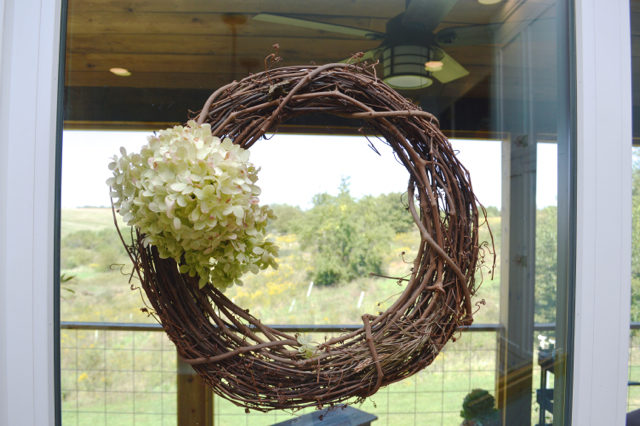
You could truly just do a few if you don’t have an Amy in your life with thousands of hydrangeas in her yard.
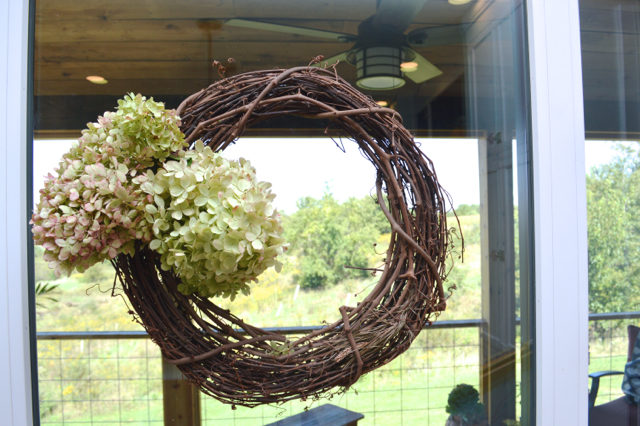
But I just kept working my way around until the entire form was full and to my liking. I know this was more than 30 blooms.
And that, my friends, is all. Easiest. Project. Ever.
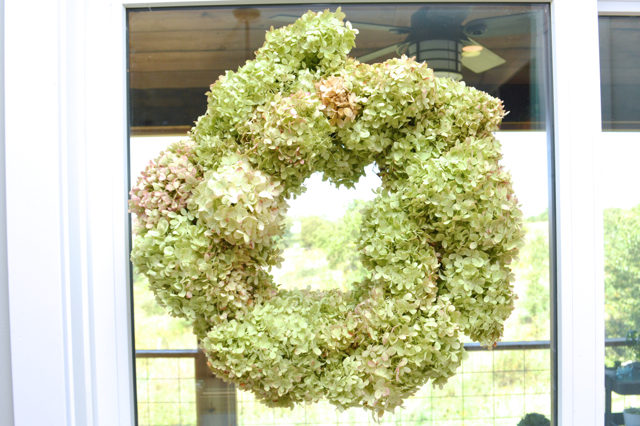
Wonder what it looks like when it dries?
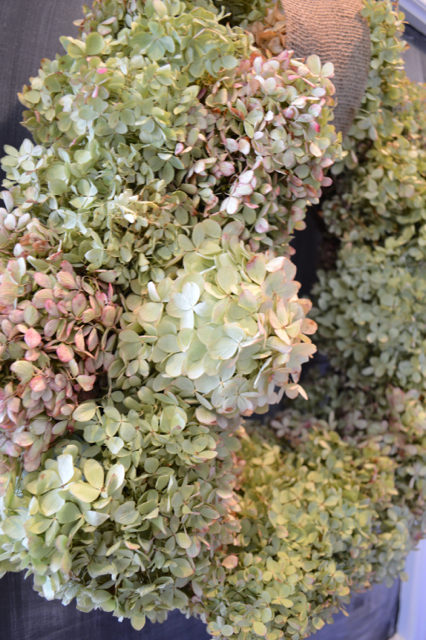
It’s so good. It took about a week before all the flowers were dried, and the colors are beautiful.
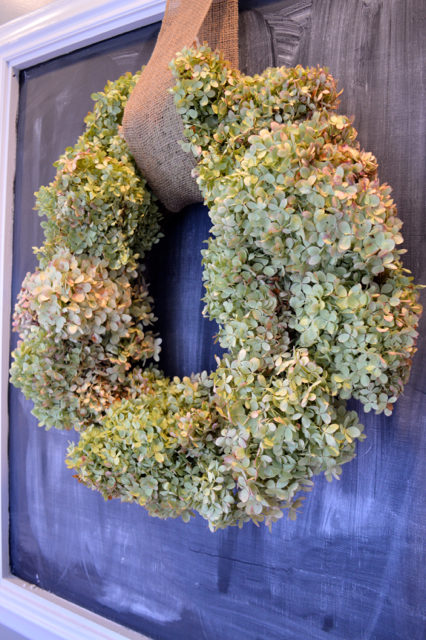
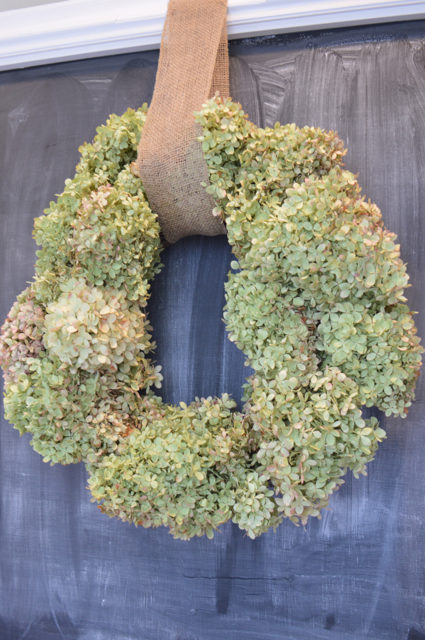
I ended up moving it to the chalkboard and it has held up beautifully. I have noticed that if you bump it or rub up against it, some of the petals will fall. But it’s so full that it’s not an issue for me.
Who’s going to make one?
Disclaimer: I’ve found that different hydrangeas dry differently. Some get a little shriveled – but most I’ve used have dried to look exactly like they look fresh. I’d suggest trying to dry a few blooms before you do an entire wreath, just to keep you from going crazy if it doesn’t go well. Just put one flower into a vase with no water and let it be for a week. If it looks the same when it’s dried, you should be good to go.
Do you like it? Then put a pin on it.

MORE SIMPLE DIY PROJECTS
Did you like this post?
We'd love to send you more inspiration and encouragement for your home. When you sign up below, we'll send you our free guide to save thousands on your next home project. Because your home shouldn't own you.
pretty! now to find someone around here who wants me to chop up their hydrangea bush (I don’t have one, sadly)
I hope you find a friend to exploit, I mean ….. yeah,t hat’s what I meant. 😉
I LOVE hydrangeas! My own plants didn’t make it this year but here’s hoping I can make it next year…love these easy wreath projects!
Fingers crossed – I’m very hopeful that my new plants grow huge and give me abundant blooms.