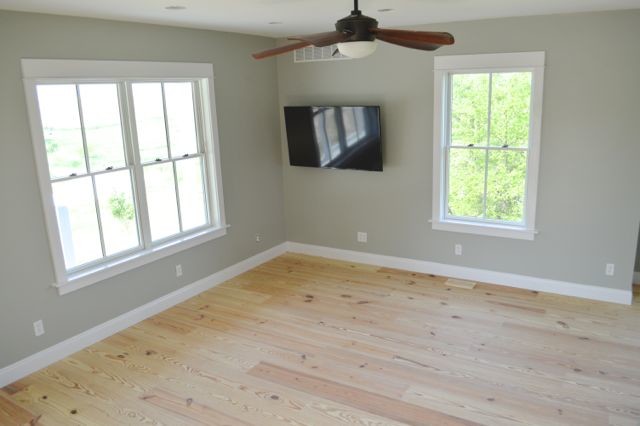
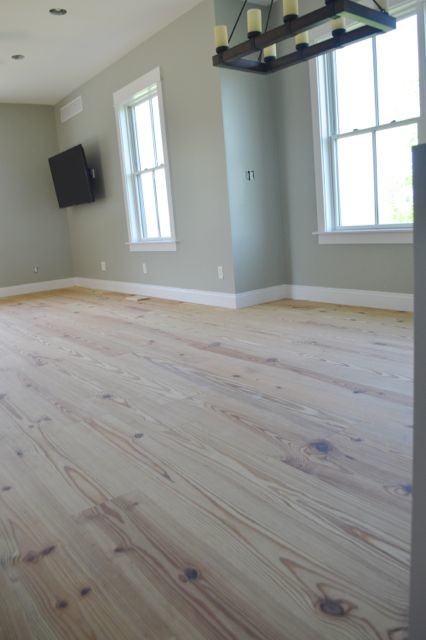
If you read our post about floors yesterday, you may have noticed another elephant in the room … all our beautiful trimwork is installed! There are so many farmhouse trim choices, so today I’m sharing all the different trim options we chose for our own farmhouse!
Installing base, window and door trim isn’t for the faint of heart.
It starts as a super simple project. “Oh, all we have to do is install the trim.”
FARMHOUSE TRIM CHOICES
And then you start the project and you realize that installing trim actually means 142 steps, including but not limited to:
- Choosing the trim – which means finding the best base trim and the best combo of trim for windows.
- Decide whether you really need a window sill. (Yes.)
- Find and buy the trim. (Which may not occur at the same store, because a house needs a lot of trim and not all stores keep that much in stock.)
- Drink beer.
- Have a million dollars to buy all the trim you want.
- Decide how you want the trim to be installed around windows and doors. And then realize that maybe you bought the wrong trim for the final look.
- Measure the windows and doors.
- Cut the trim for windows to size.
- Recut when it’s wrong.
- Round the corners of the boards because wife is crazy.
- Drink beer.
- Install window trim with a nail gun.
- Run out of 6 inch trim for the top of the windows.
- Go to store and buy more.
- Install base trim – lots of measuring.
- Decide to cut and finish all base blocks for doors instead of buying them.
- Measure and install door trim.
- Fill all nail holes. (Thanks, Papa Bear!)
- Sand and fill again. (Thanks again, Papa Bear!)
- Caulk all the trim. (Thanks the most, Papa Bear!)
- Prime and paint.
- Drink wine.
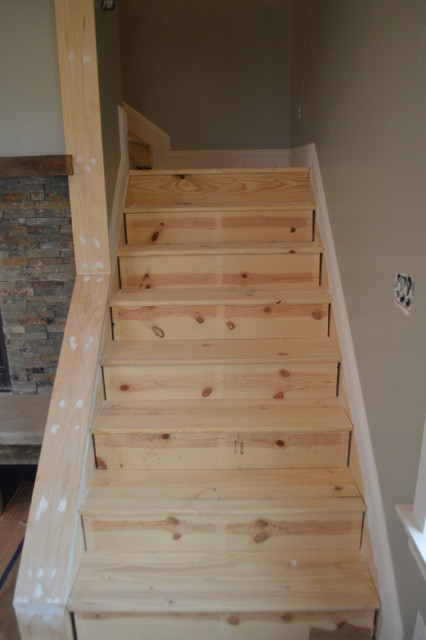
I’m serious. This was a process. And this isn’t even counting the time and work and cursing it took for Ryan and his dad to install all the stair treads and trim going up the stairs.
But it looks so stinkin’ good that I’m sure we’ll forget all about the pain. Like getting a college degree, having a baby, or going to IKEA.
There’s still more painting on the horizon for me, but the trim is all installed and my dad graciously spent days filling holes, sanding, and caulking. Because that would have never got done if it were up to me or Ryan.
My dad has the patience of a saint.
I have approximately 2 weeks to finish the rest of the painting before the carpeting goes in upstairs. Which means … more paint and more wine.

In the end, we chose:
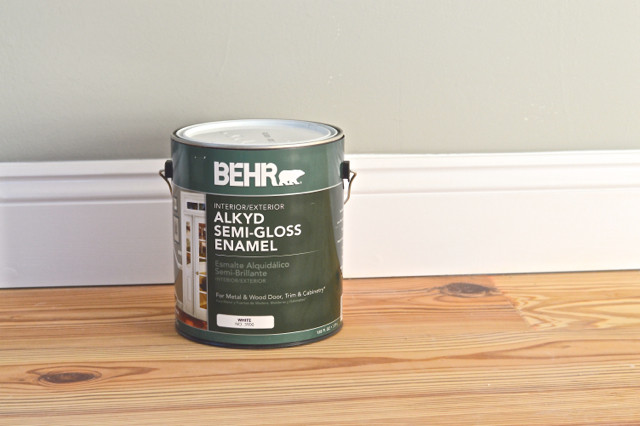
Trim paint:
We chose to use Behr Alkyd Paint in White for all trim, doors and cabinets. (Thanks to Behr for providing the paint for this project.) This paint has all the benefits of oil-based and the convenience of water-based. I found that it works best with a few thin coats – it does a great job of hiding brush strokes and self-leveling.
Base trim: 5 1/4 inch Colonial base trim (something like this, although we bought it at a local lumberyard)
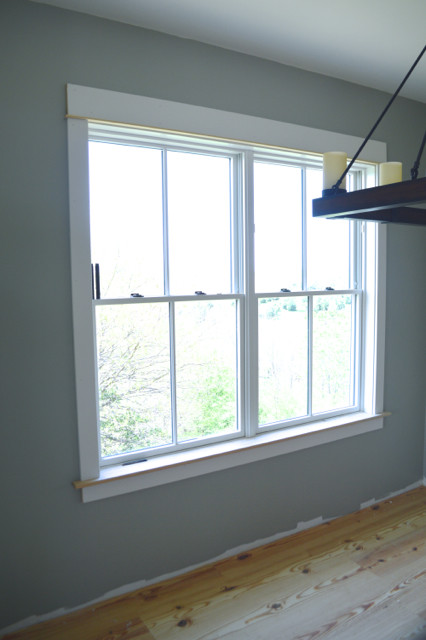
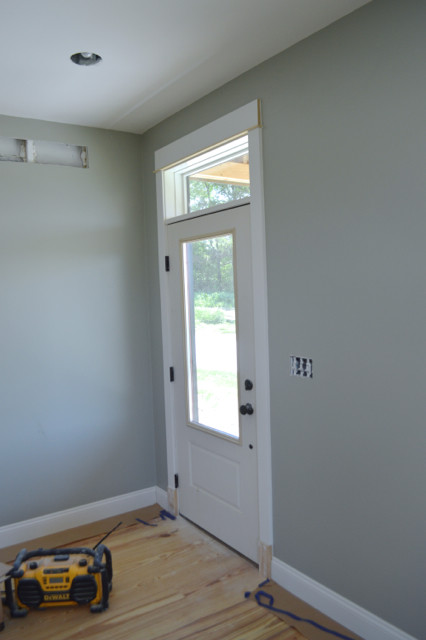
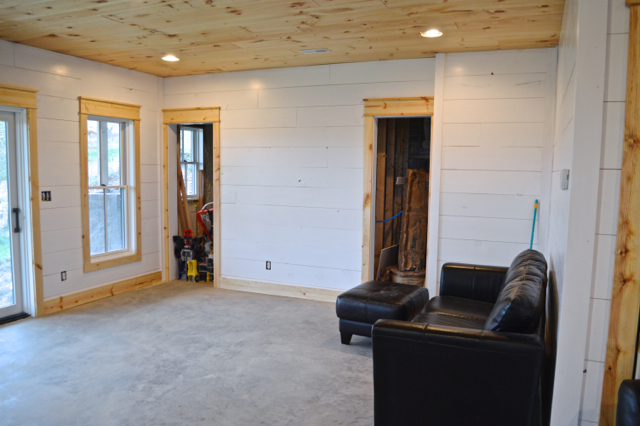
Window trim:
A mix of primed MDF boards – they are 1×4 and 1×6 widths and come with a rounded side. The sides of windows are 1x4s and the top/bottoms of windows are 1×6. Ryan added a piece of unfinished 1 1/4 inch pine edge stop (something like this) between the side and top boards for the bump out.

The sills were created by cutting a 1×6 pine board and then routed the front and side corners.

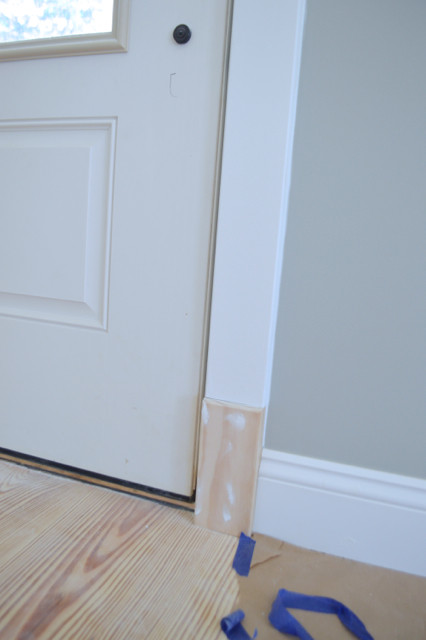
Door trim:
A mix of primed MDF boards – they are 1×4 and 1×6 widths and come with a rounded side. The sides of doors are 1x4s and the tops of the doors are 1×6. Ryan added a piece of unfinished 1 1/4 inch pine edge stop (something like this) between the side and top boards for the bump out.
The base blocks were created by cutting a 5 quarter x 4 board (these boards are thicker than normal). He cut it to 7 7/8 inches long and then routed the corners. We love this look and have always had base blocks at the bottom of the doors of our old houses.
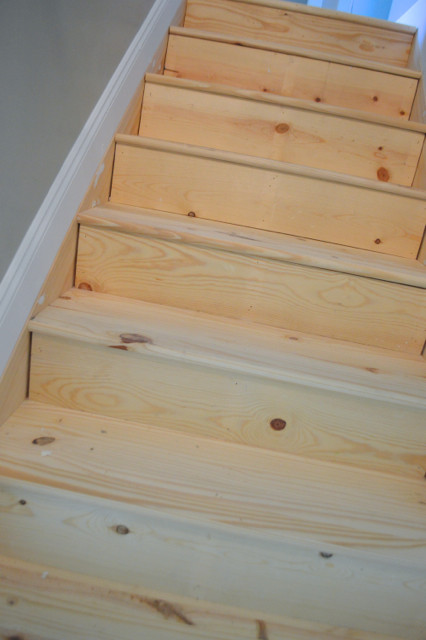
Trimming out the stairs also involved more complex cutting and a skirting board installed with the treads.
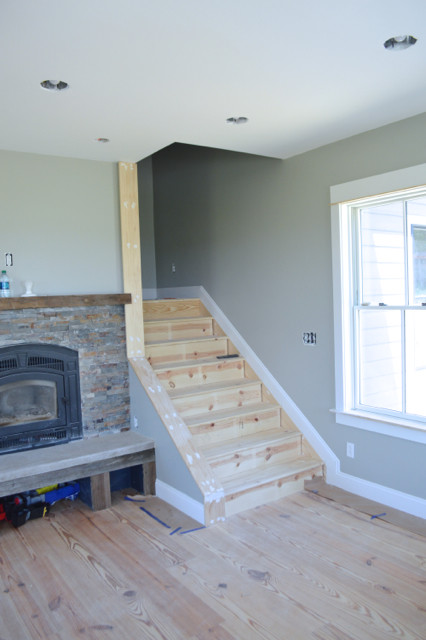
Ryan and his dad installed the new pine stair treads and the skirting boards before finishing off the area with the base trim.
What’s that you’re thinking? If you are anything like me, you are thinking that Kim has a lot of painting ahead of her.
What do you think of our trim choices?
Thanks to Behr Paint for providing all the great paint for our trim. I’ve been a devout Behr users for years – and I know how many of my readers and friends love their paint, too. Thanks for supporting NewlyWoodwards sponsors to make posts like this possible.
MORE FARMHOUSE DETAILS
Did you like this post?
We'd love to send you more inspiration and encouragement for your home. When you sign up below, we'll send you our free guide to save thousands on your next home project. Because your home shouldn't own you.
We’ve attempted to install baseboards in exactly one room (our basement), and it was pretty much a disaster. So I’m in awe of you for doing a whole house of this stuff! looks amazing!
My closest location is Petsmart!
It looks fabulous! Trim makes a home look so much more finished. The stairs remind me of the little mice you had running on the stairs in your other house. :0D
trim looks great. what are your plans for the stairs? Are you going to paint the raisers white and leave the treads oiled, or leave all oiled?
I love it. Just the right amount of layering. Loge the bump outs and the blocks by the door. It looks fantastic Kim
Great job!!!! I love it!
Ahhh I love it so much. I think trim makes such a huge difference. I love what you guys chose. Also, I’m laughing because so much of what you said is so dang relatable. We still say it wasn’t all that bad (our home renovation) but only because it’s basically done. It WAS that bad. Lol You guys are the dream team and I can’t wait to see this farmhouse in person.