My two-year-old loves to be tatted up. That’s totally normal, right?

I love to make our own tattoos – for holidays, parties and Tuesdays. (That’s tomorrow. And it’s reason to celebrate.)
Anyhow, I always get a lot of surprised looks when I share that I made the tattoos, so I wanted to share how easy it is to make your own customized temporary tattoos with tattoo paper and the Silhouette Portrait or CAMEO.
First up, pick your design. I chose these clovers from the Silhouette Design Store and then dropped them onto the page. (I kept this really simple for the sake of sharing the process. The sky is really the limit when it comes to tattoos – I love making things more personalized.)
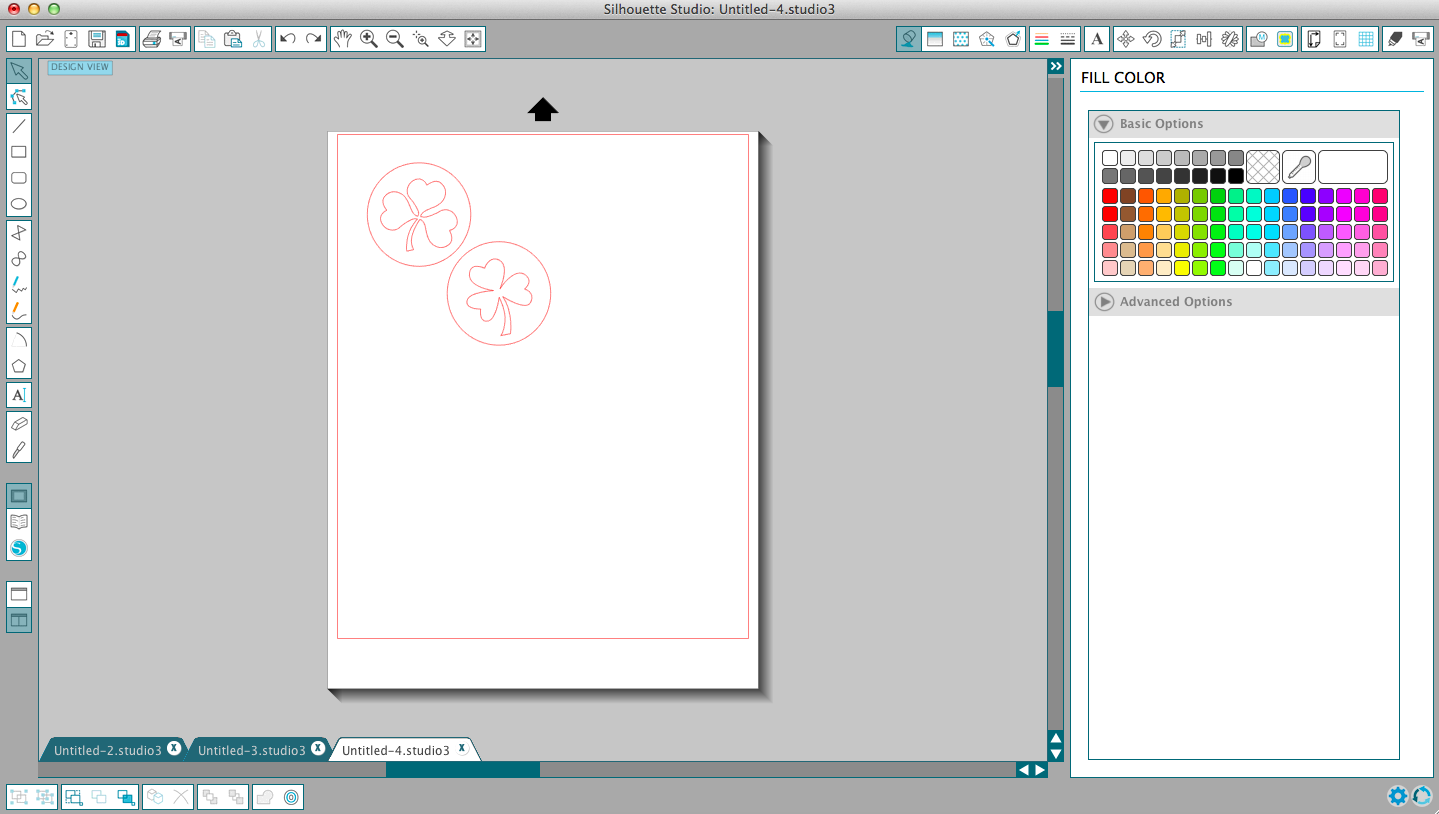
To get the shapes separately, right click-ungroup. Do this with your shapes until all the pieces are separate.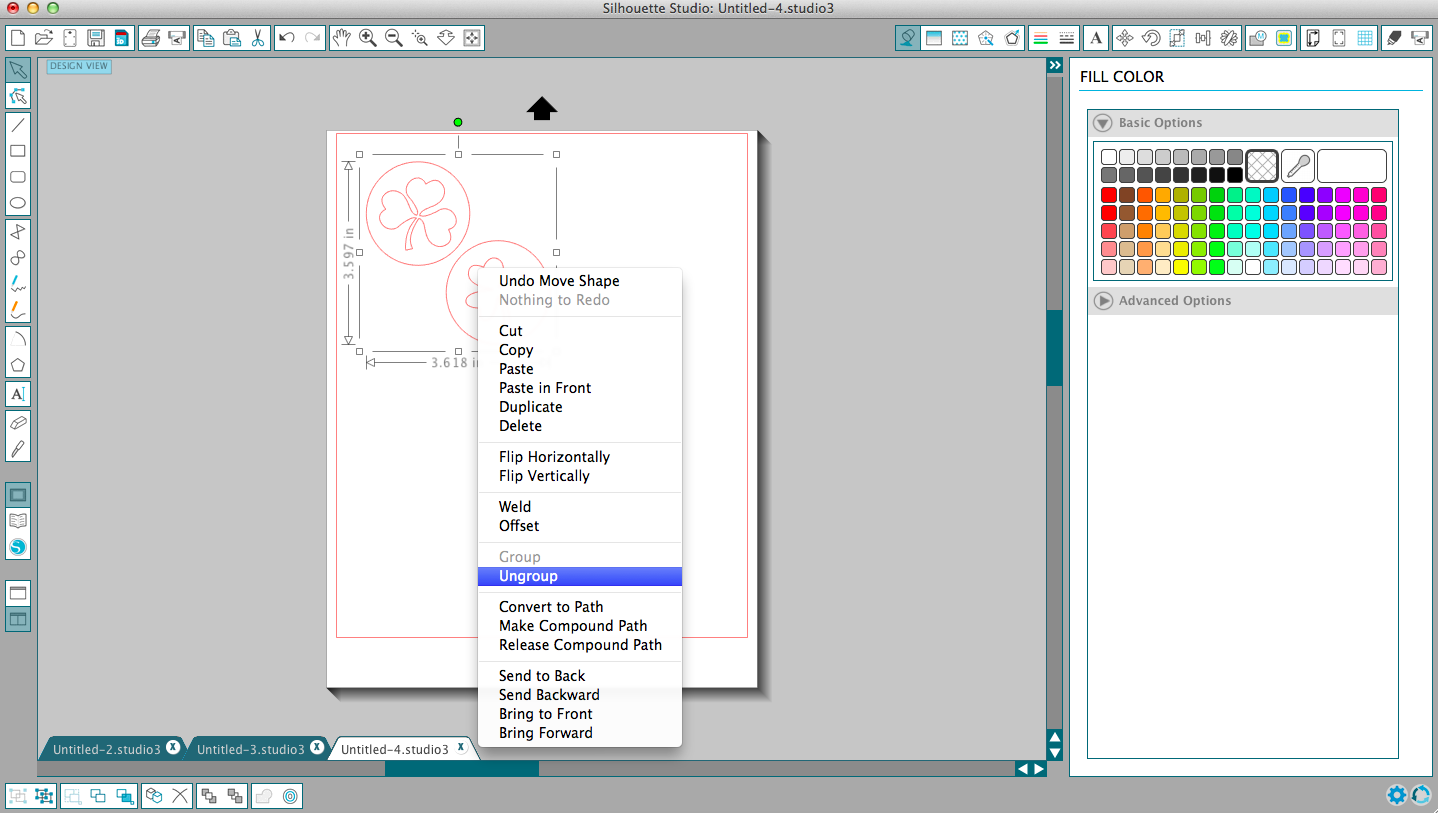
Now, it’s time to add color. Start with the “fill color” window (the icon is a spilling paint can). Simply select the shapes and choose colors. I made the outside circle green and the inner shamrock white.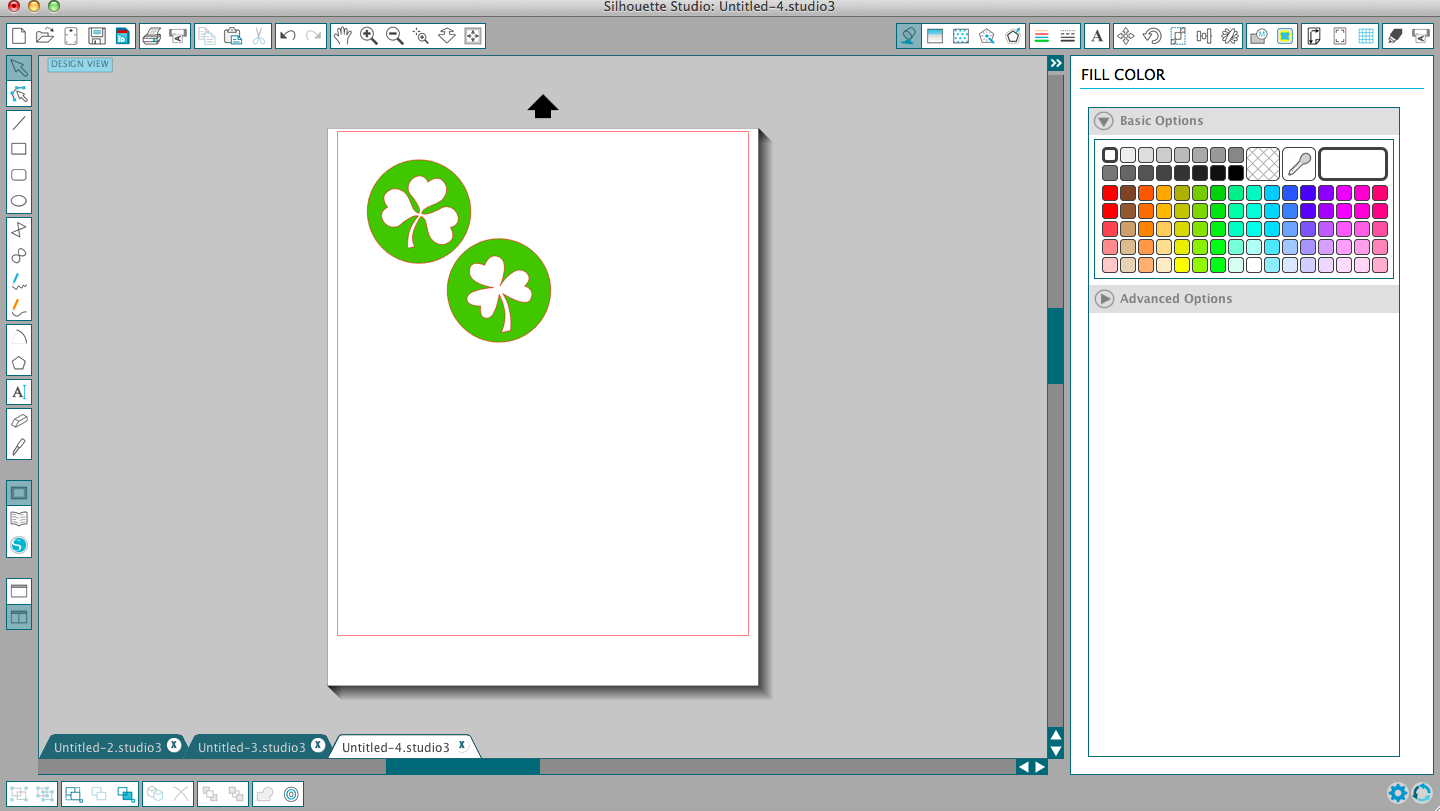
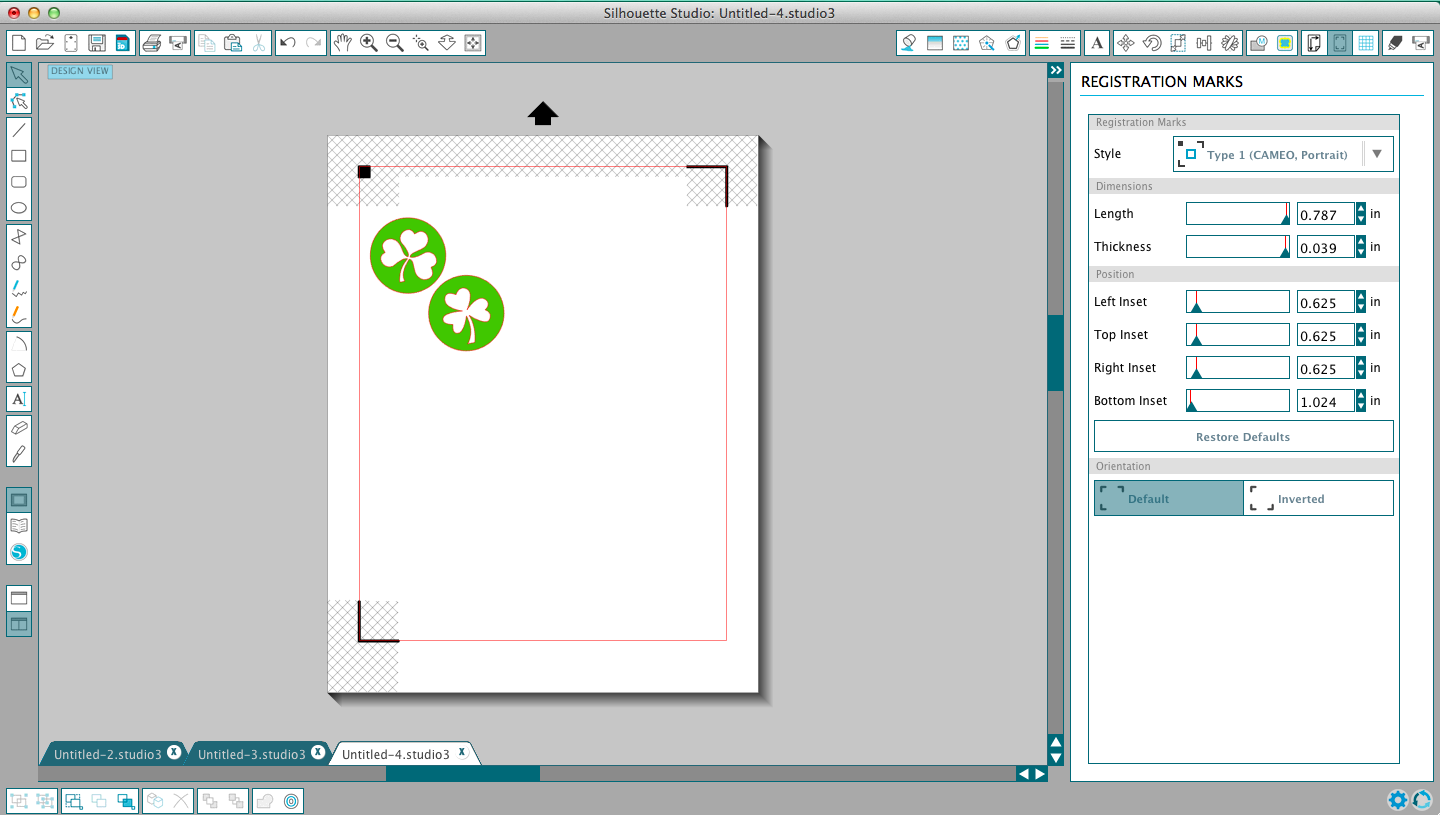
Now, add your registration marks to your page. To do this, click on the “registration marks” icon and choose Type 1, if you have a CAMEO or Portrait. This will print the marks on your page to tell the Silhouette how to cut the shapes. (Check out my print-and-cut tutorial for more details.)
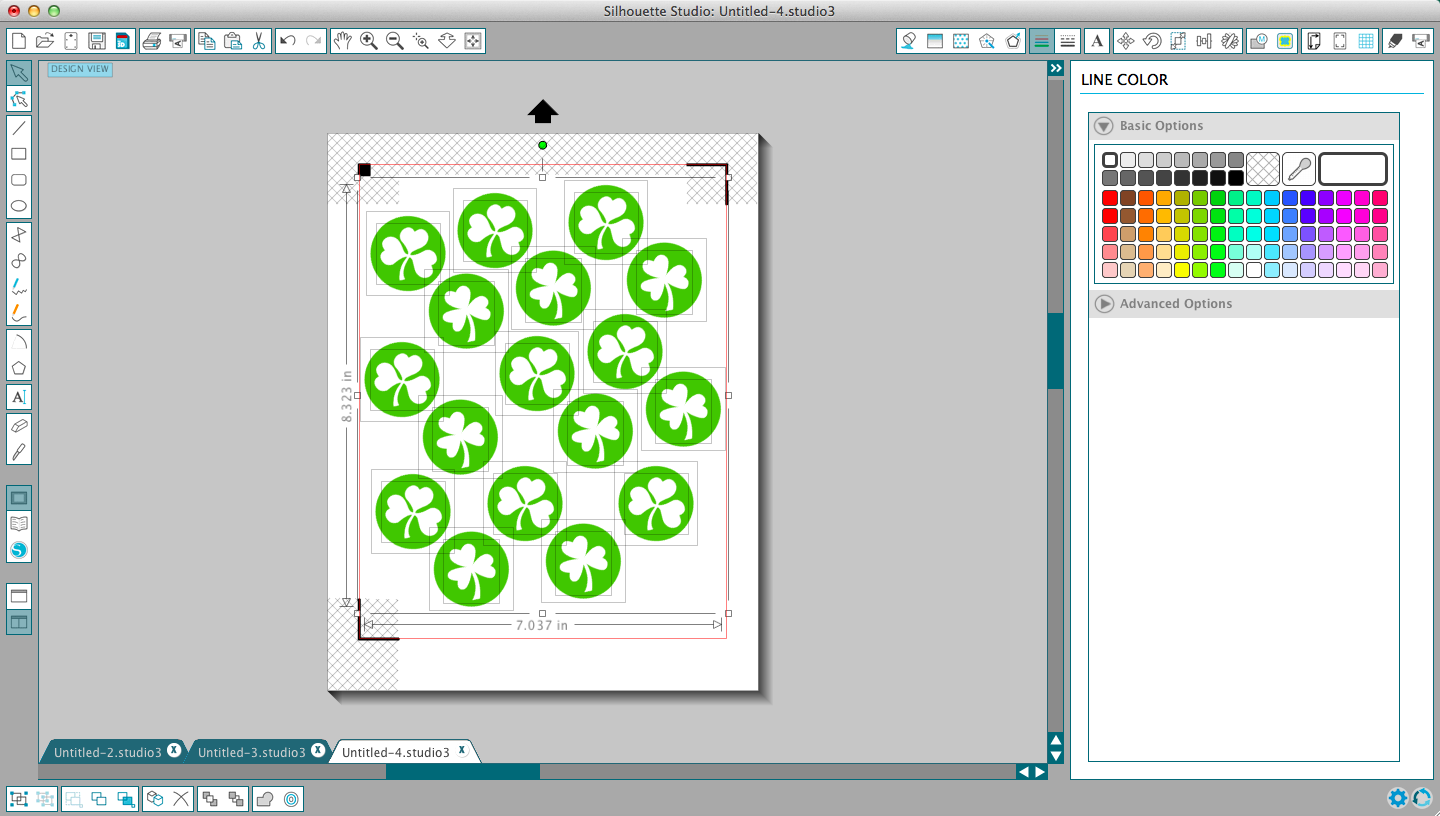
Next, fill your page with the shapes. (Or new ones, if you wish.) Just keep filling to make the most of your paper. Keep everything inside the registration marks and red boundary lines.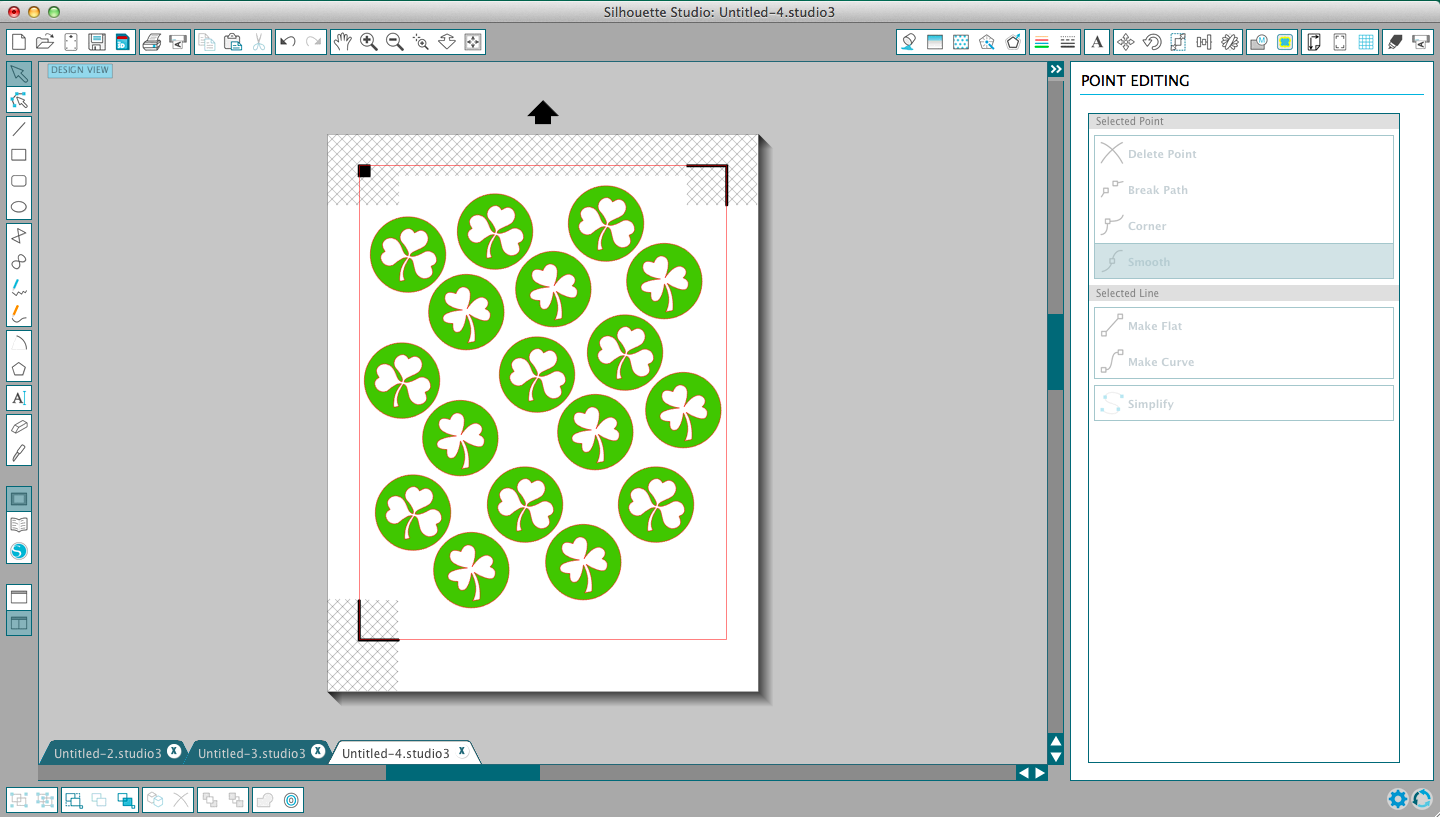
Now, you’ll want to be rid of those red lines (cut marks). Select all the designs and click on the “line color” icon. Choose white and the red lines will disappear.
NOTE: If you are using words, now is the time you’ll need to right click- “flip horizontally.” This will flip the words so they appear correctly when you actually put the tattoo on your skin.
Now, you’ll want to review your cut settings by clicking on the “cut settings” windows. For tattoos, you don’t want to cut everything – only the outside of the shape. So, select your whole page with your mouse and then choose “cut edge.” The red lines indicate what will cut – only the circles.
Now, just run the Silhouette tattoo paper through a normal inkjet printer.

Place the clear sticky sheet on top of the page and run the page (on a cutting mat) through the Silhouette machine as normal. This will cut each of the tattoos individually.

Henry wants at least four tattoos on at all times. And I’m more than happy to oblige. They go on like normal temporary tattoos and wash off with soap and water.

Now, there’s no reason not to get your tats on. Am I right?
These are the funnest. I think I want to make myself some outrageous tats.
So sweet!! I have a silhouette machine on my Amazon wish list and need to pull the trigger and get one already!!
SEriously – I use it ALL the time. It’s so stinkin’ handy.
I’ve been wanting to make some!
It’s pretty addicting!
can you make me some glitter henna style tattoos? these are soooo fun!
Everyone needs a little henna in their life.
How cute! We are hosting whine & cheese tonite at Mountainbrook. I wish I had a page of these shamrocks so all of us who are hosting could have a tat on our cheeks! Really fun idea! Happy St. Patrick’s Day!
Aw, you’ll have to let me know next time and I’ll send some.